Edit Dreamcatcher SVG in Inkscape
In this section, the dreamcatcher line SVG acquires a hook-hole and becomes a single shape. This will allow the 3D software to easily convert it. Do these steps in order or you may get unusable results.
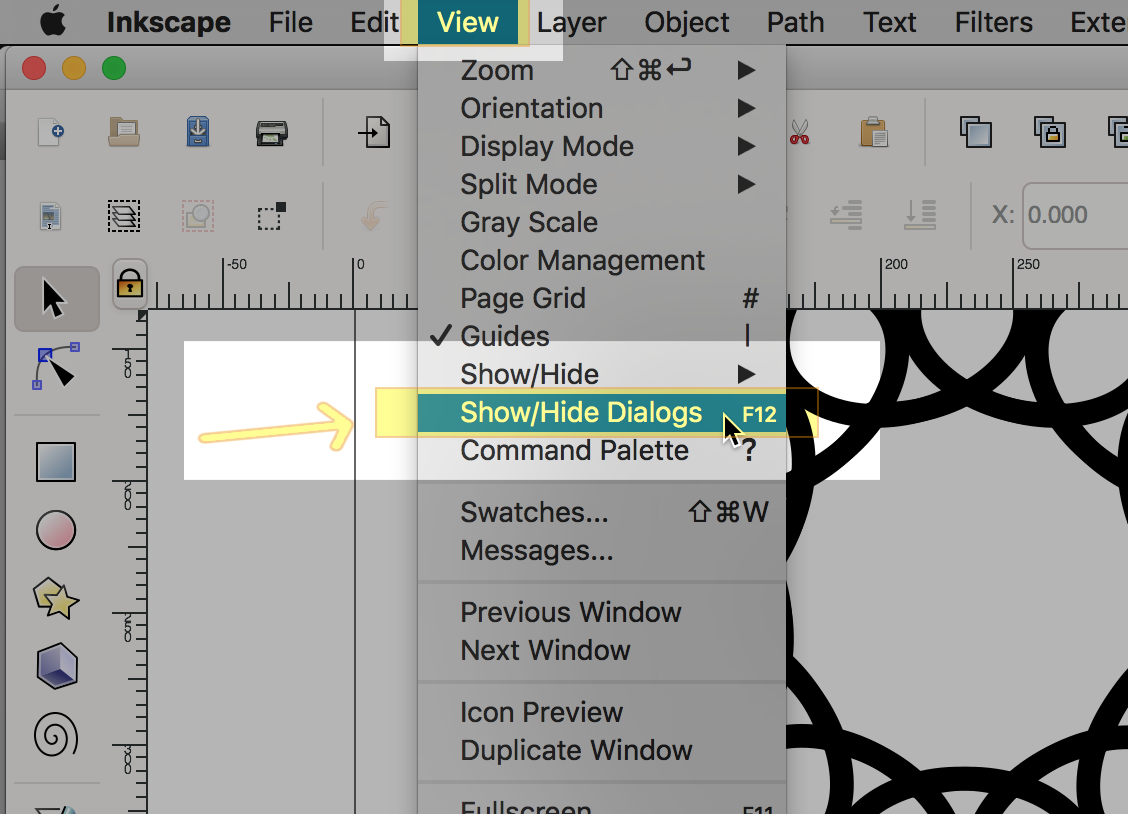
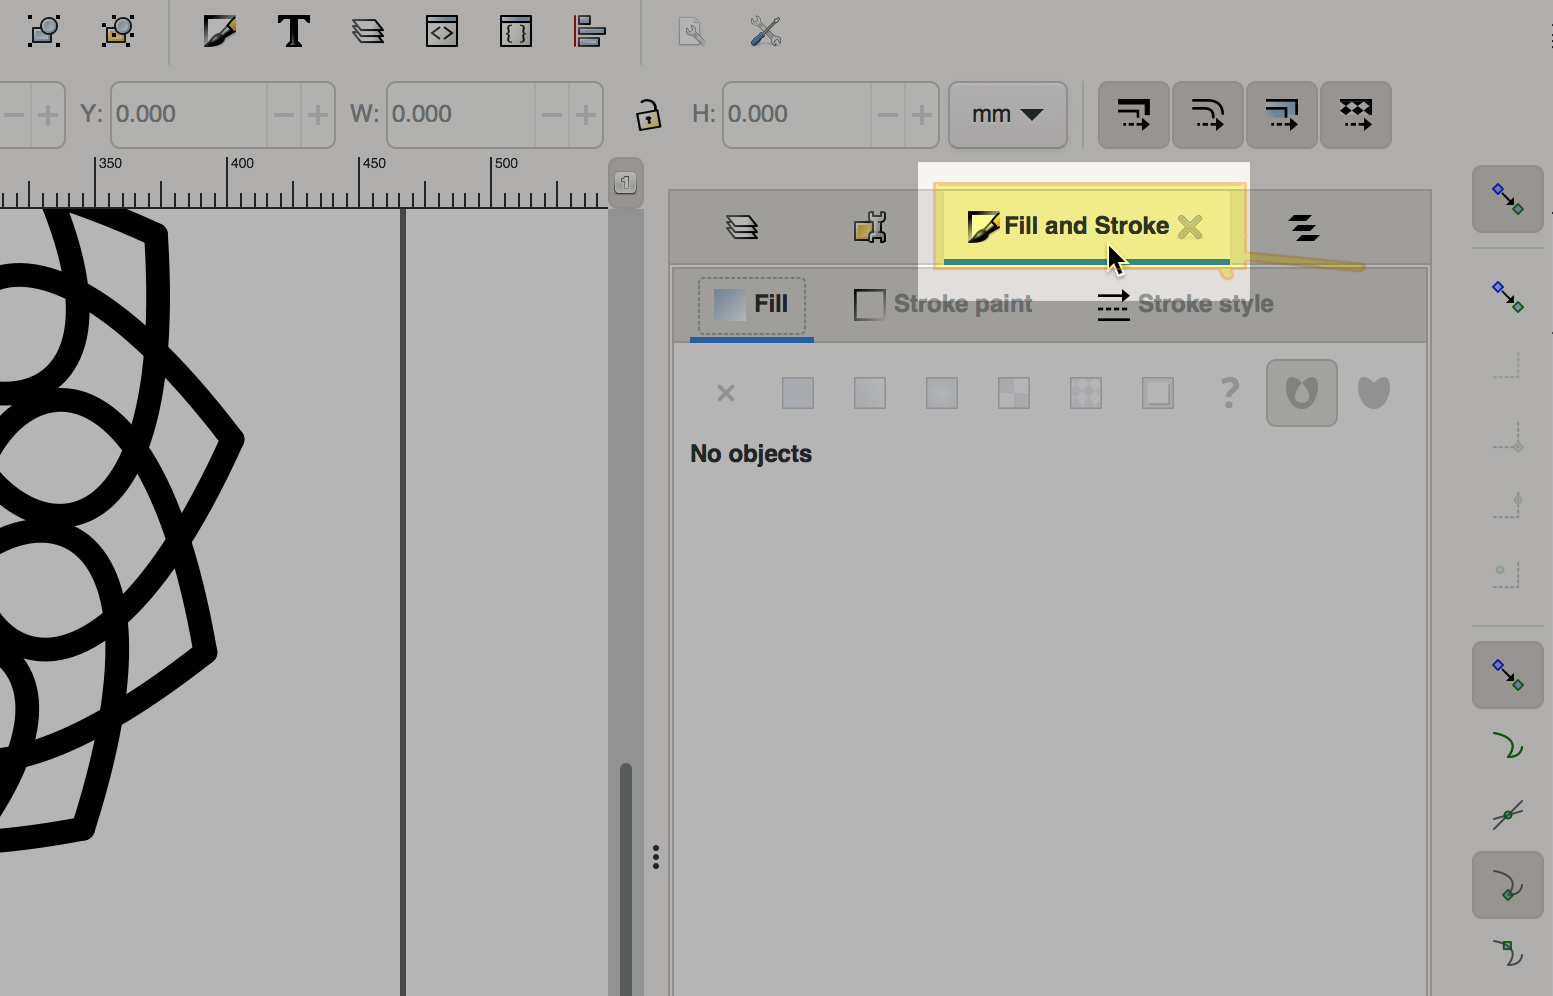
- Activate the Fill and Stroke Dialog. If you do not see it, select View | Show and Hide Dialogs and then click on the Fill and Stroke tab.
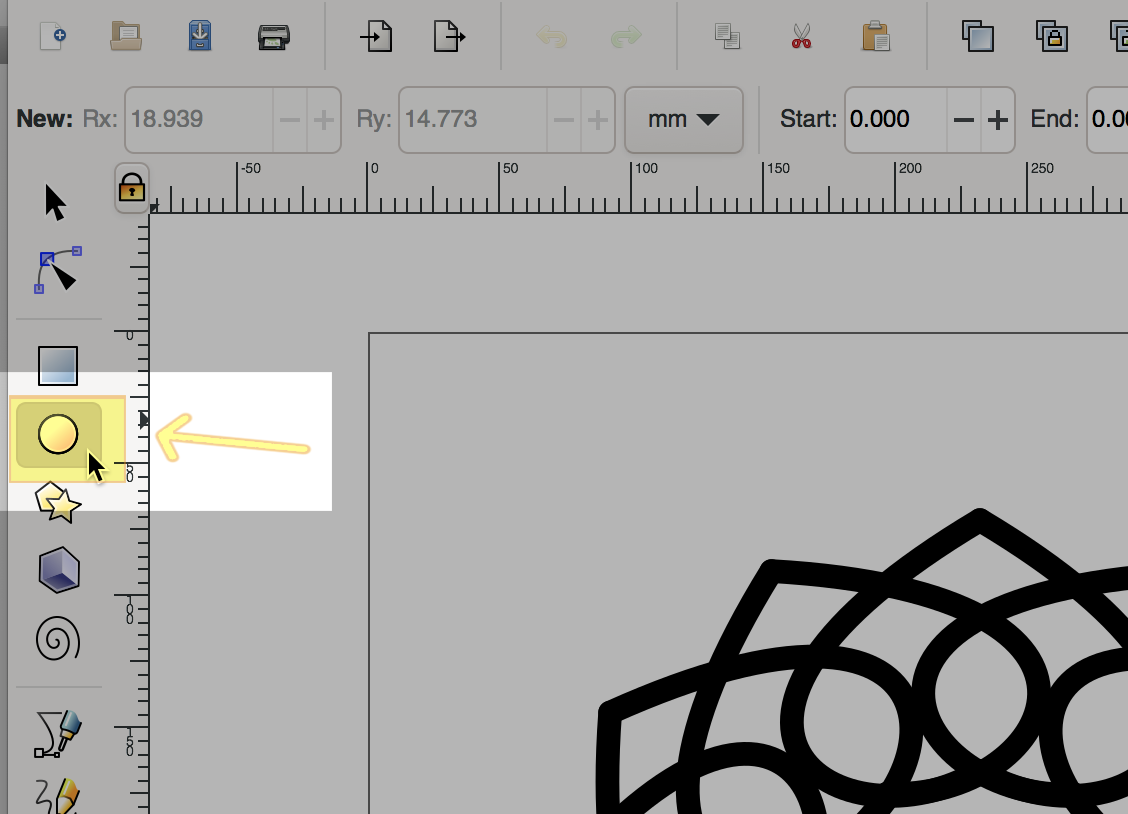
- Activate the Circles tool (Labelled "Create circles, ellipses, and arcs").
- Draw a hook hole circle. You may need to pan (scroll the canvas view) up to see the top of your dreamcatcher. The circle will appear with whatever stroke and fill settings were last used in Inkscape. Do not worry about the size and position of the circle yet.
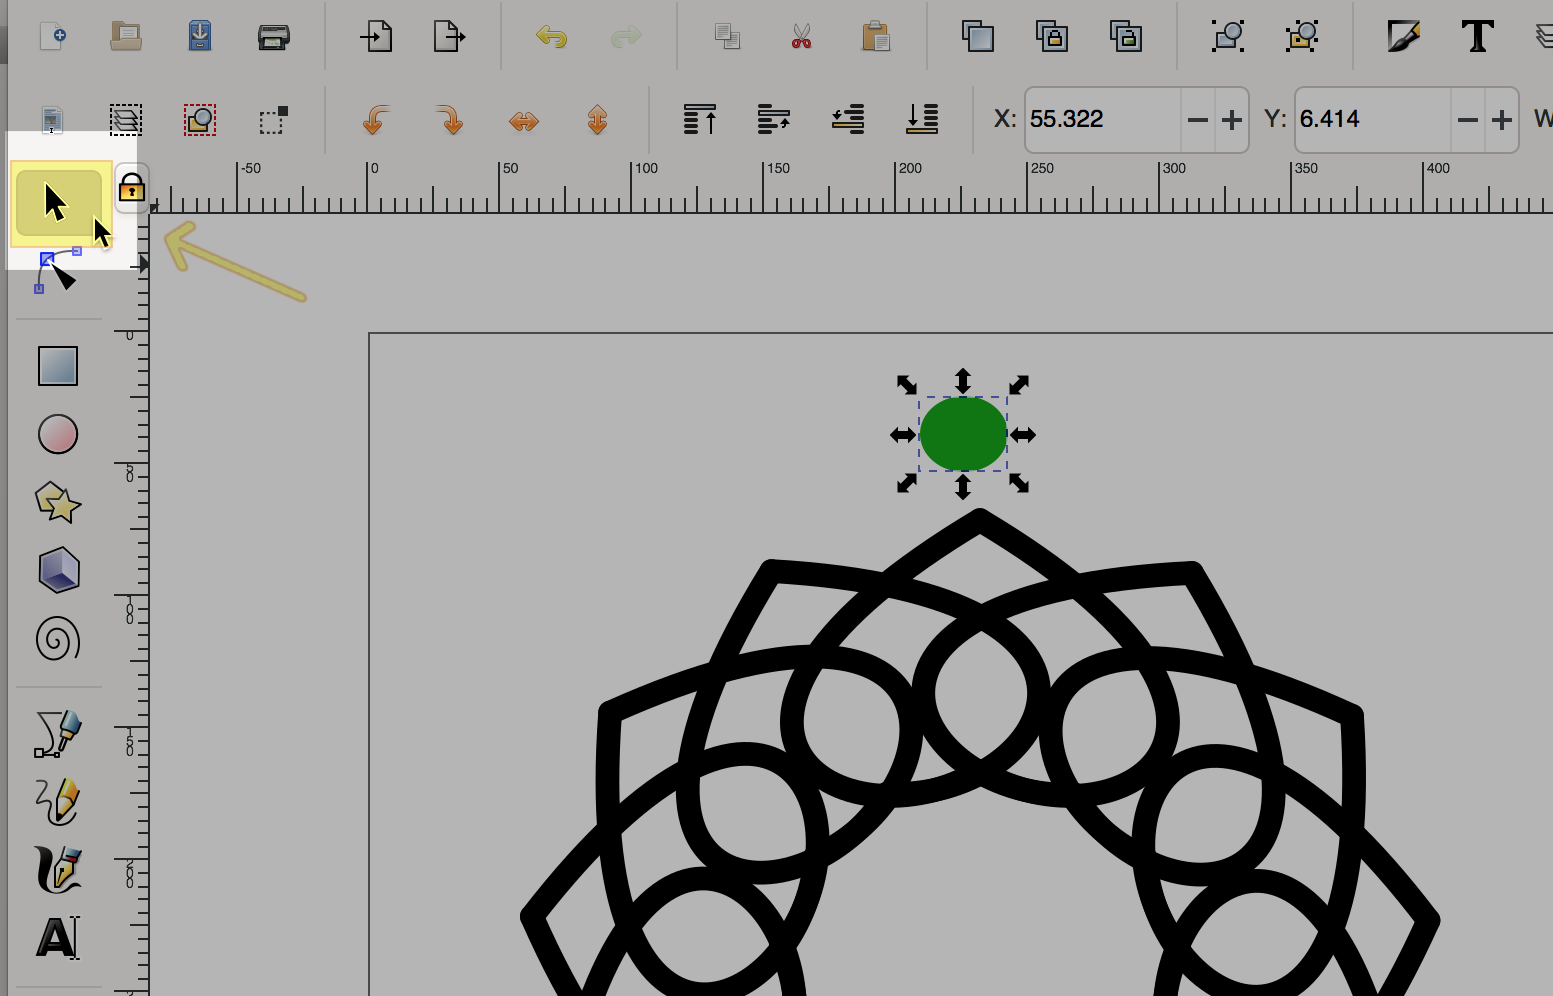
- Activate the Select tool (Labelled "Select and transform objects").
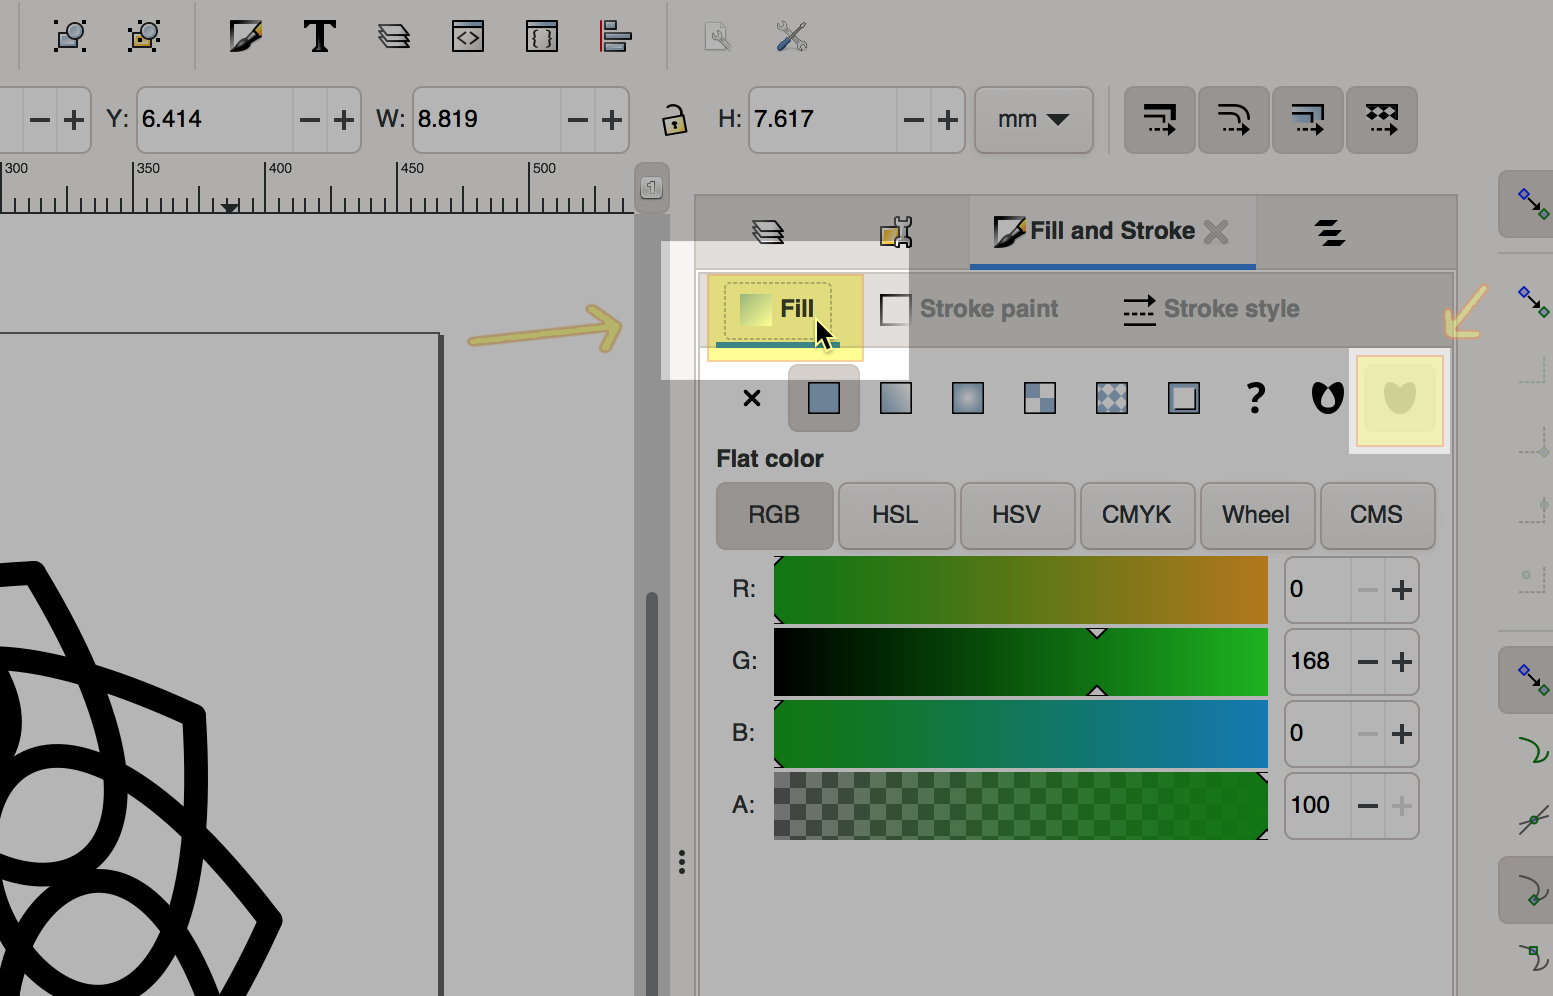
- Activate the Fill sub-tab.
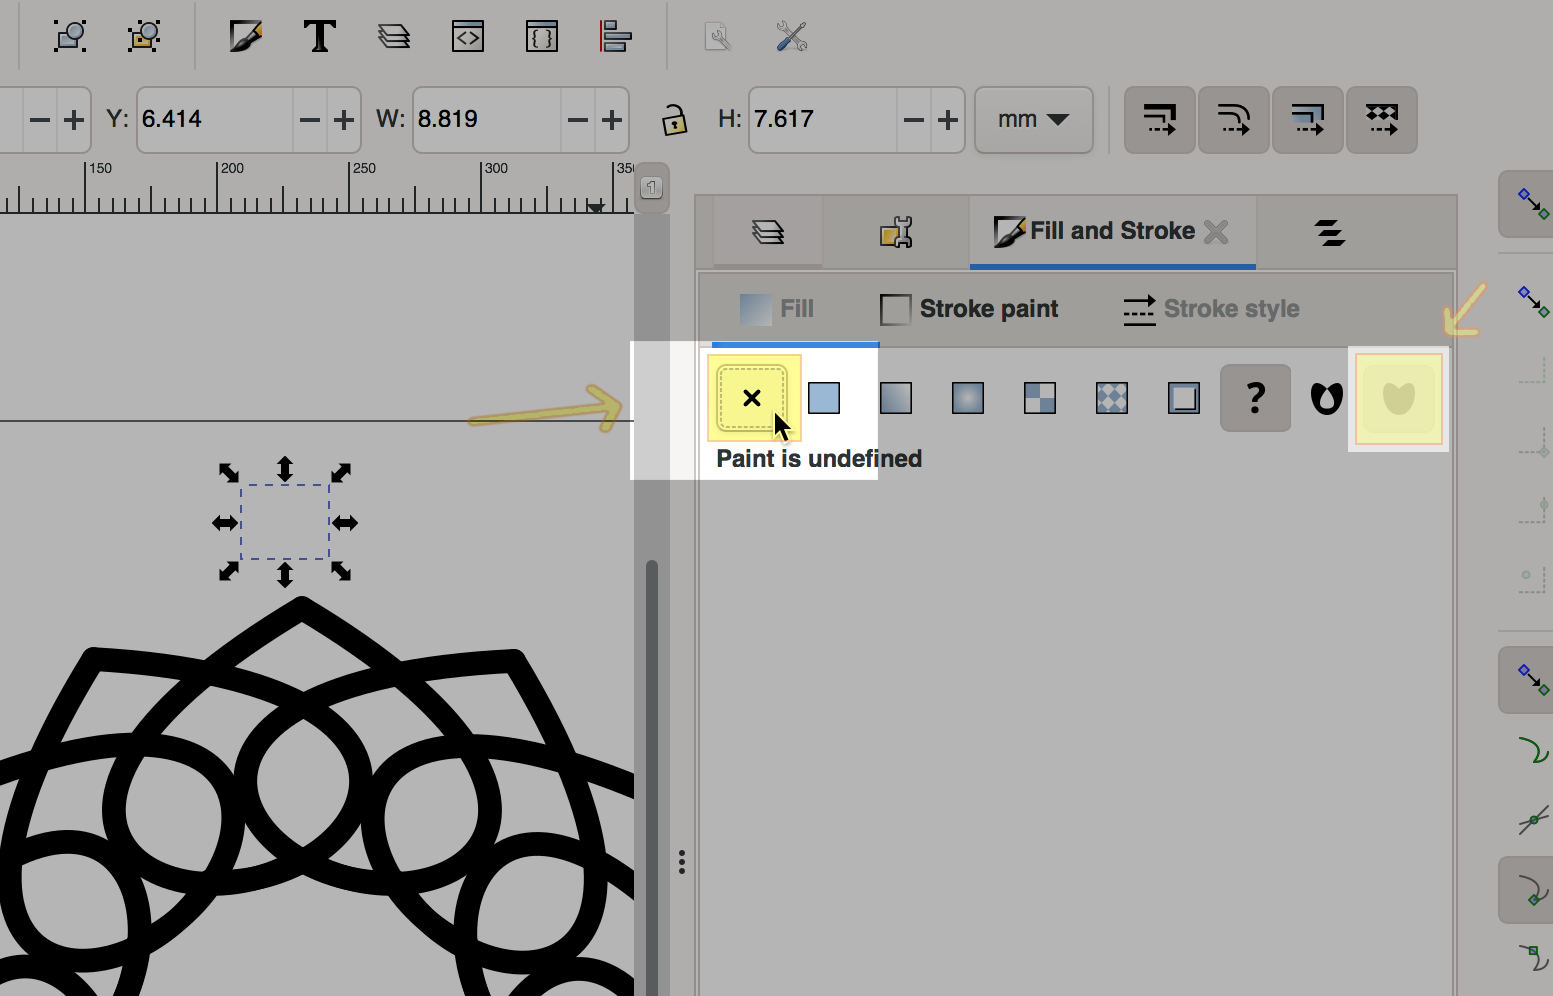
- Change the hook hole's fill.
Fill: None (no paint)
Fill is solid unless a subpath is counterdirectional.
If your circle is not selected, click on it to select it. When selected, it will have some dashes and arrows around it.
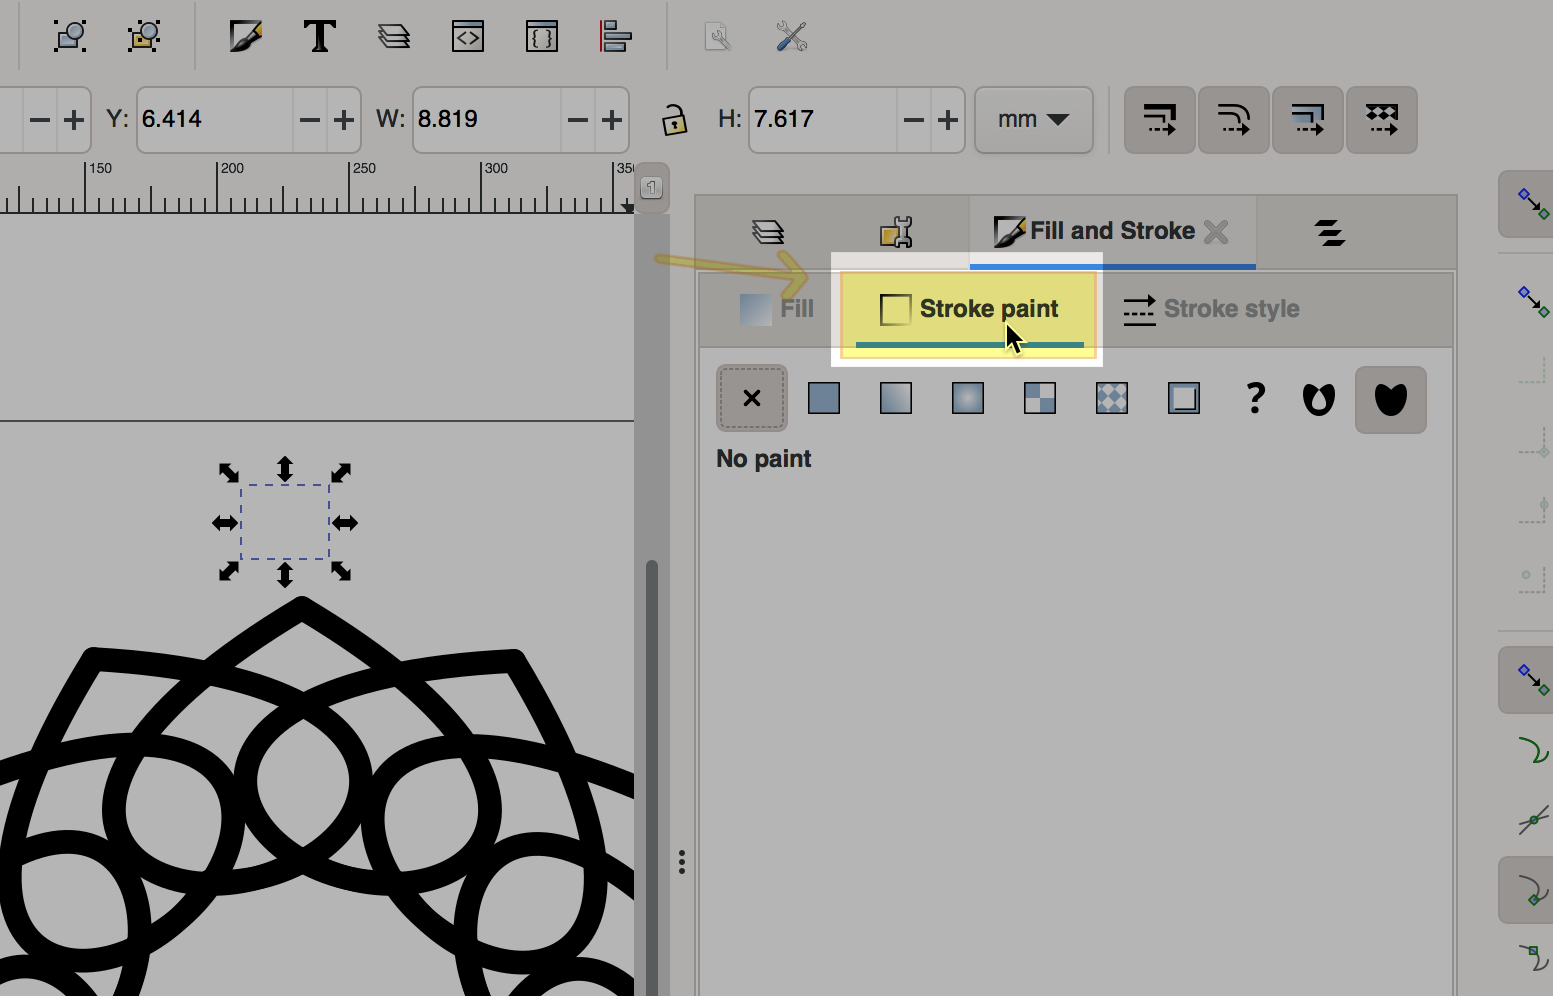
Your circle may temporarily become invisible. - Activate the Stroke Paint sub-tab.
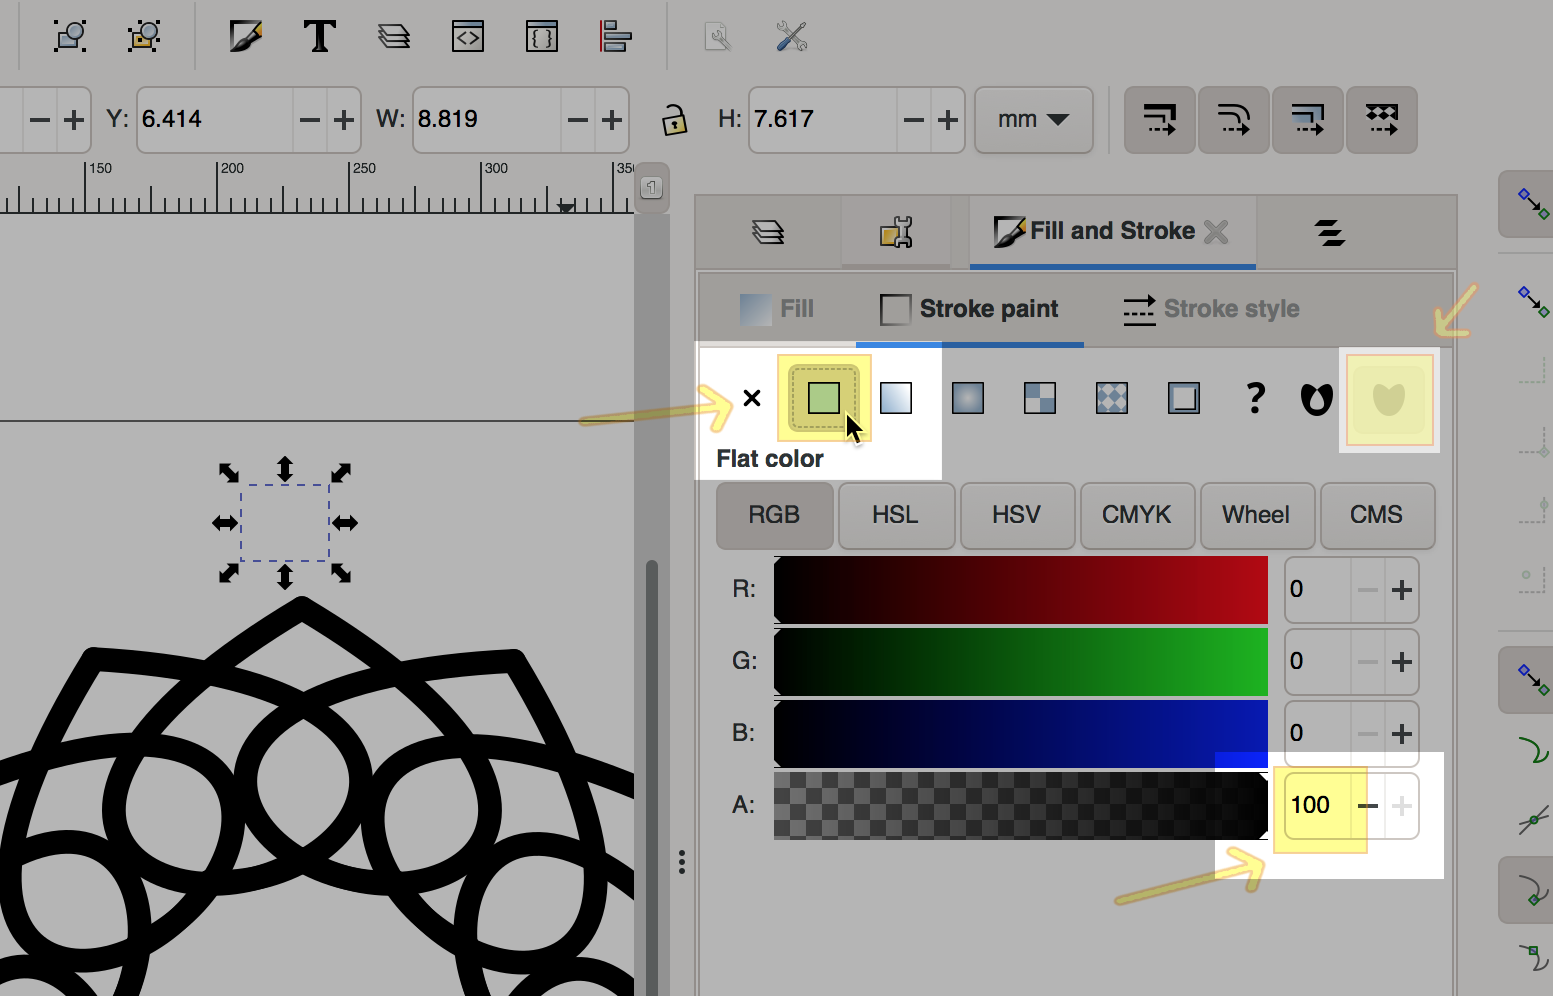
- Change the hook hole's stroke.
Stroke: Any color, Flat Color
Alpha: 100
Stroke is solid unless a subpath is counterdirectional.
If your circle is not selected, click on it to select it. When selected, it will have some dashes and arrows around it.
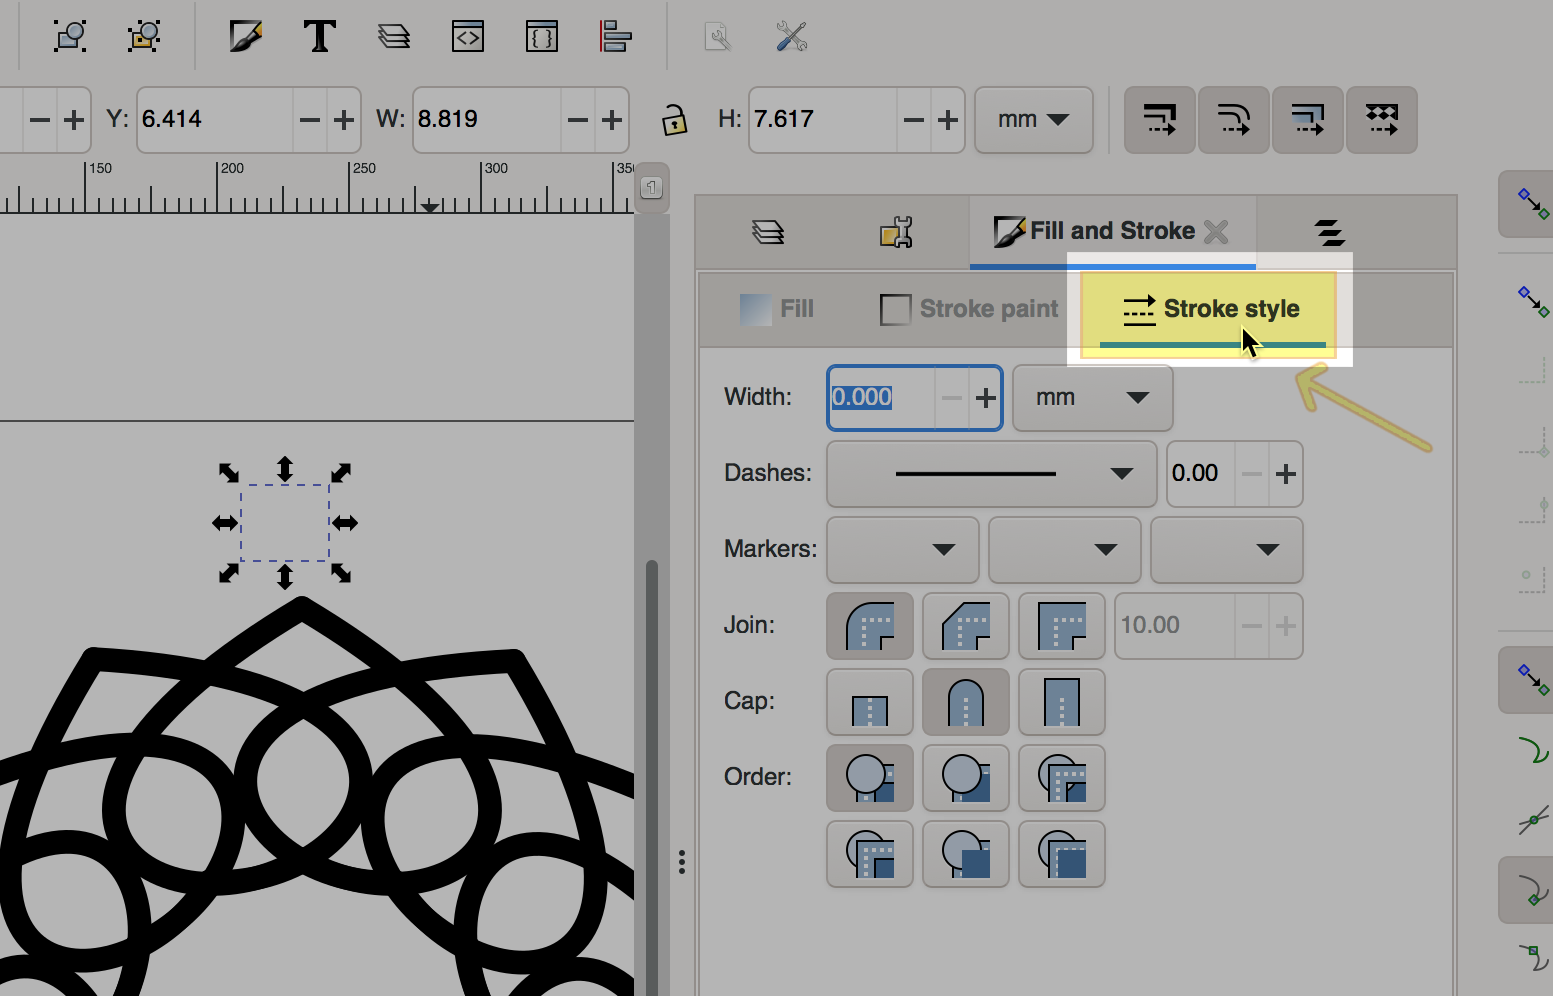
Your circle still may not be visible. - Activate the Stroke Style sub-tab.
- Change the stroke style.
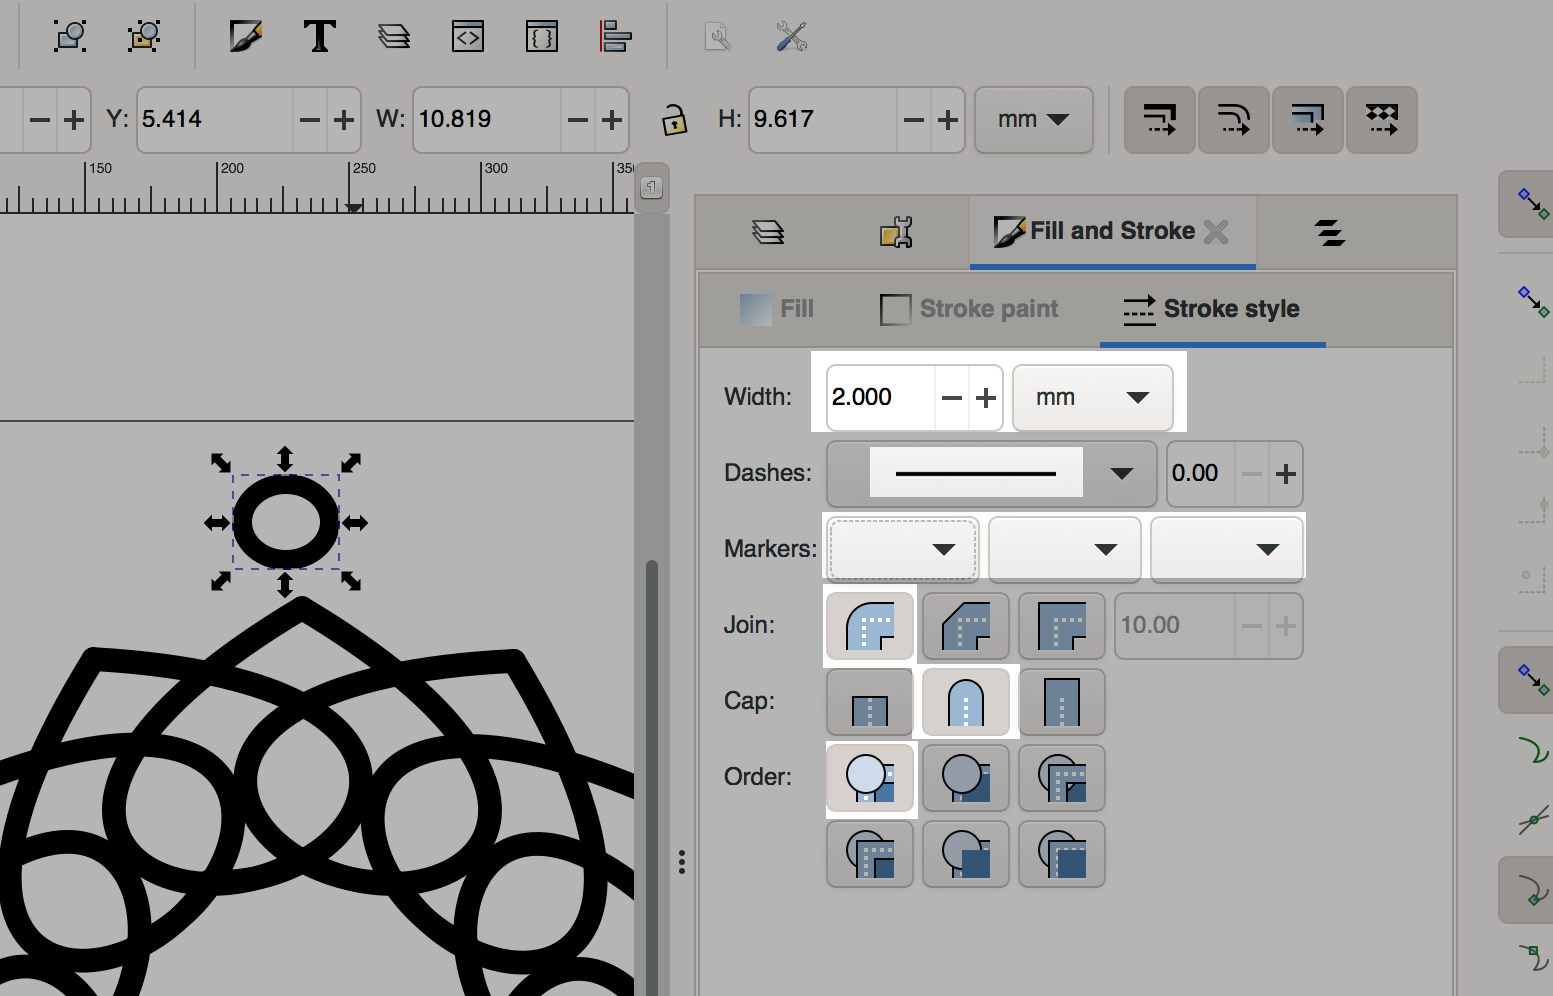
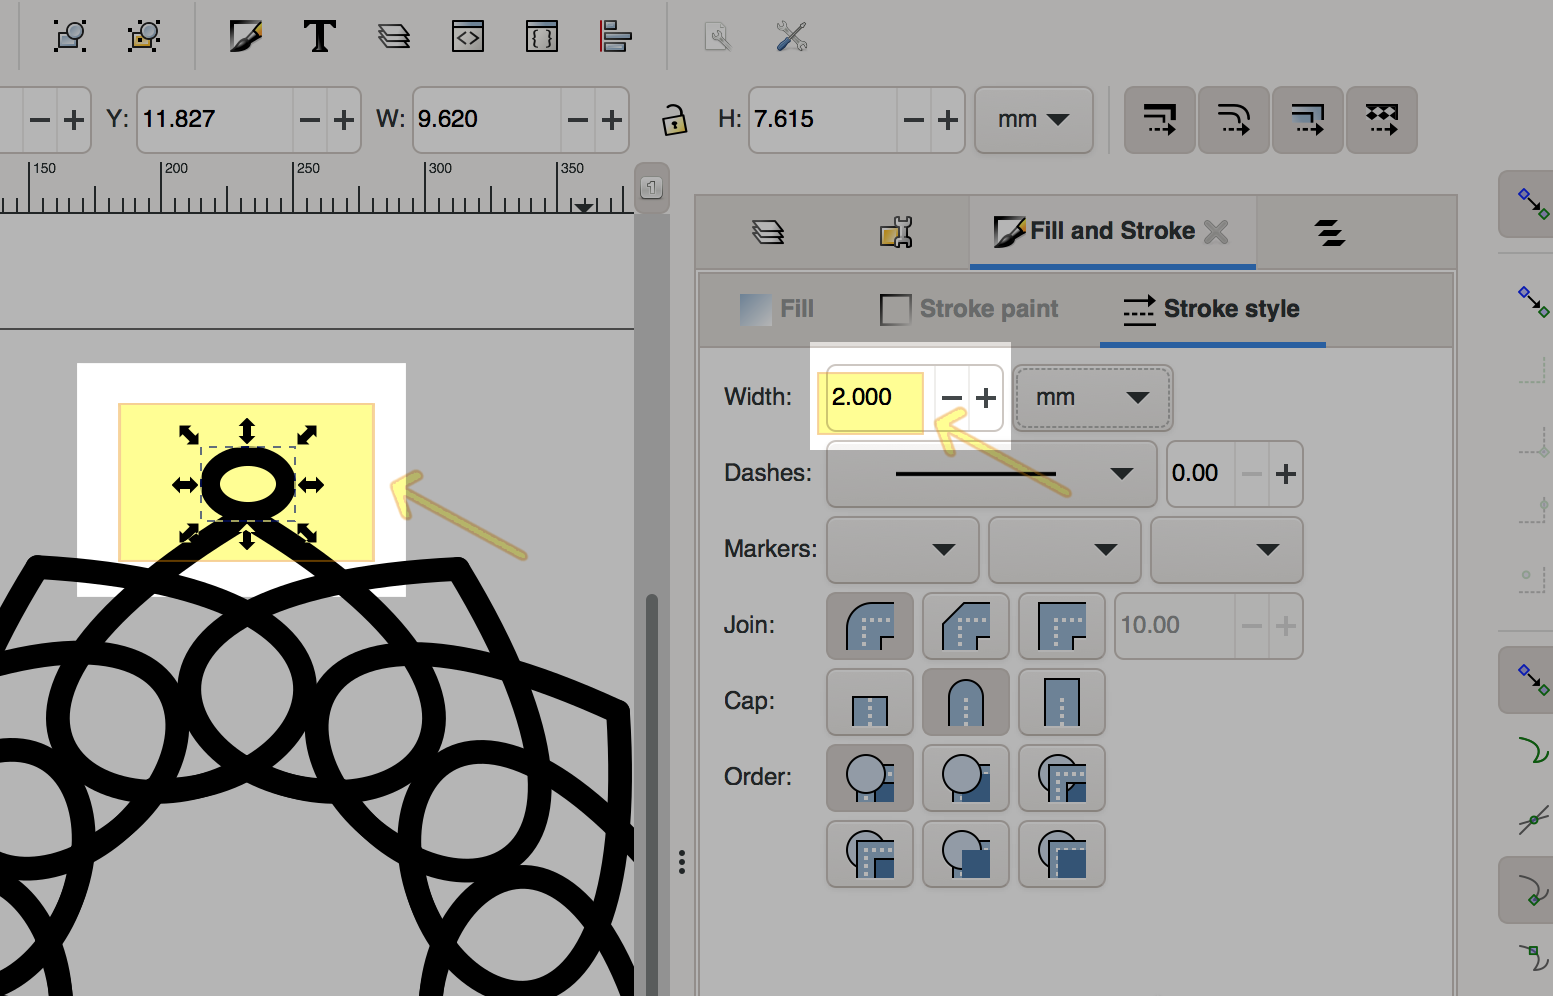
Width: 2 mm
Dashes: Solid line
No markers
Round join
Round cap
First order
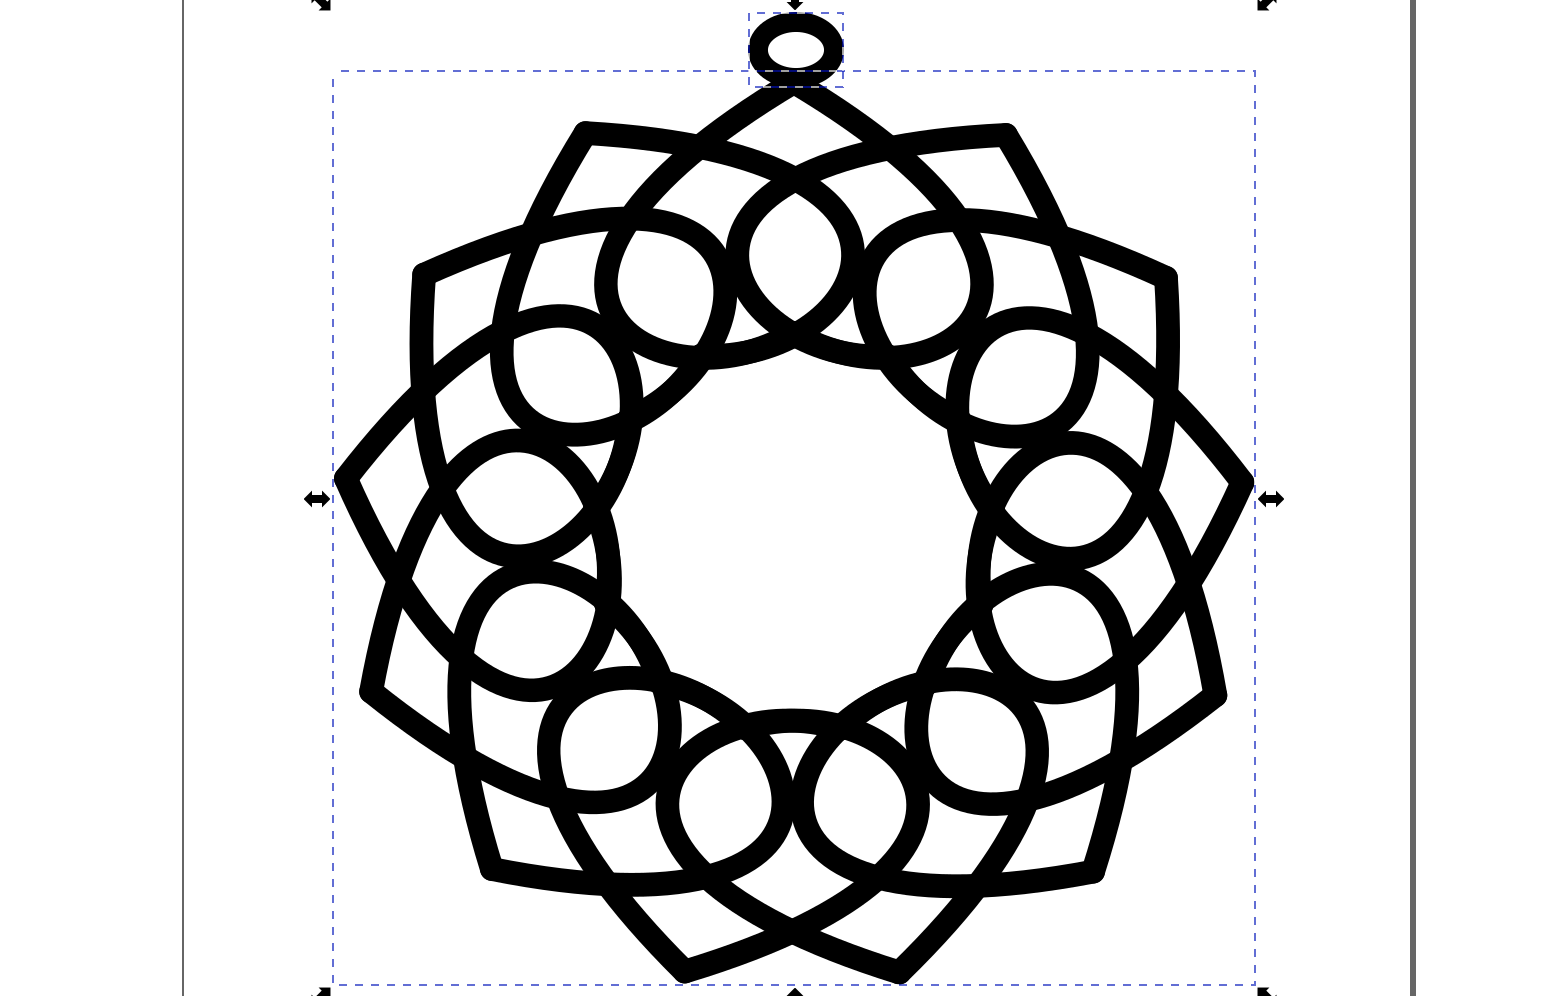
Your circle should appear with a width/thickness similar to the dreamcatcher. - Change the hook hole's position and size by dragging the circle and dragging its arrows.
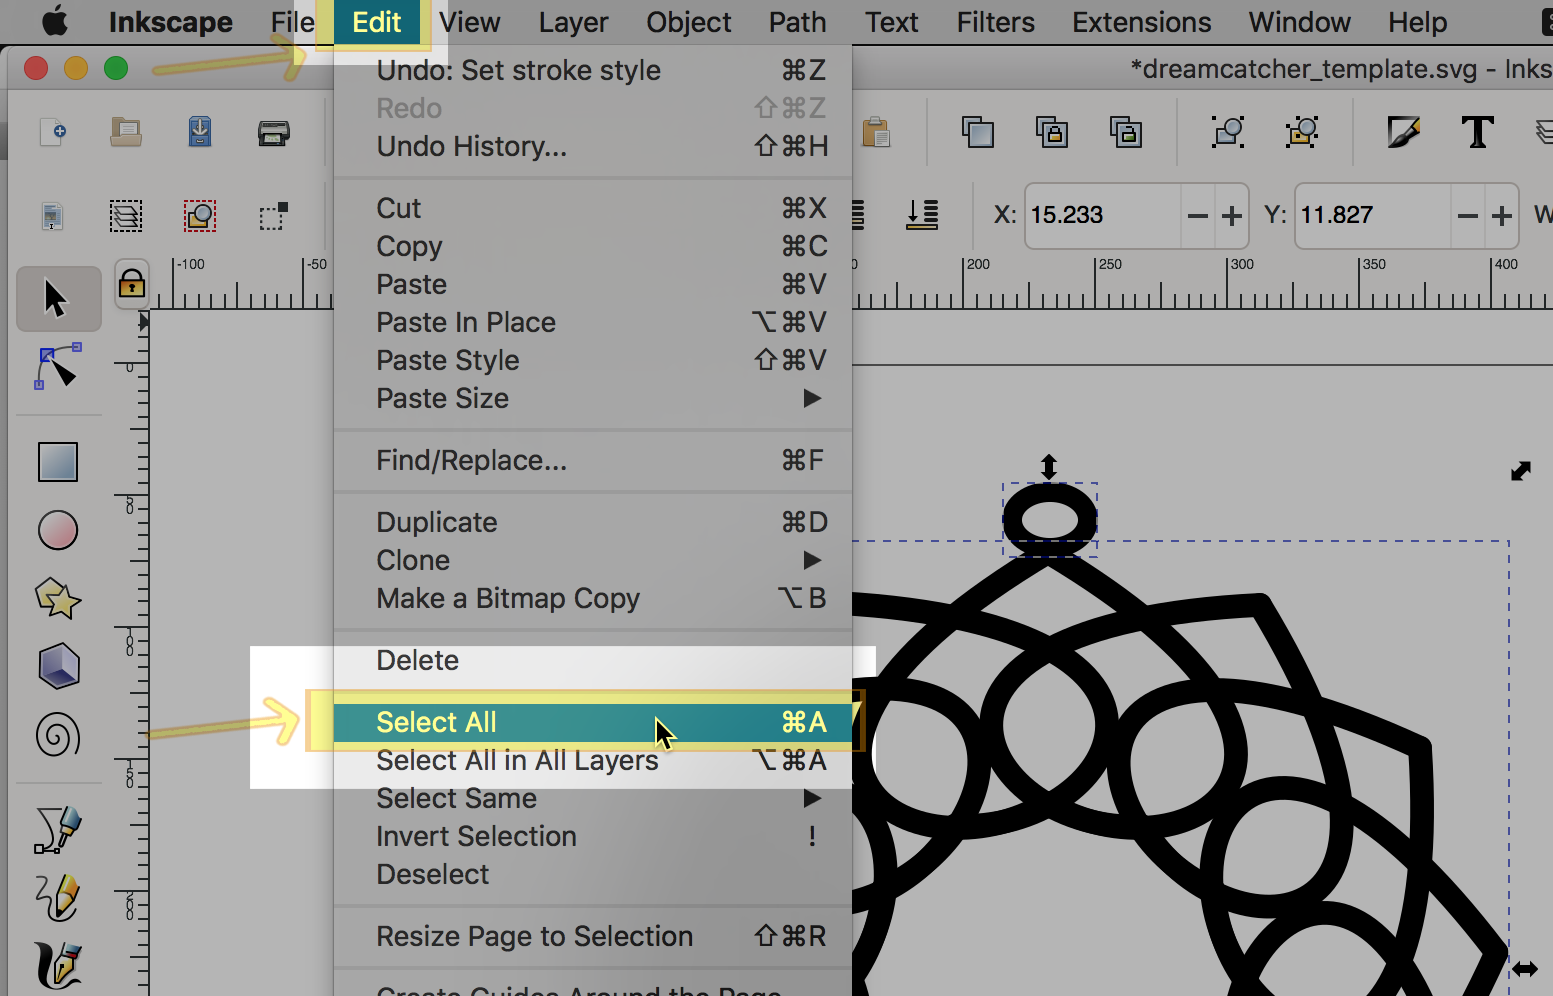
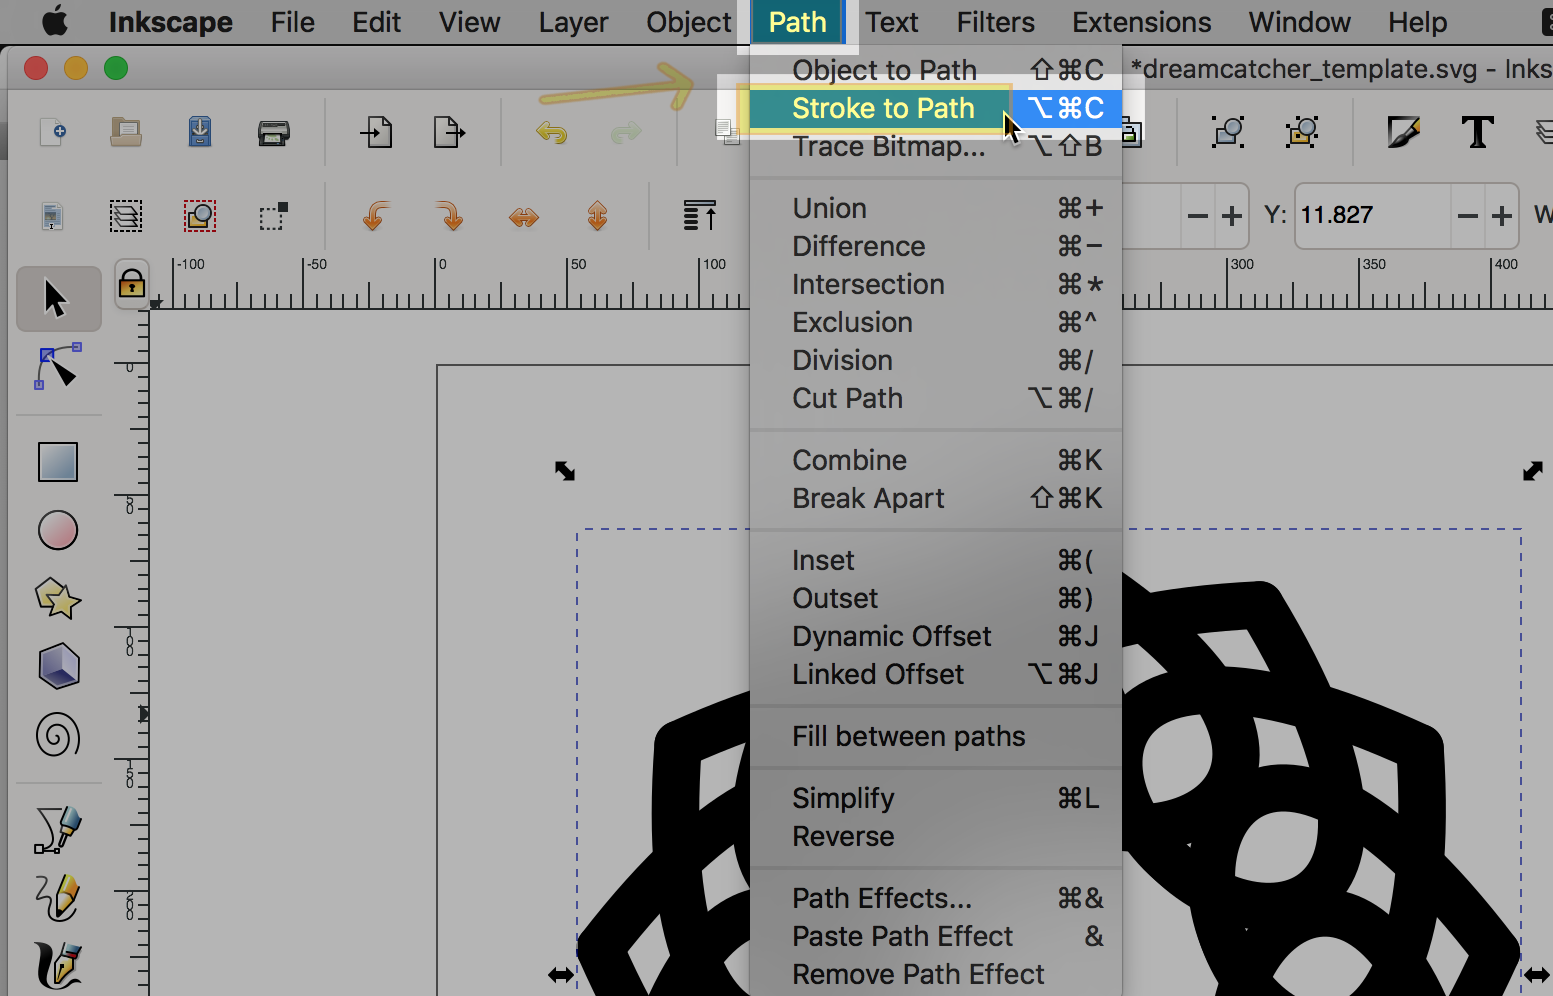
You may need to change the stroke style width back to 2 mm after changing the circle size. - Select everything using Edit | Select All.
- Change the lines to shapes using Path | Stroke to Path.
- With everything selected, change the fill and stroke:
Fill: Flat color (any color is fine), Alpha 100
Fill is solid unless a subpath is counterdirectional.
Stroke paint: No paint
Stroke is solid unless a subpath is counterdirectional.
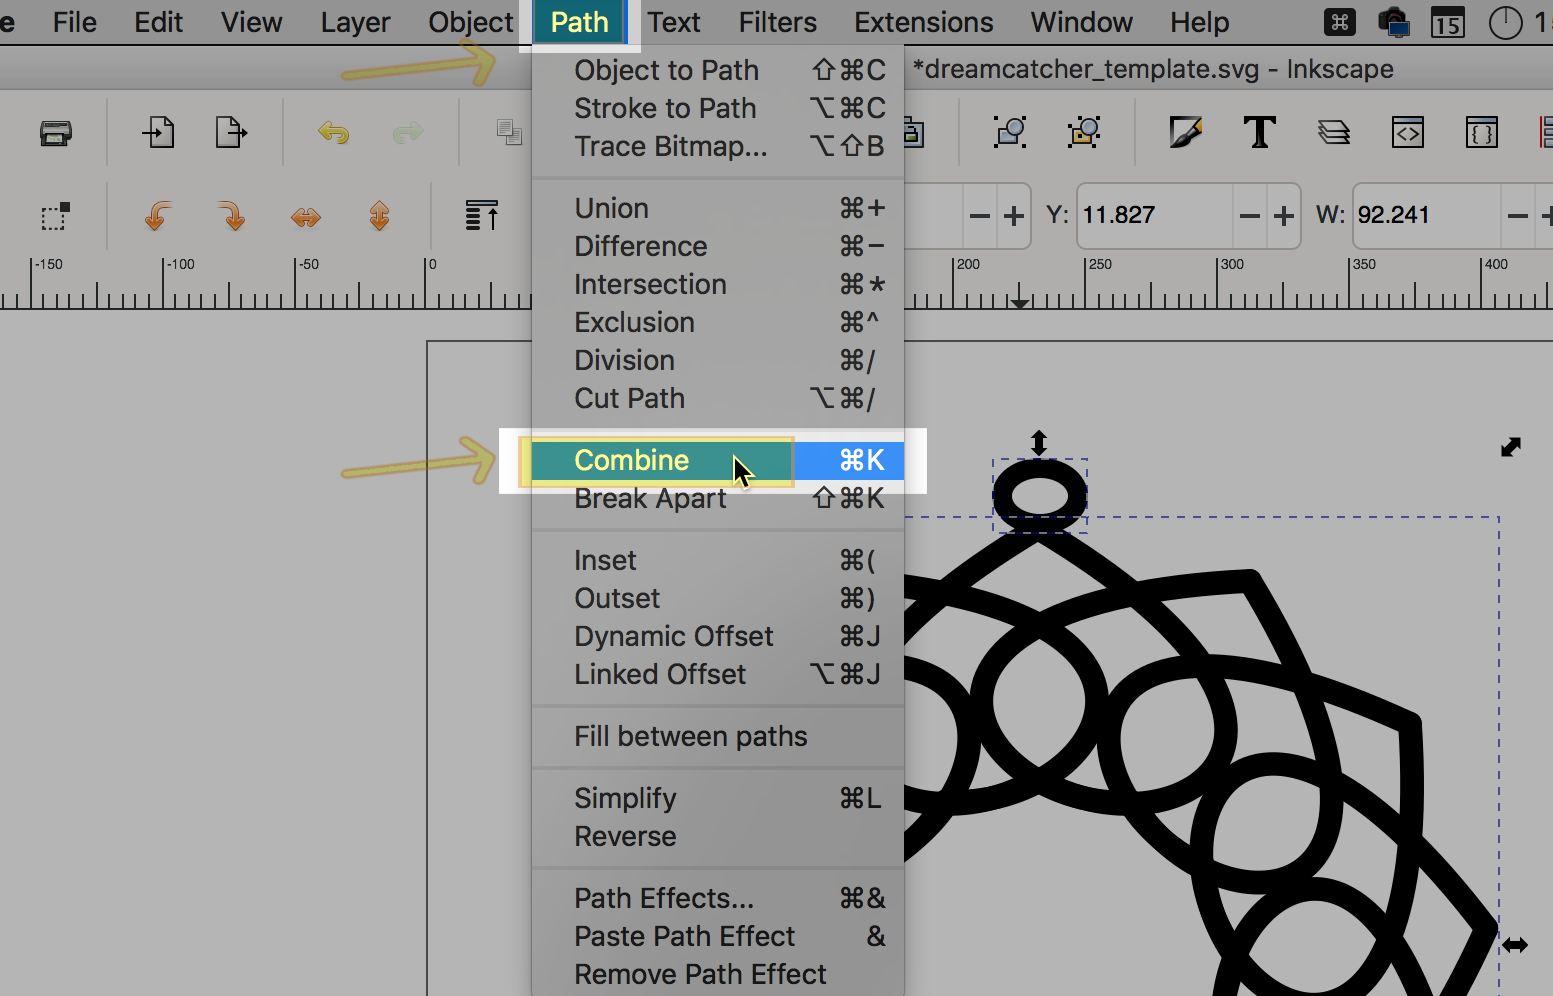
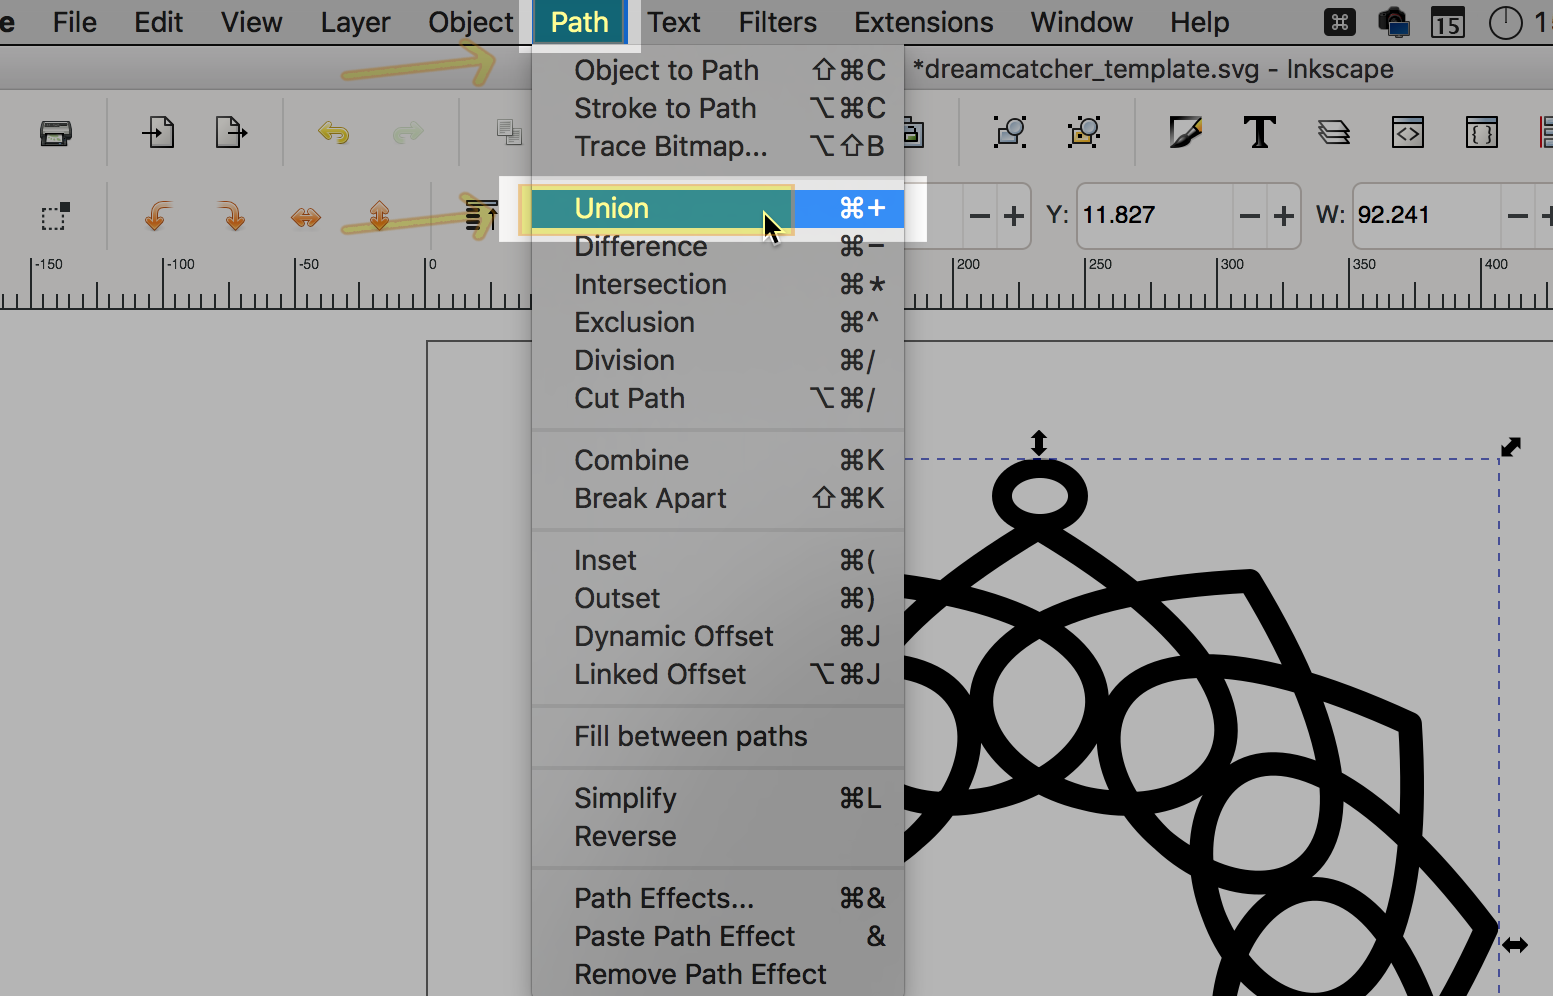
Stroke style: Width 0 mm - With everything selected, create one shape from all of the
shapes using Path | Combine and then Path | Union.
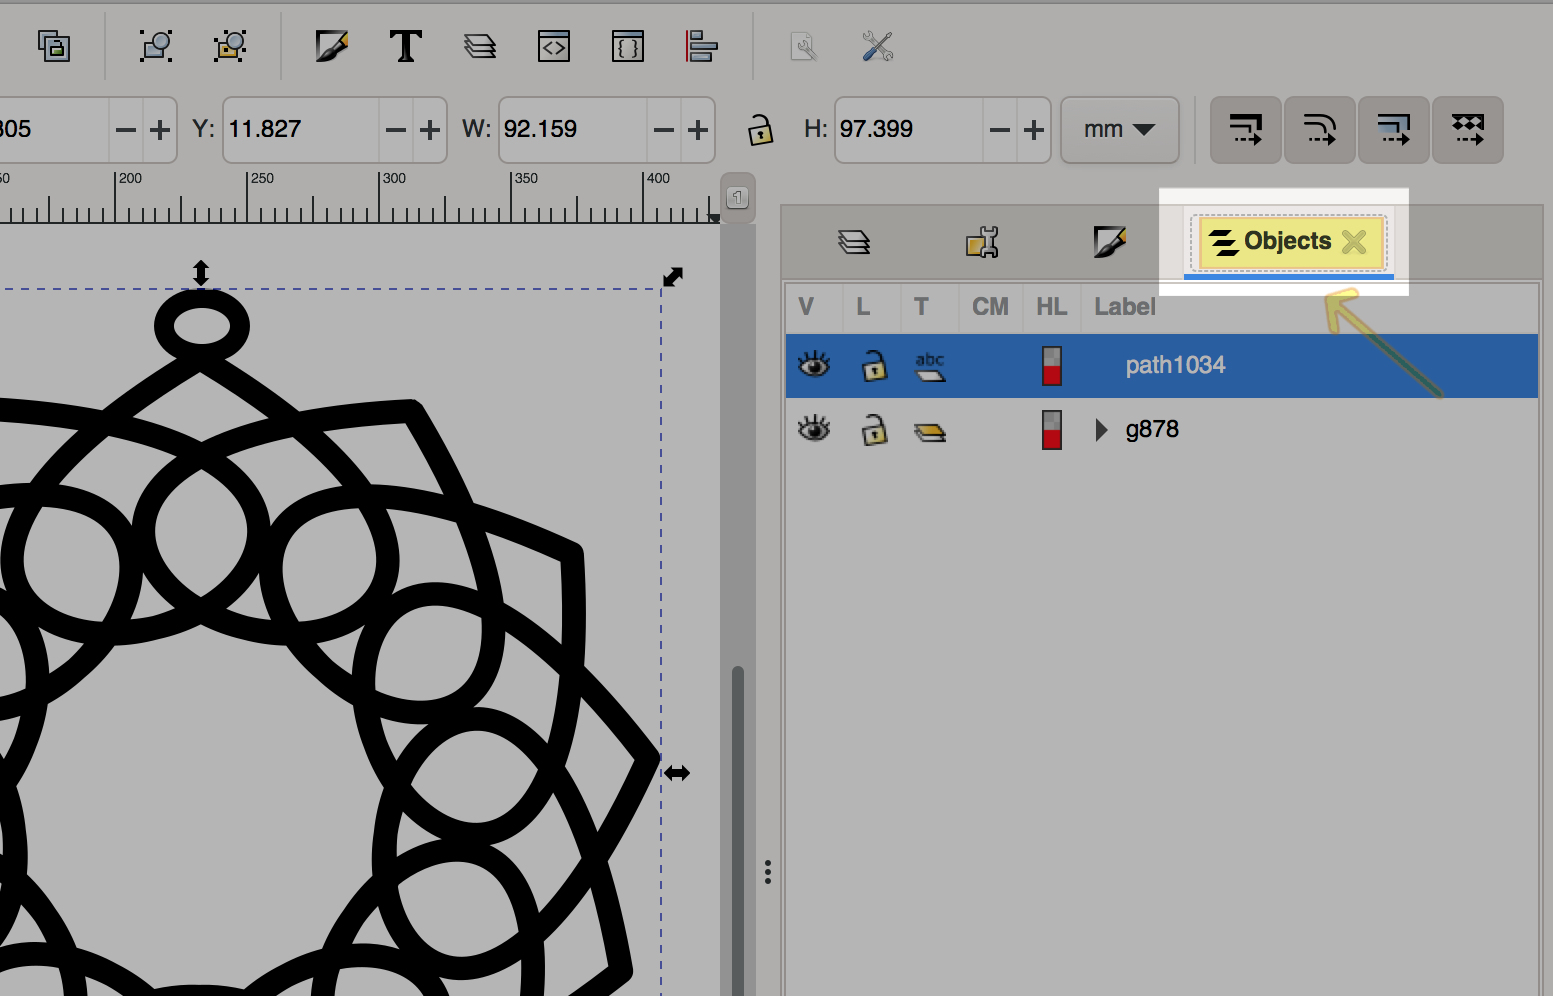
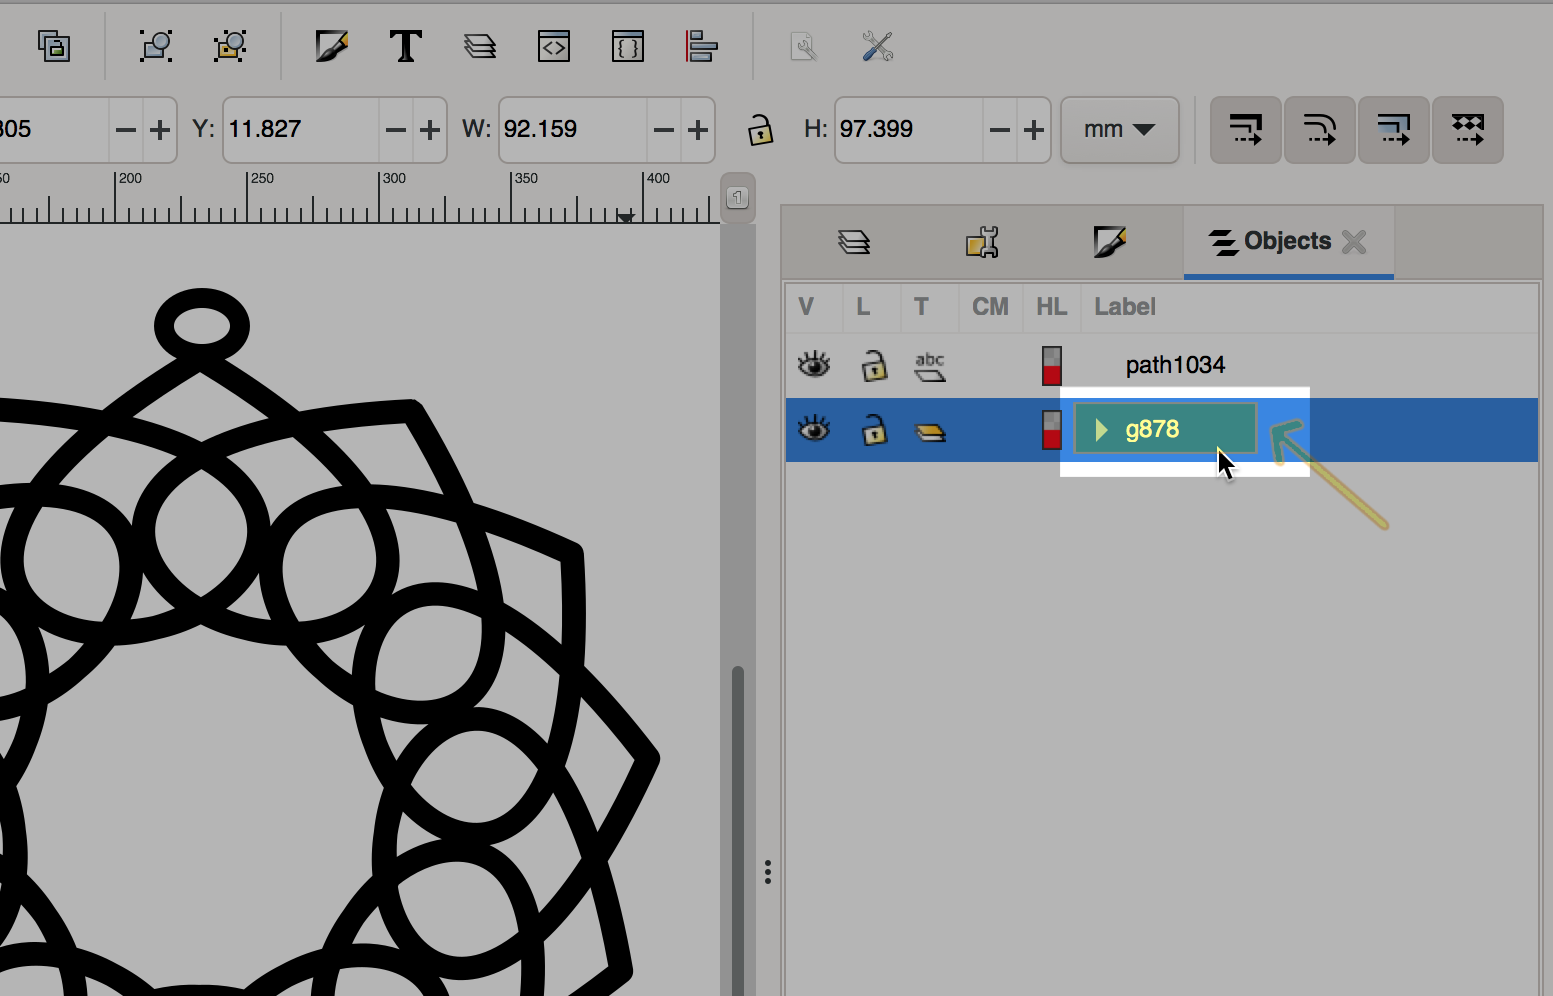
The order you do these in matters (combine THEN union). - Activate the Objects tab.
- Select the row with the triangle next to the label (indicating multiple grouped items).
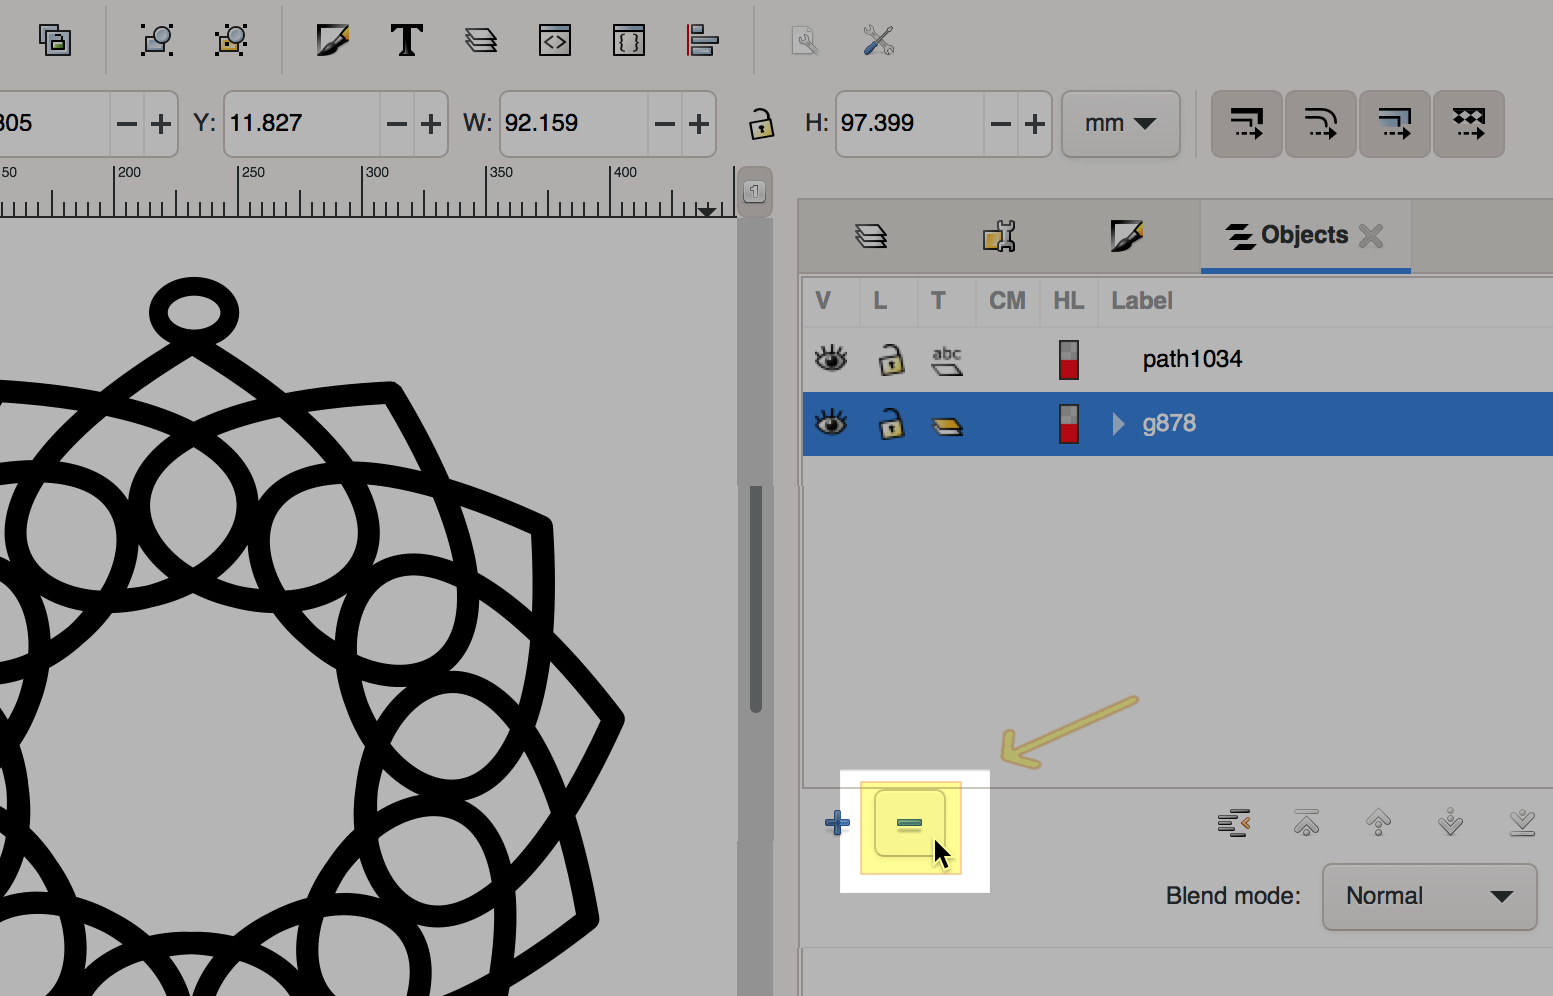
- Delete these object using the Remove Object button (at the bottom of the items list window).
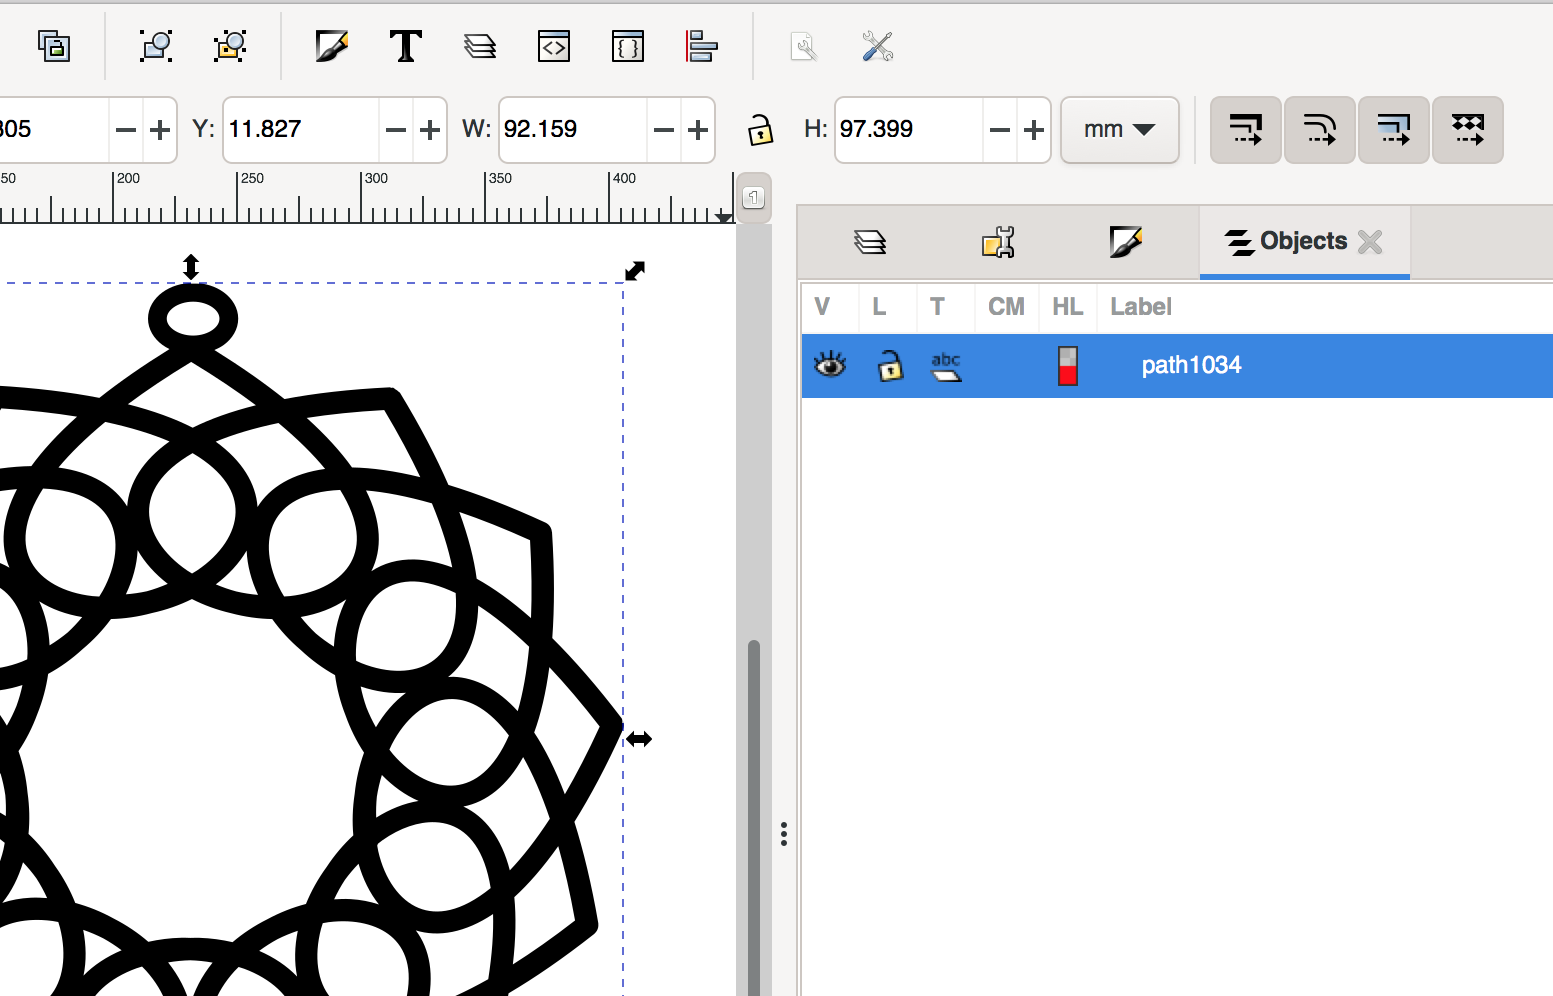
- You should now have one shape that is your entire dreamcatcher and hook loop.
- Save your modified SVG file.
The object's line width (thickness), style (solid, dotted, dashed), and color is called Stroke.
The object's inside shape color is called Fill.

RGBA: Red, Green, Blue, Alpha (transparency)
You can check that you have done everything correctly by selecting it and activating the Edit Paths by Node tool. If you see little squares (handles) on the outside edges of your shape's color at each turn, you have it correct.
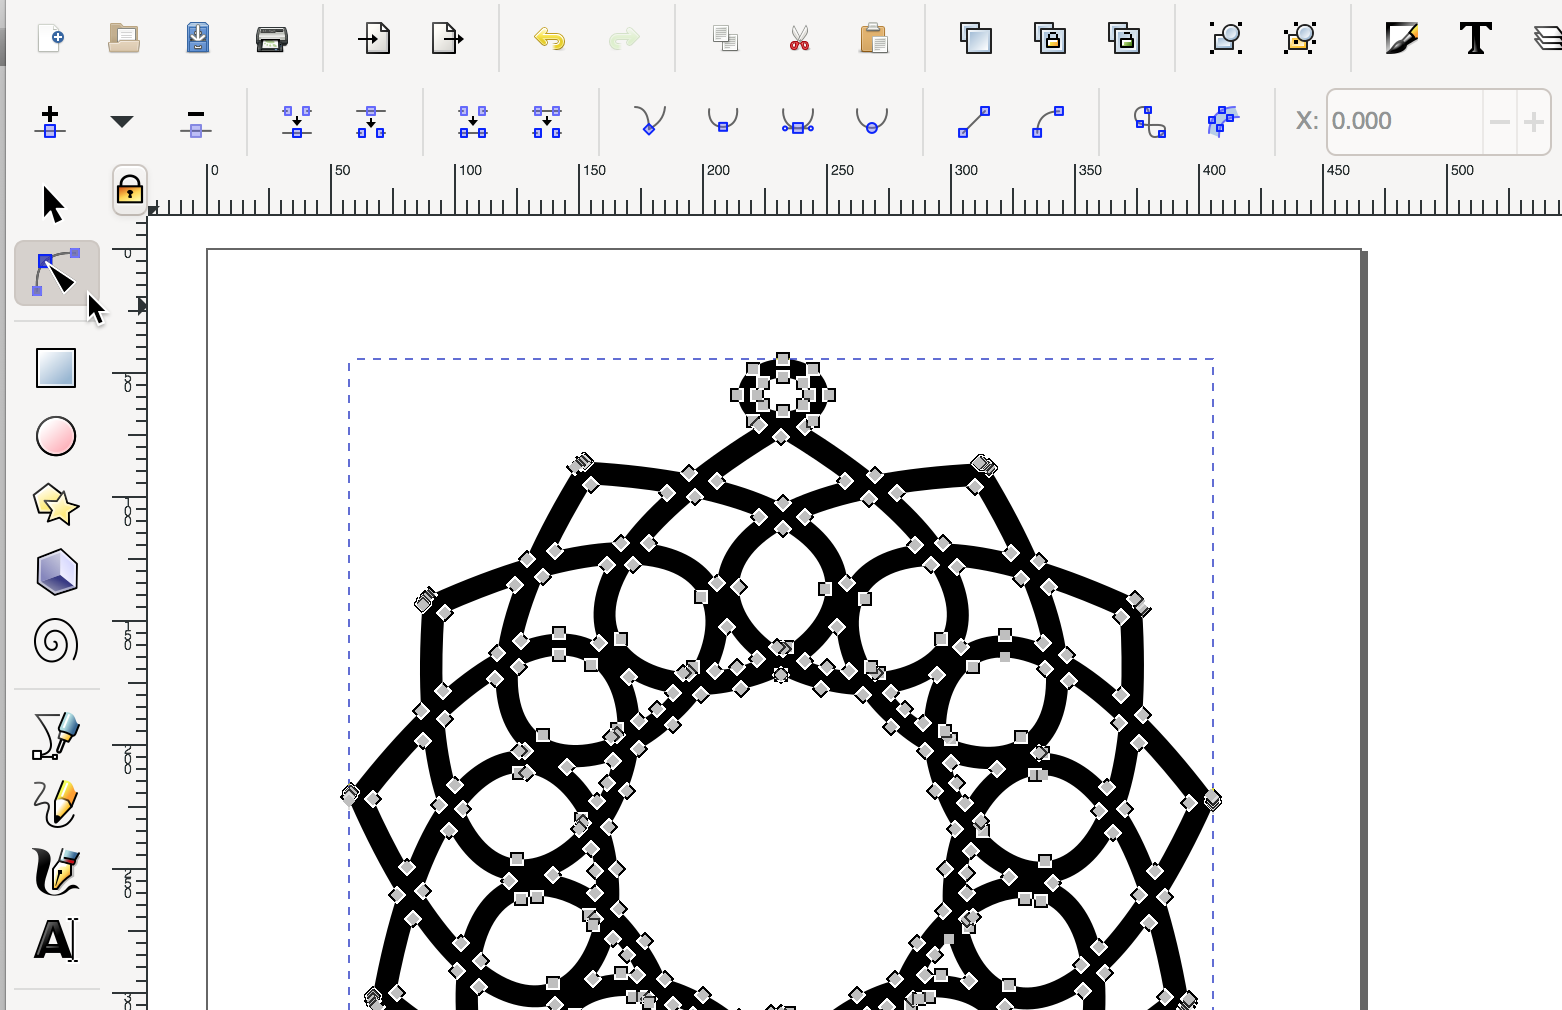
This is the file created by this section of the tutorial.
Dreamcatcher SVG With Hook Circle