Convert SVG to 3D Object in Blender
In this section, the SVG shape gets converted to a mesh and is given height.
What is a mesh?
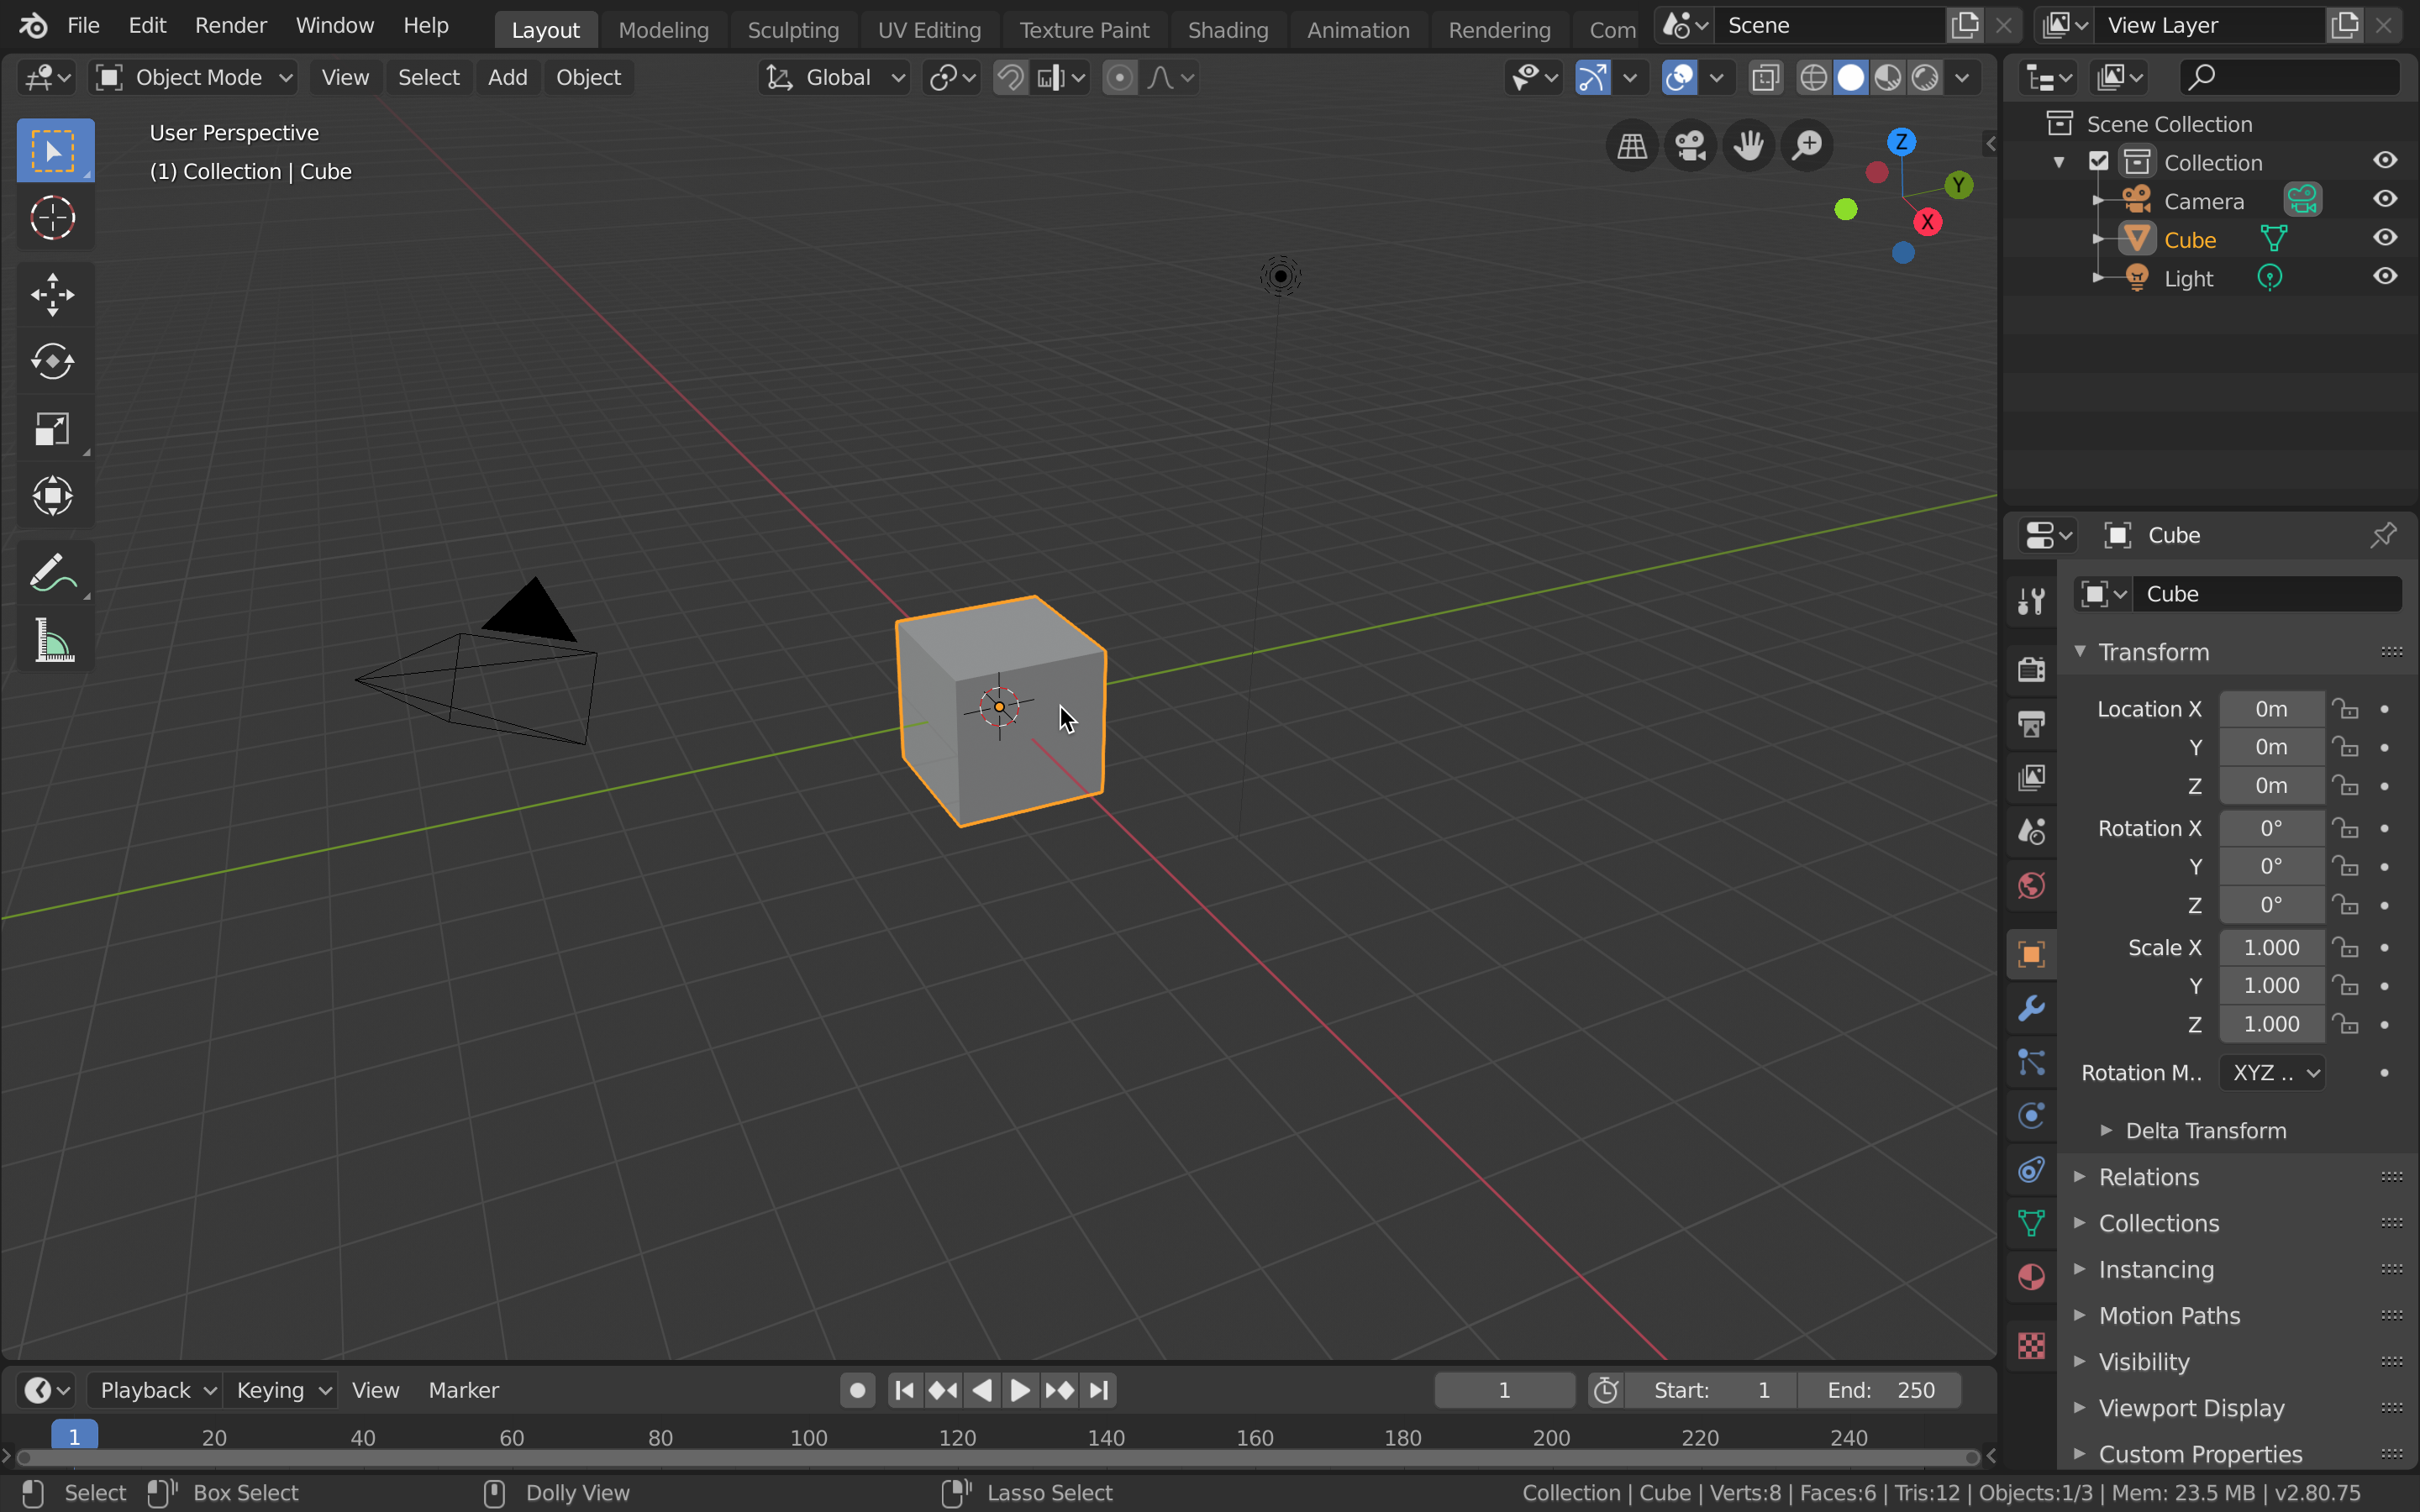
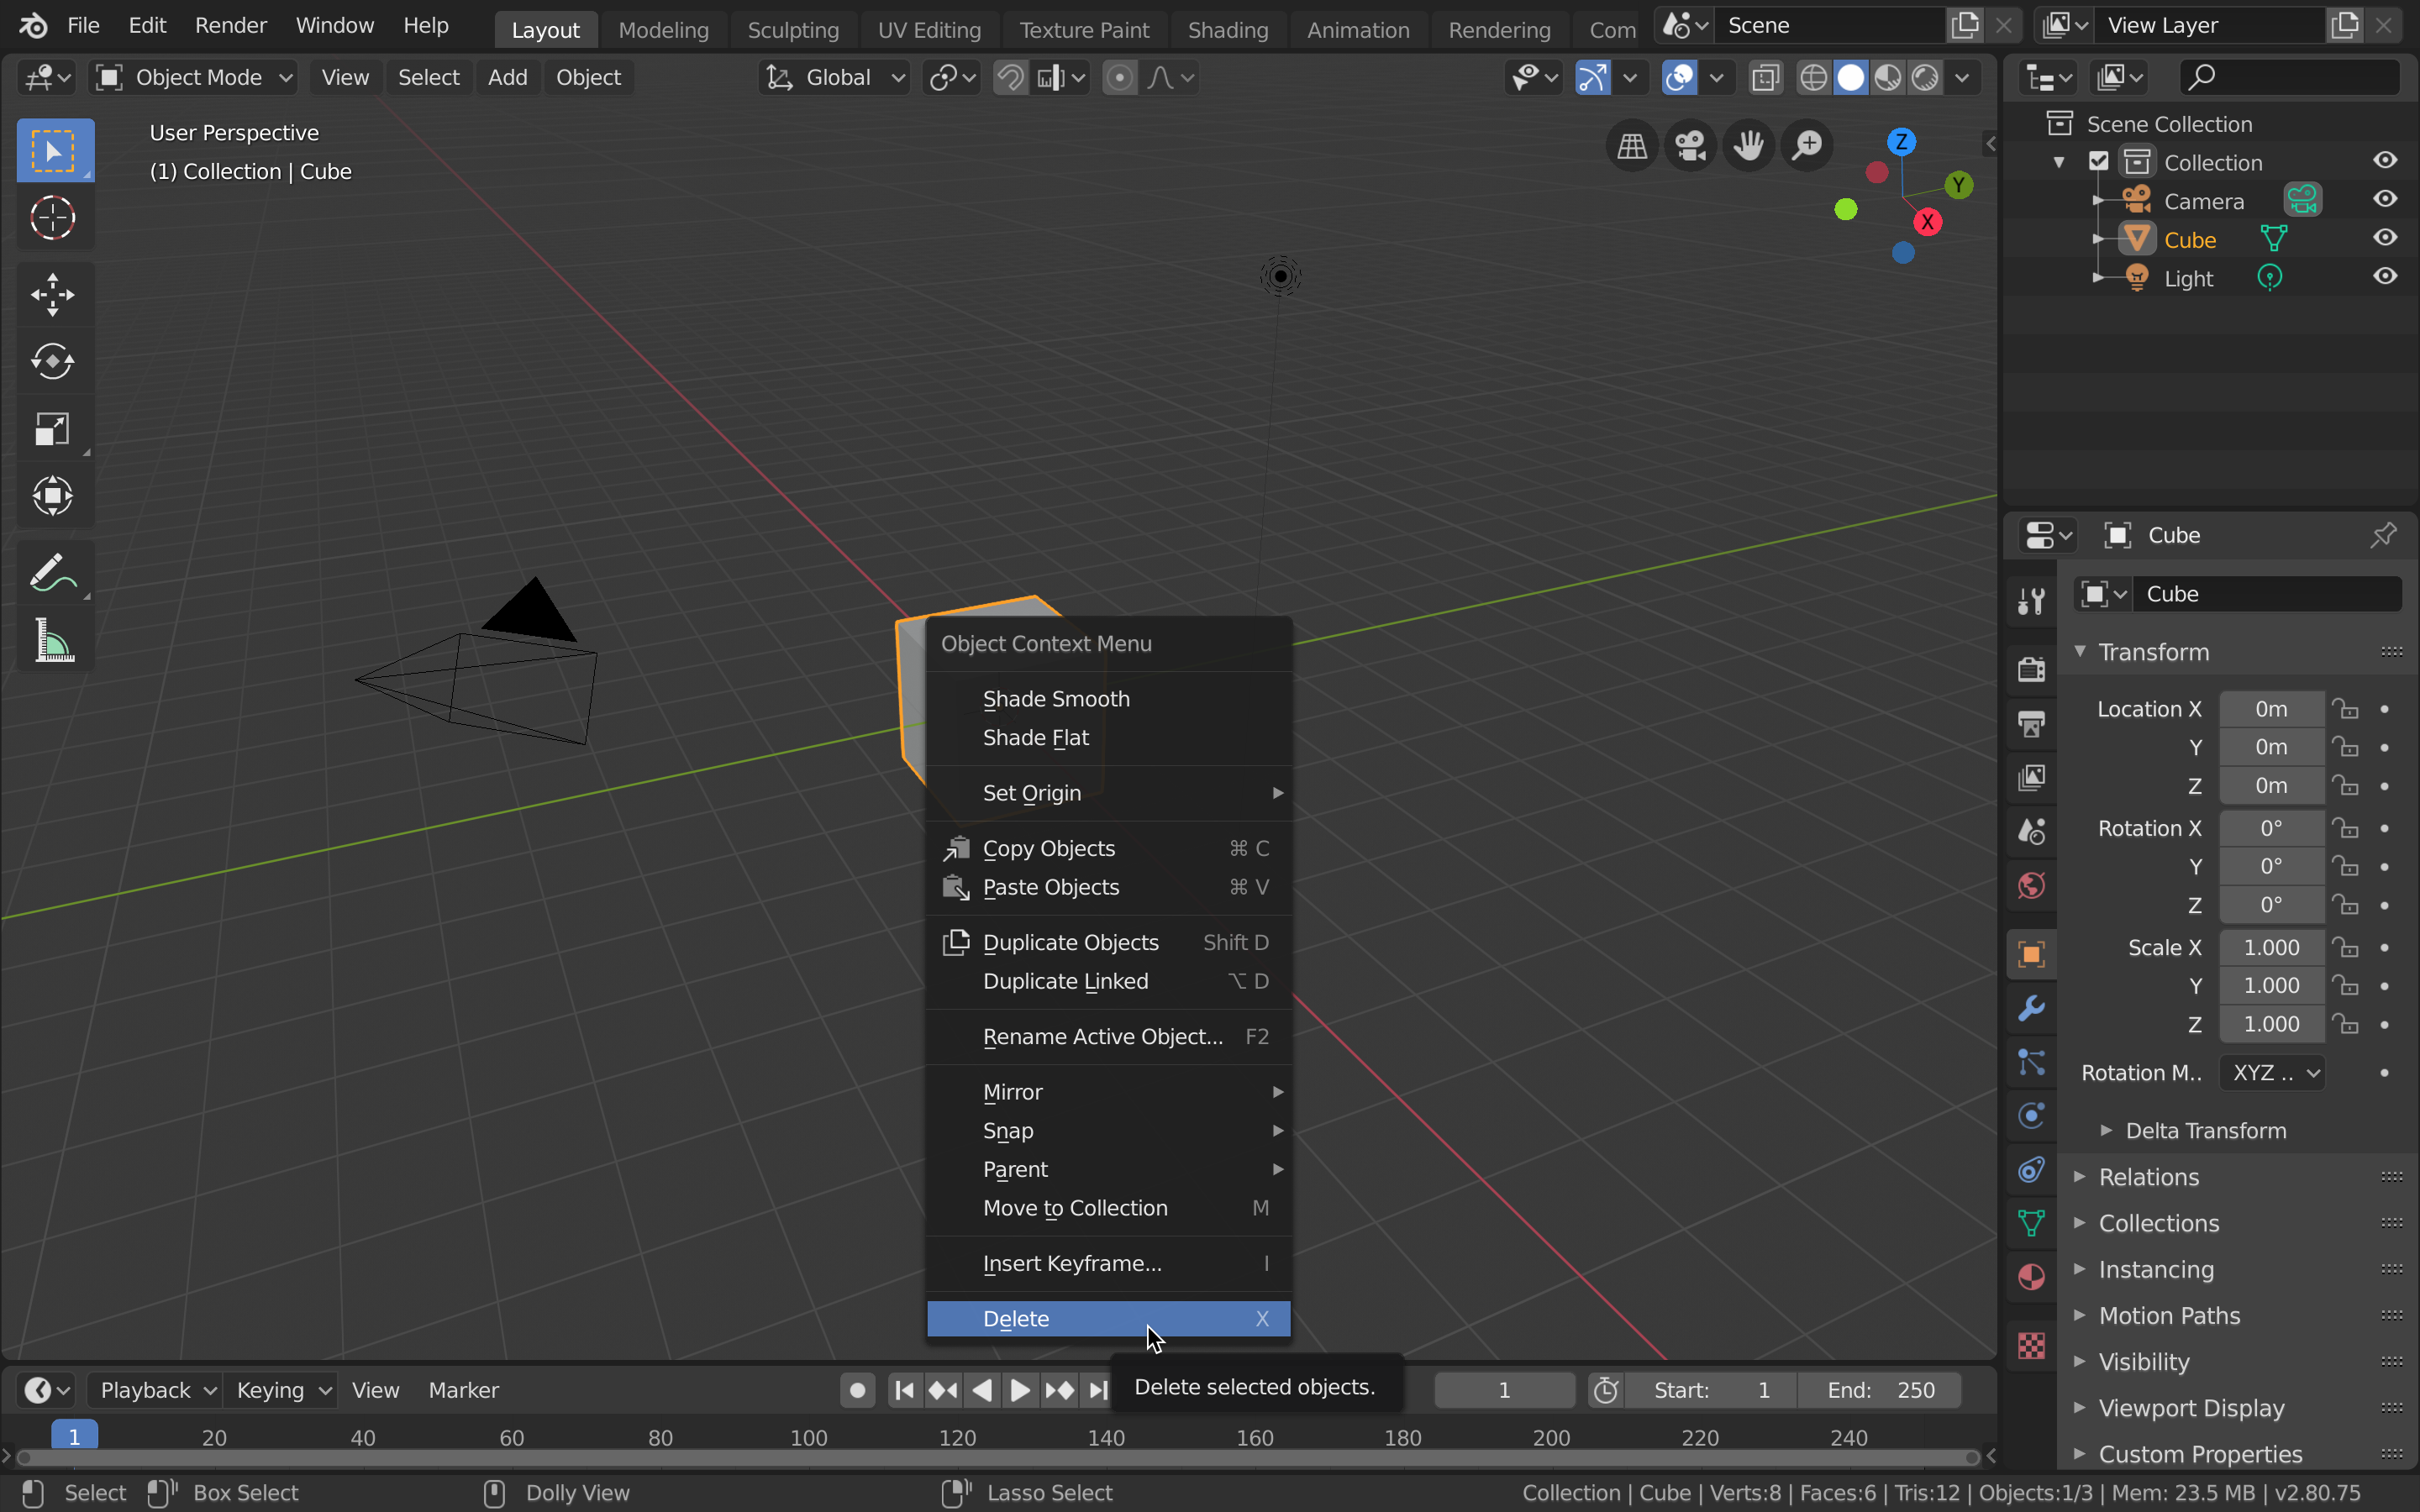
- Open Blender. Select the default cube and delete it (right-click, delete).
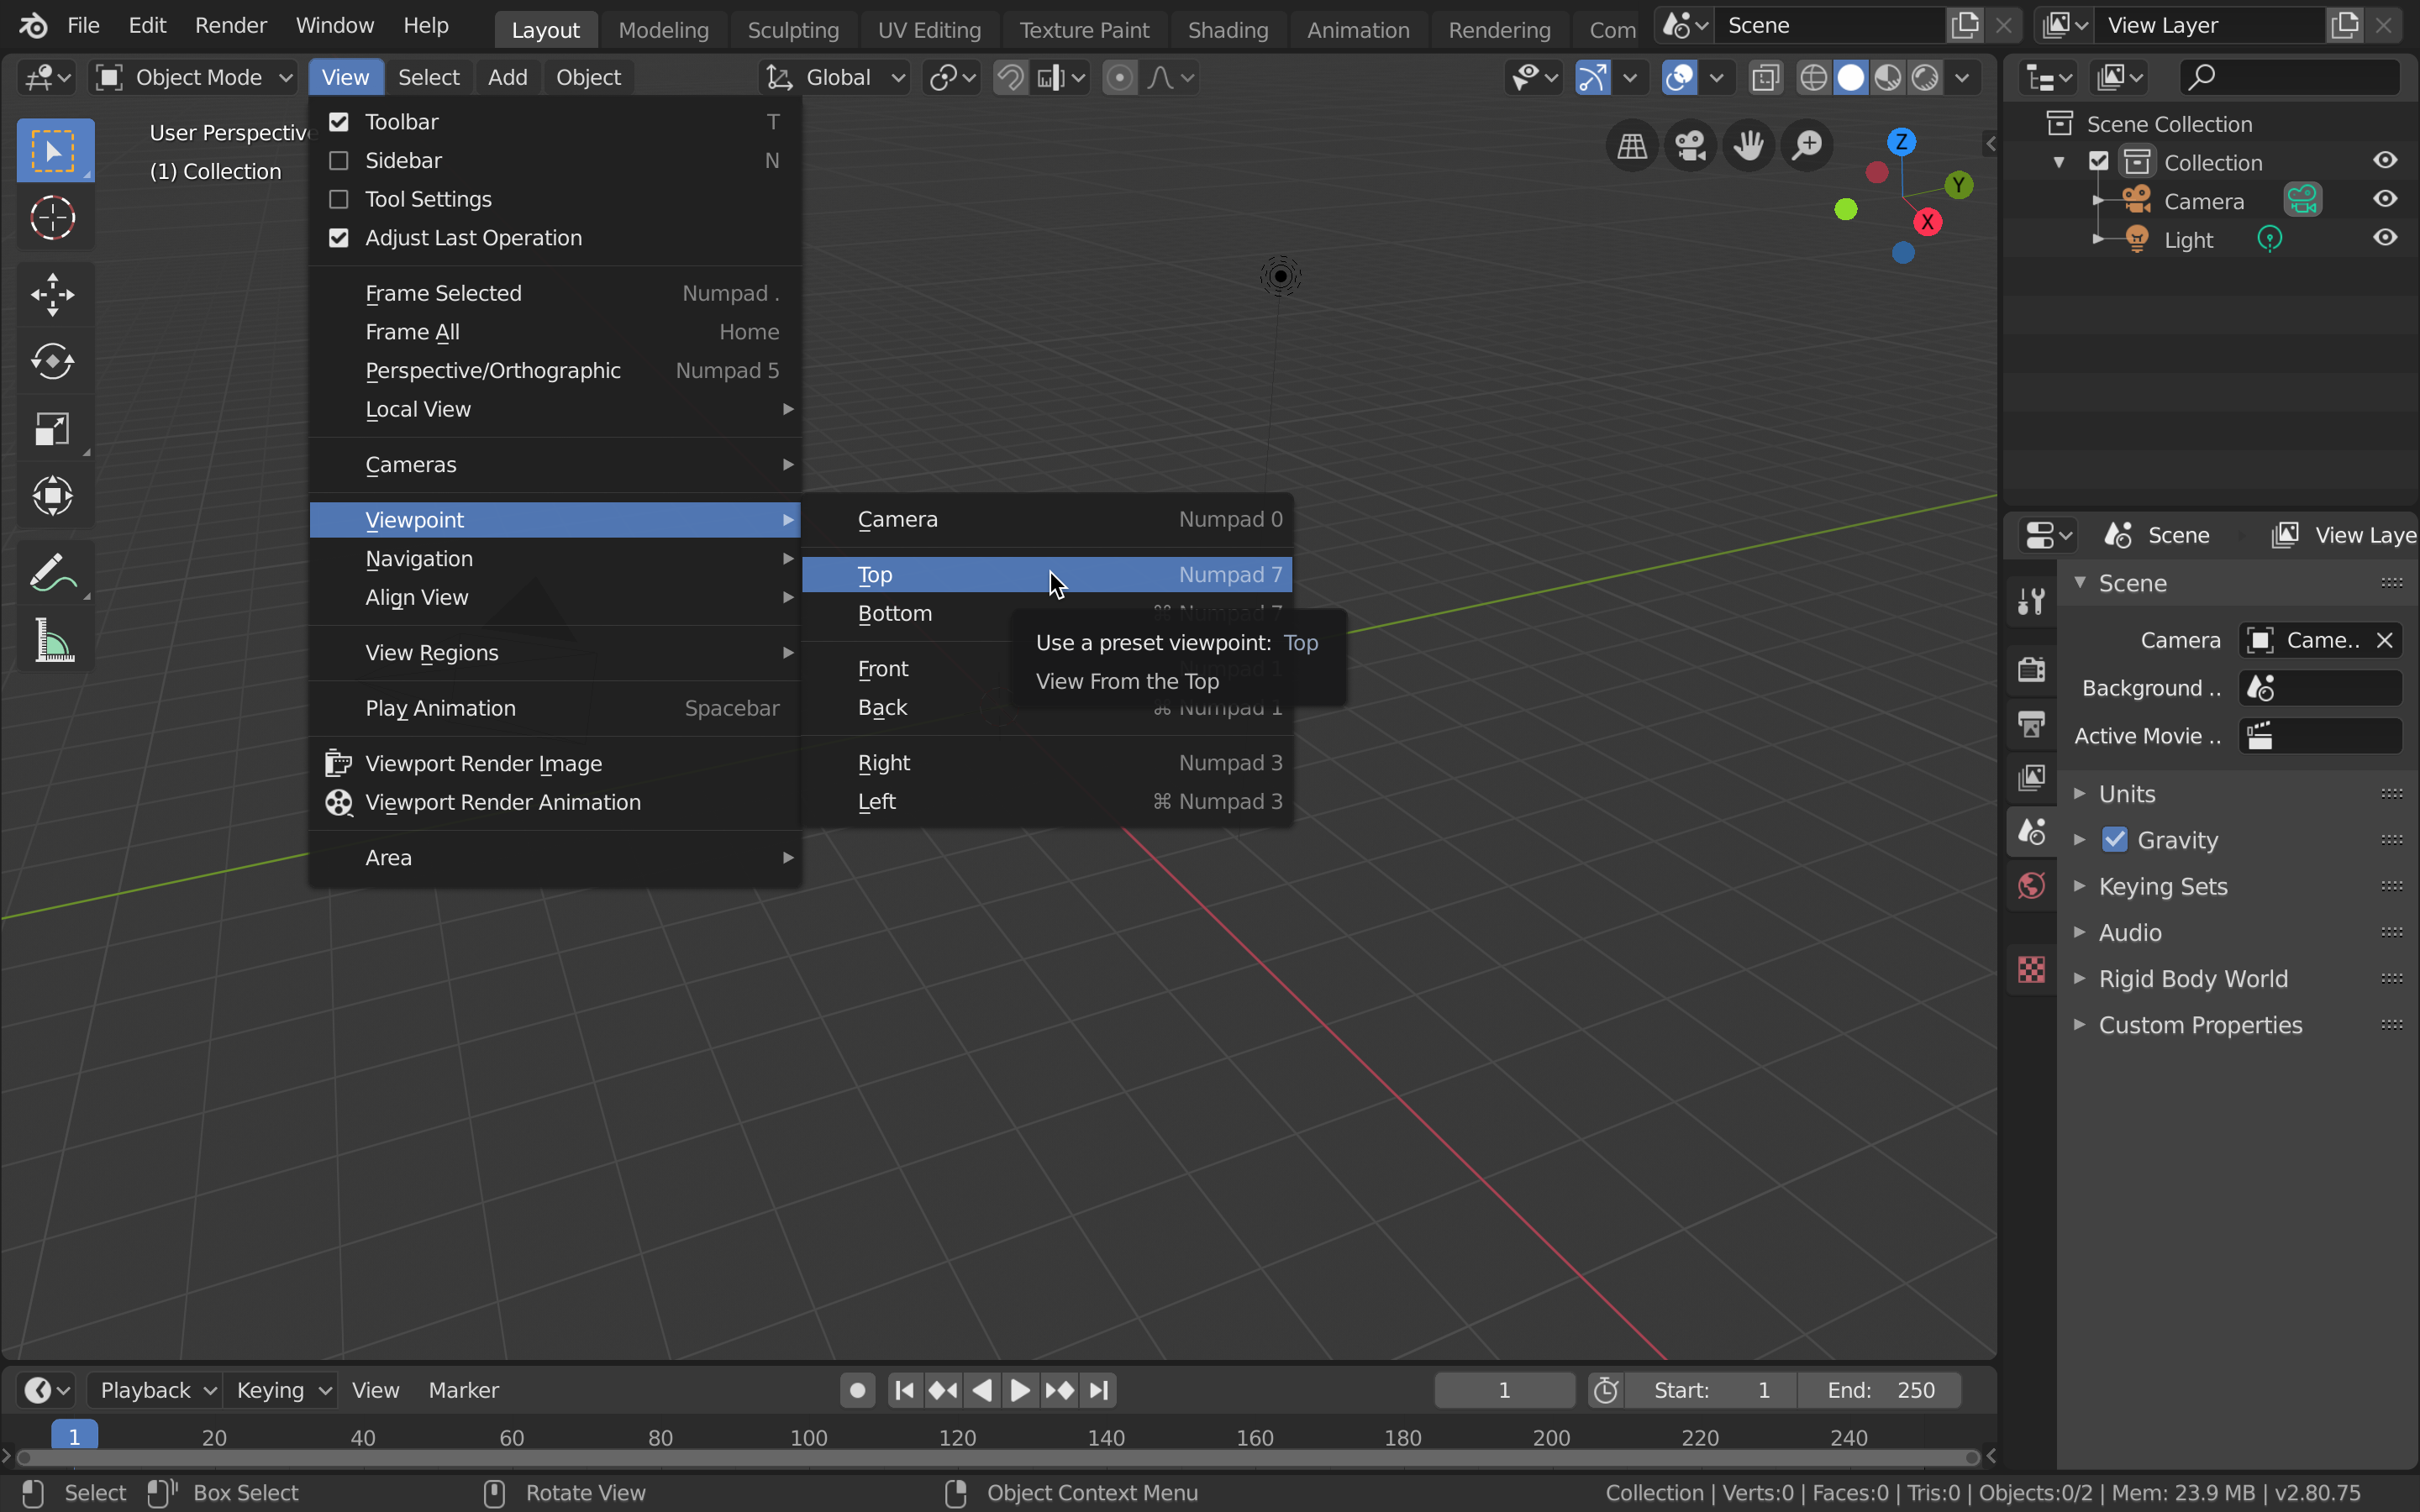
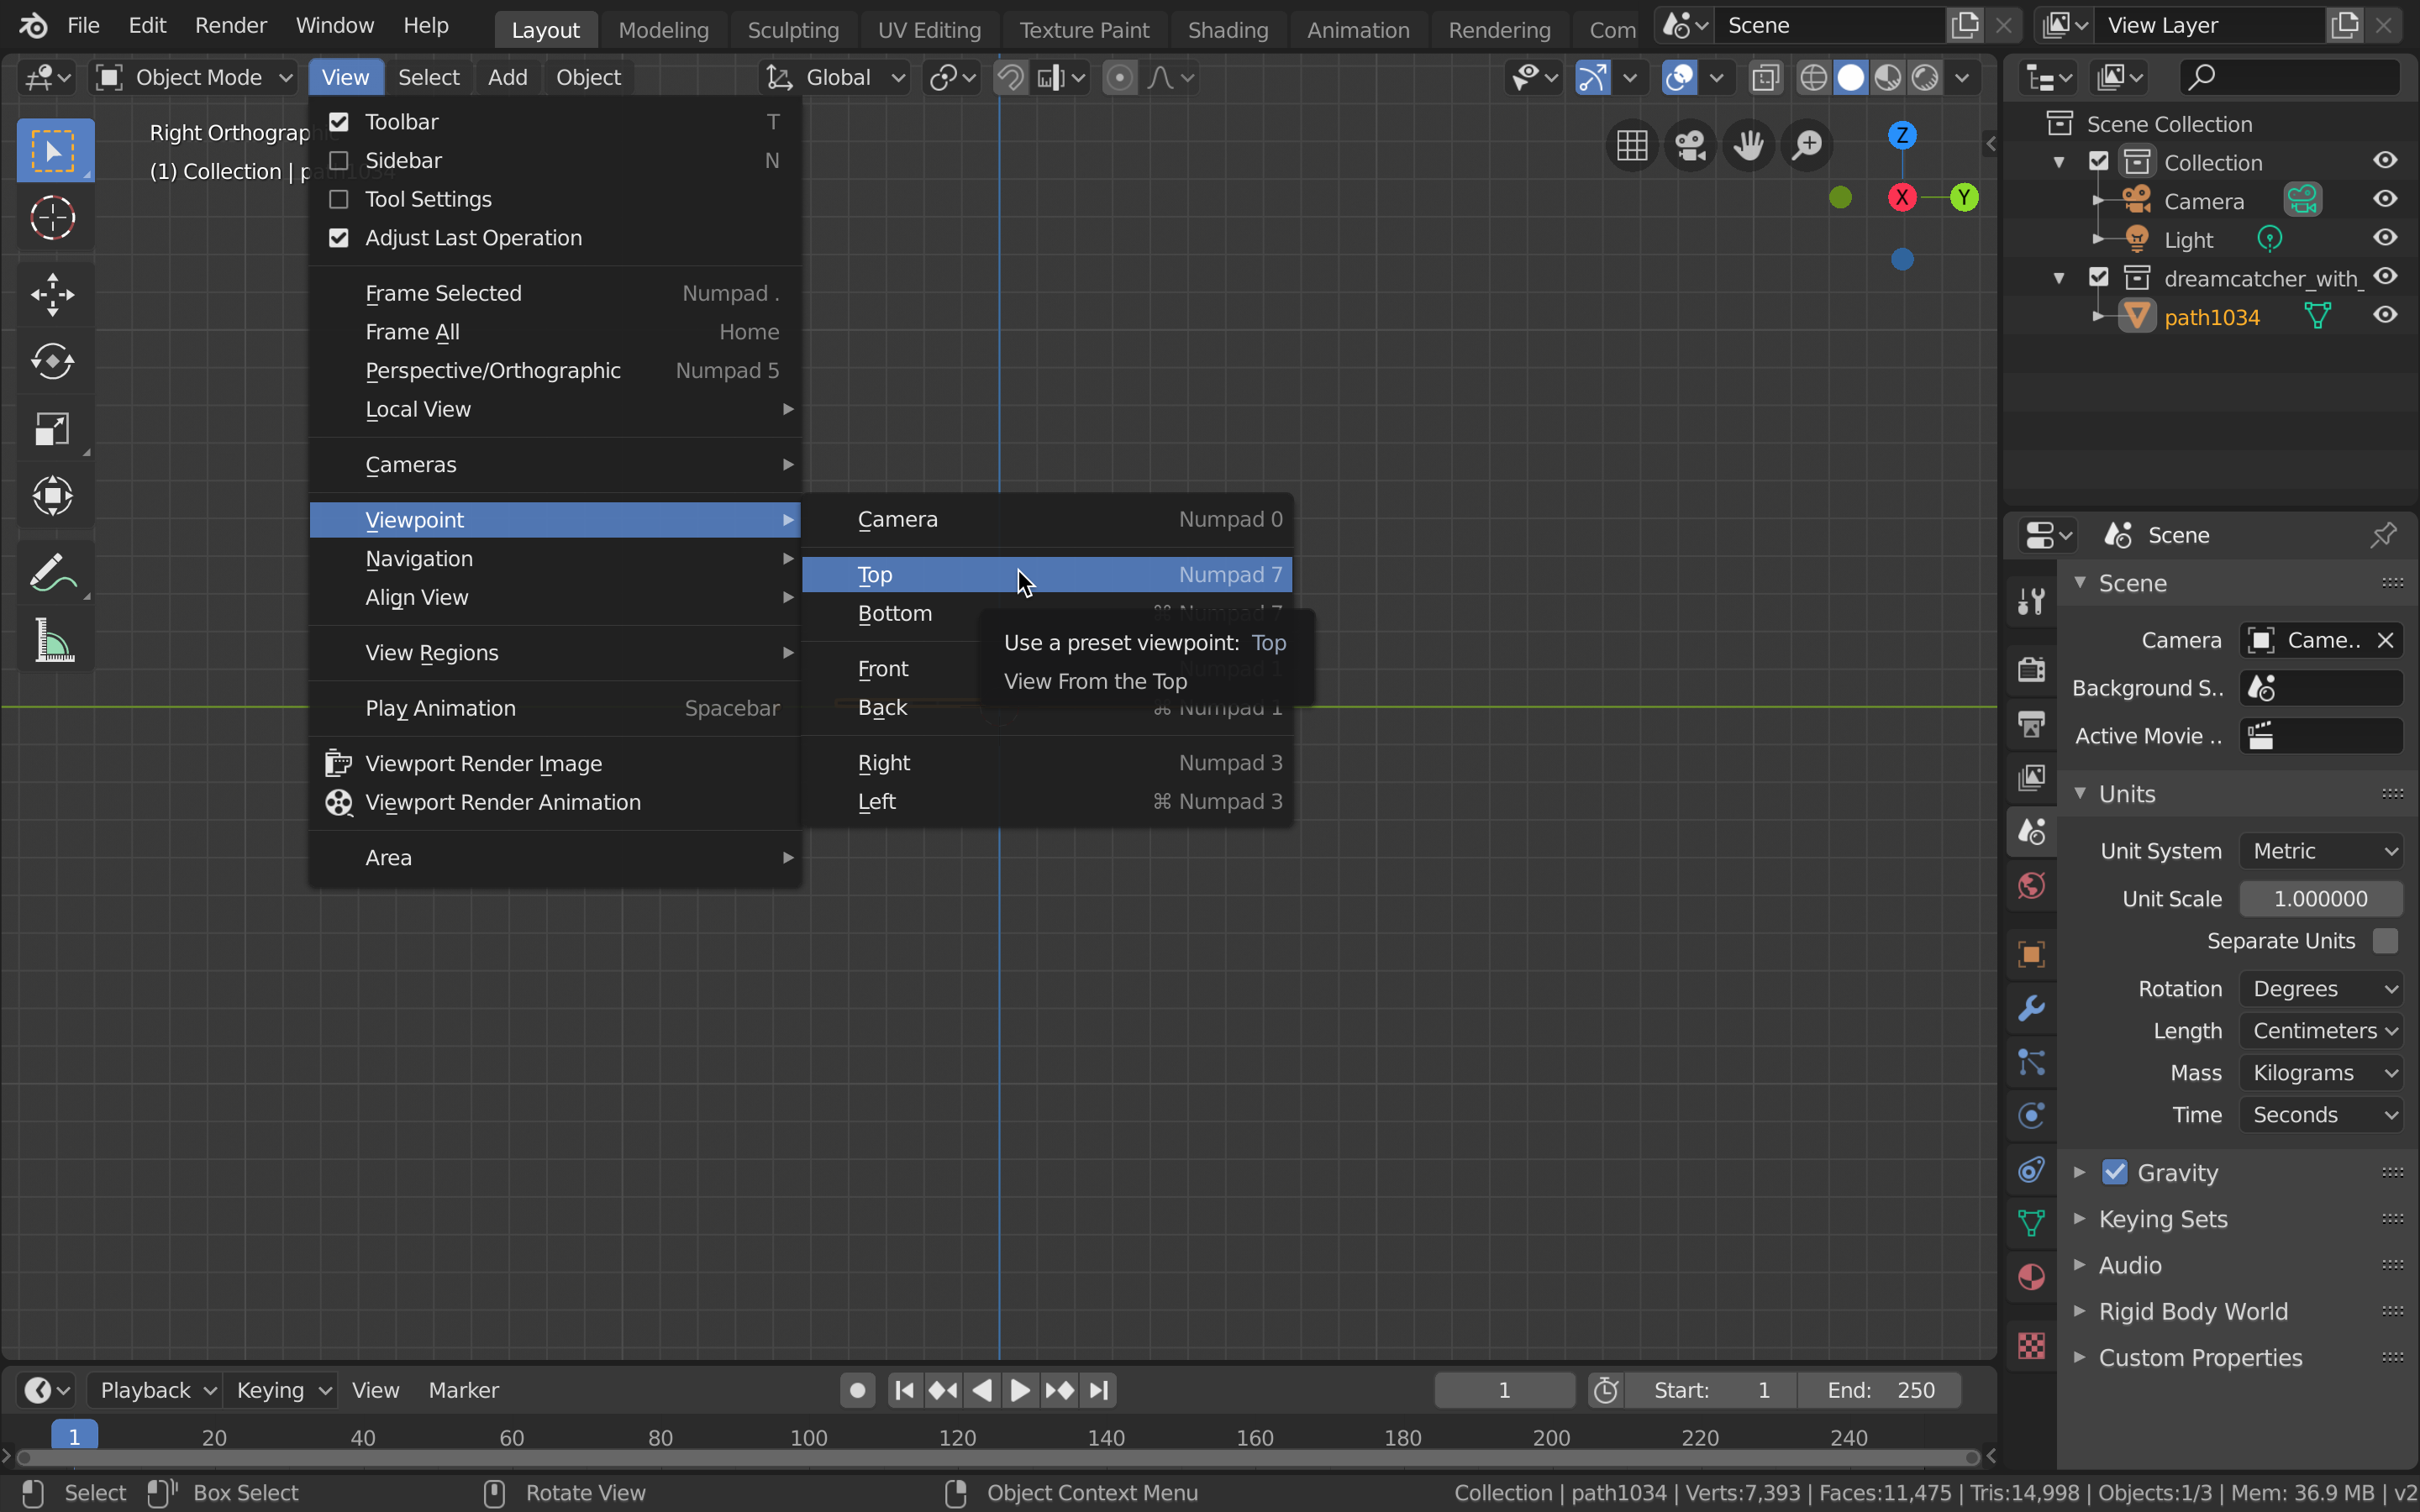
- Change viewpoint to Top.
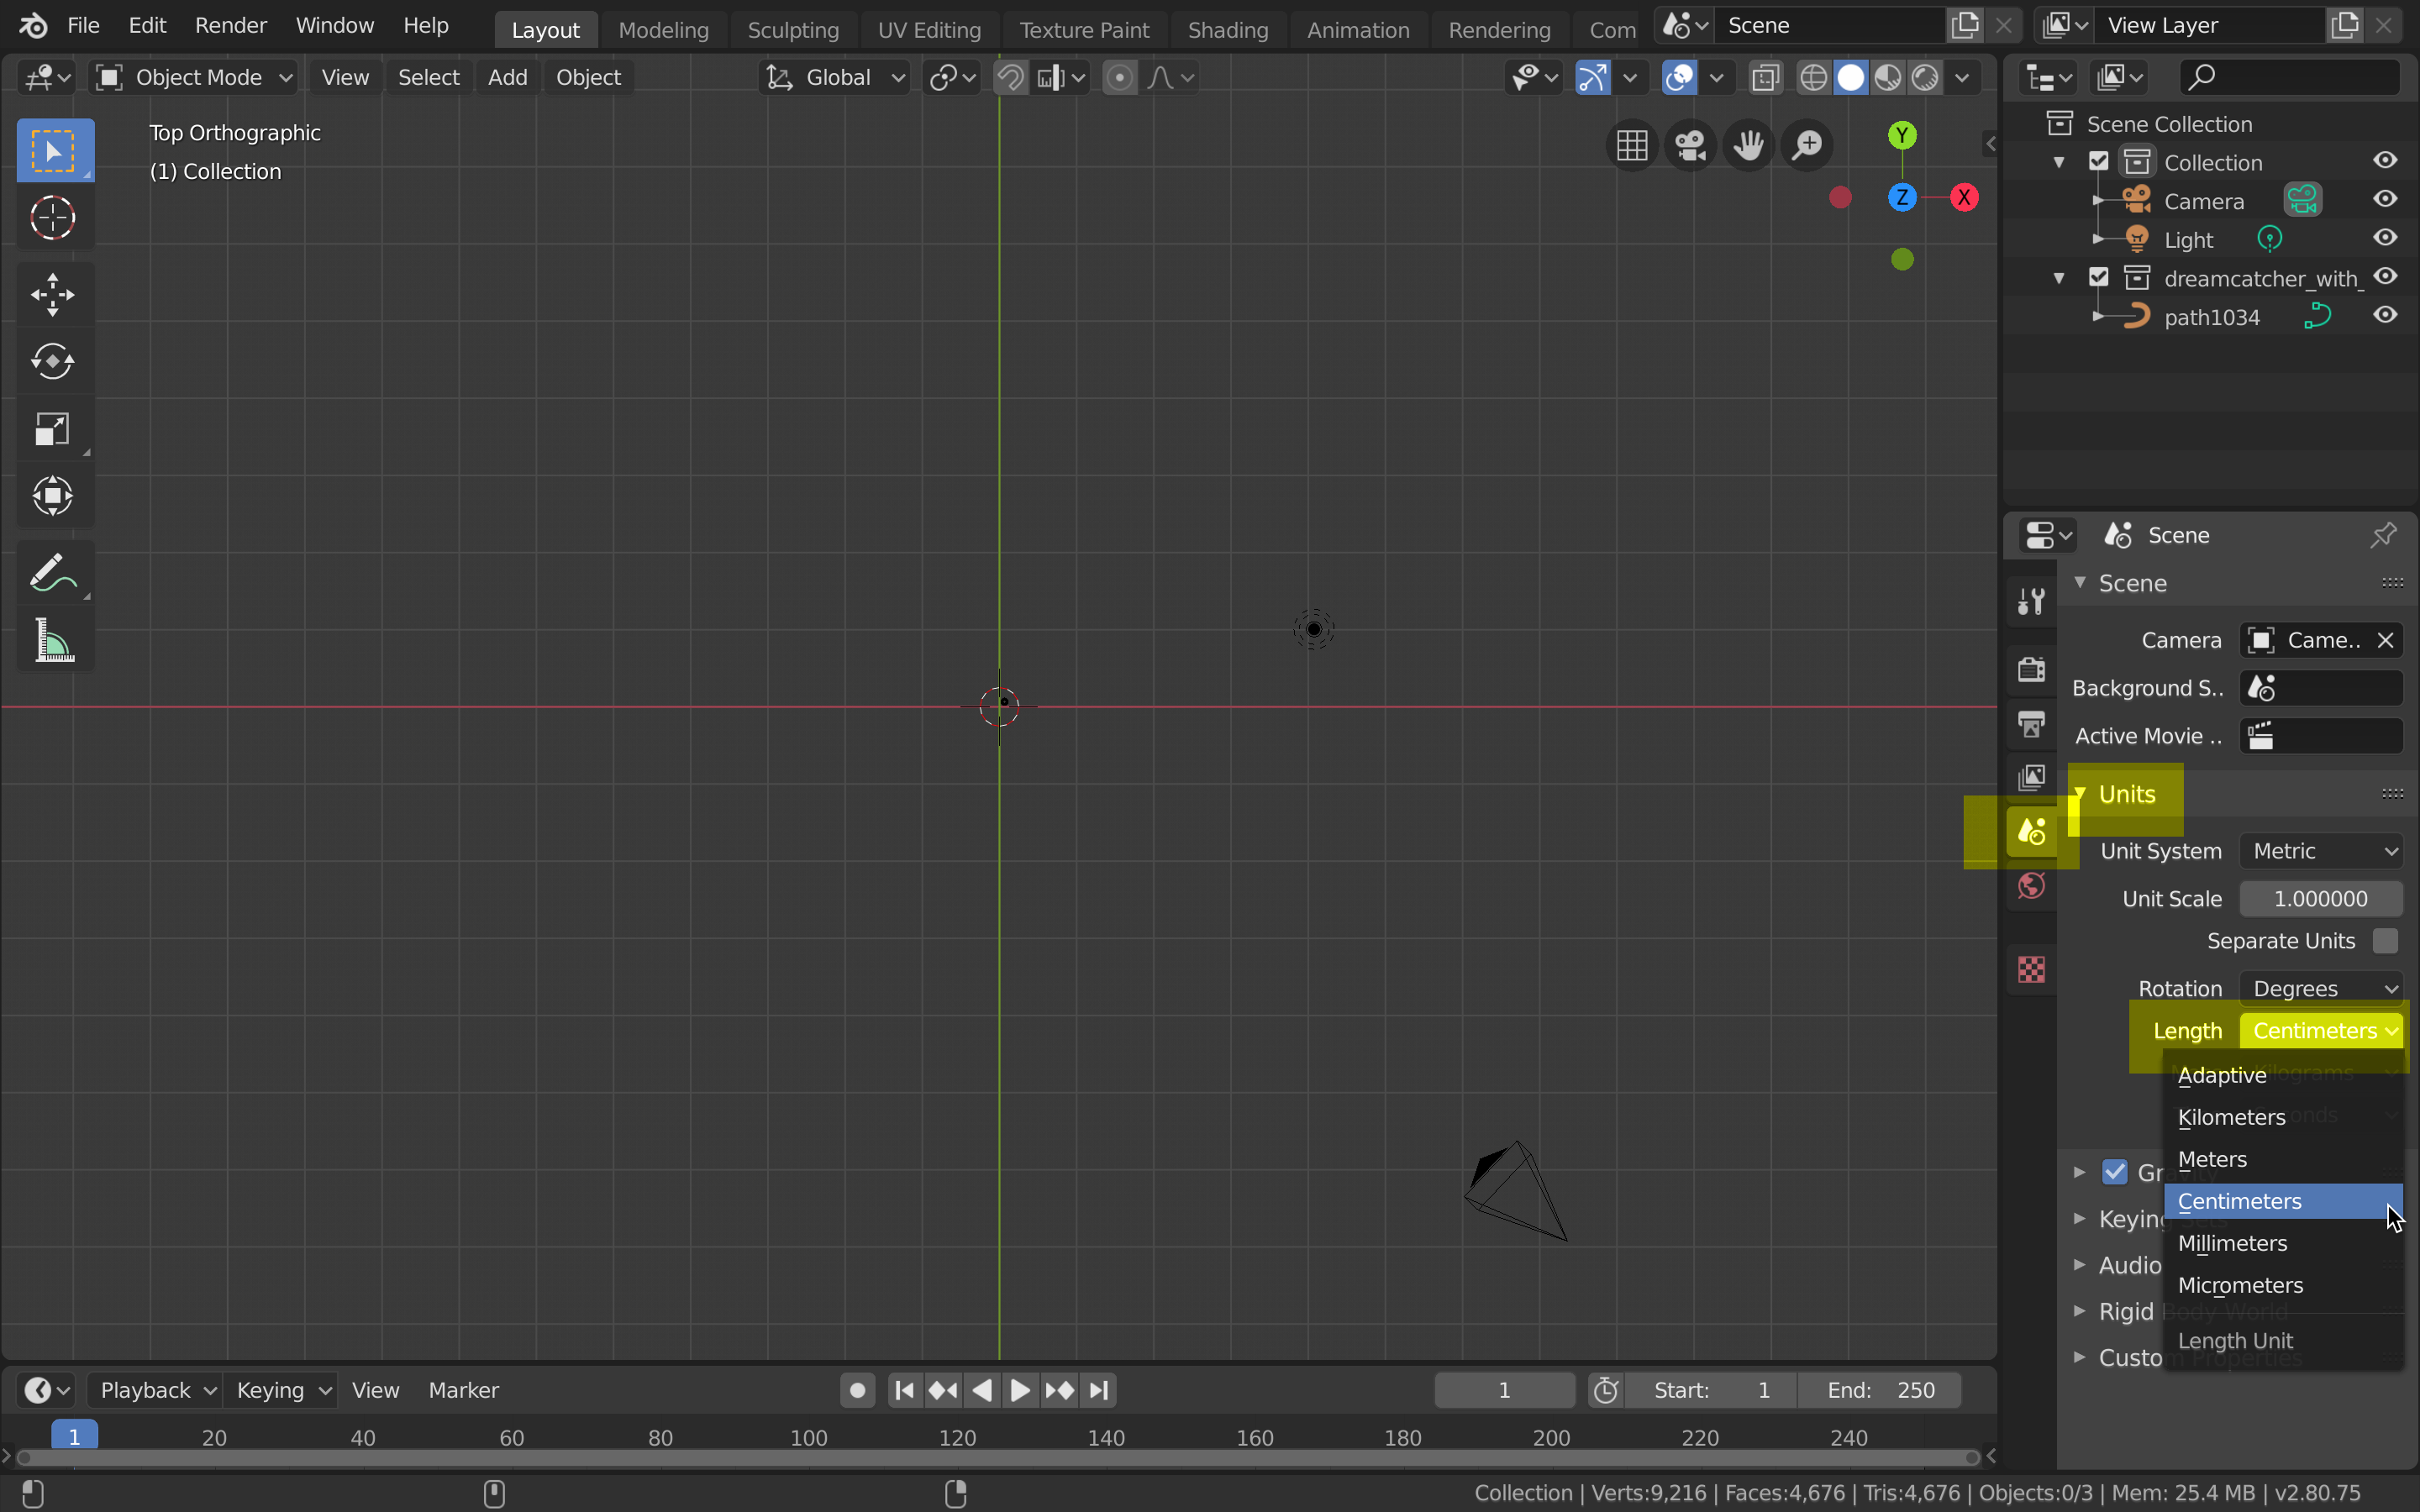
- Import your SVG.
It will import tiny and may not be immediately visible. - Change the units to centimeters.
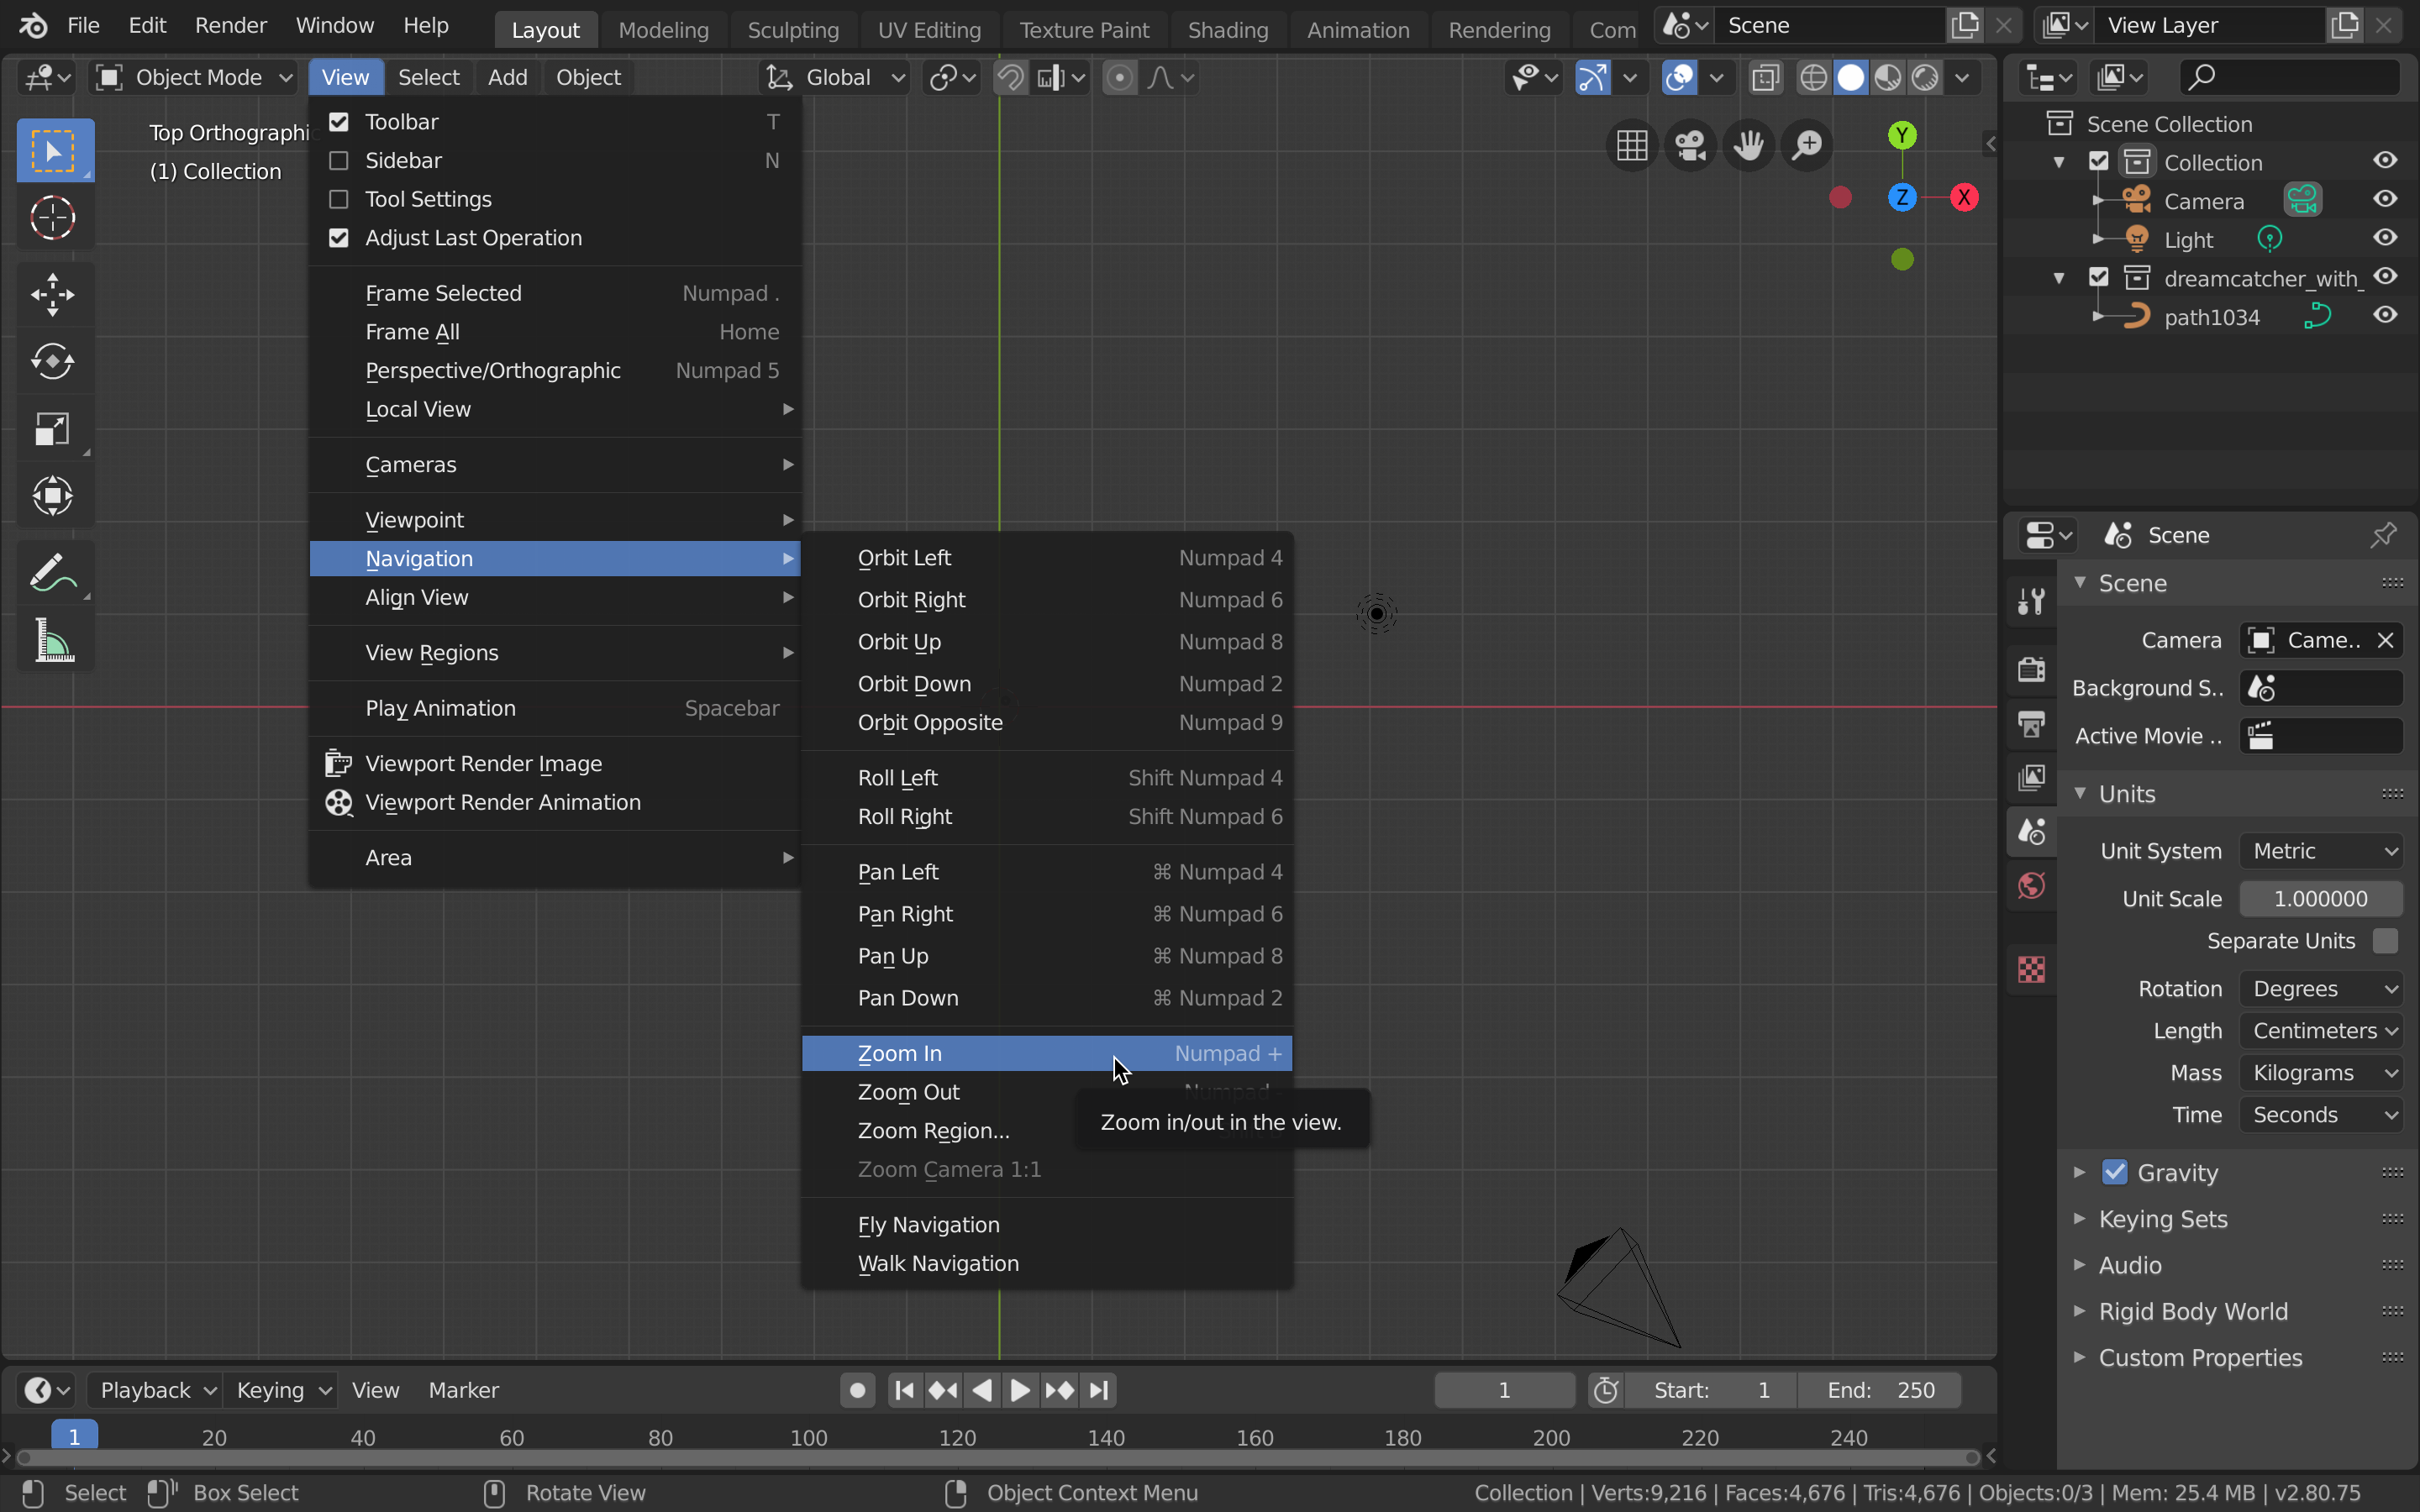
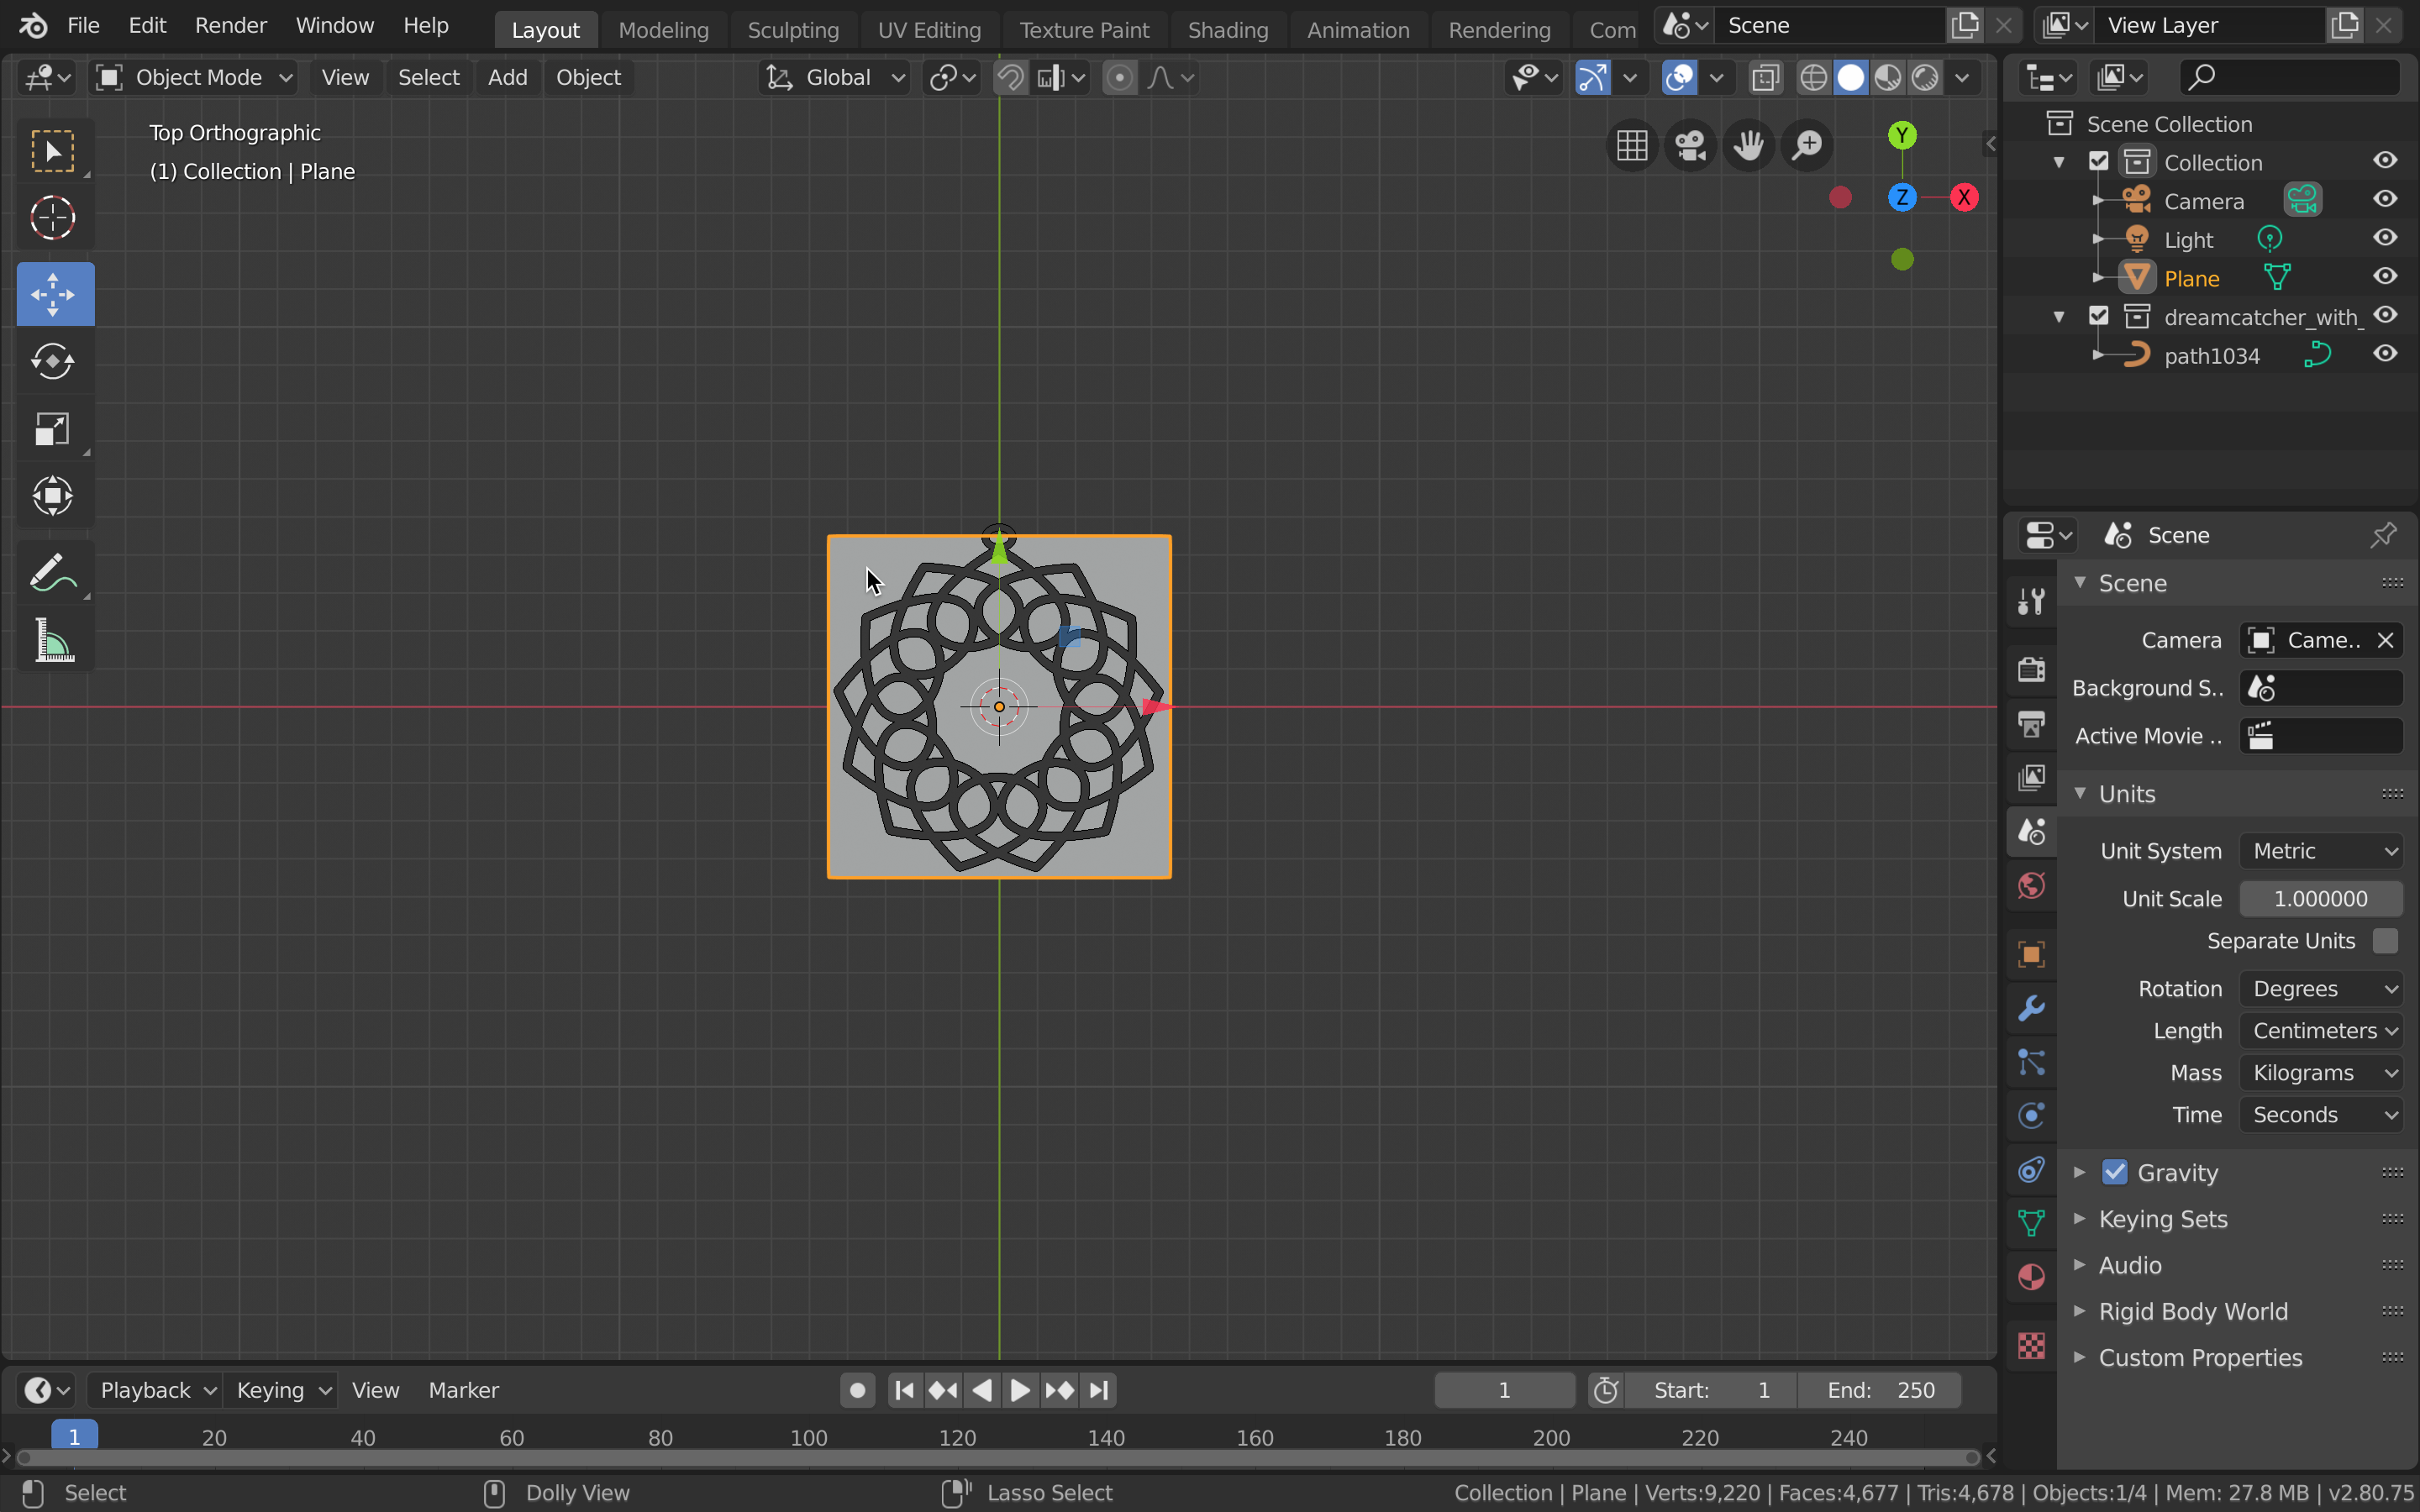
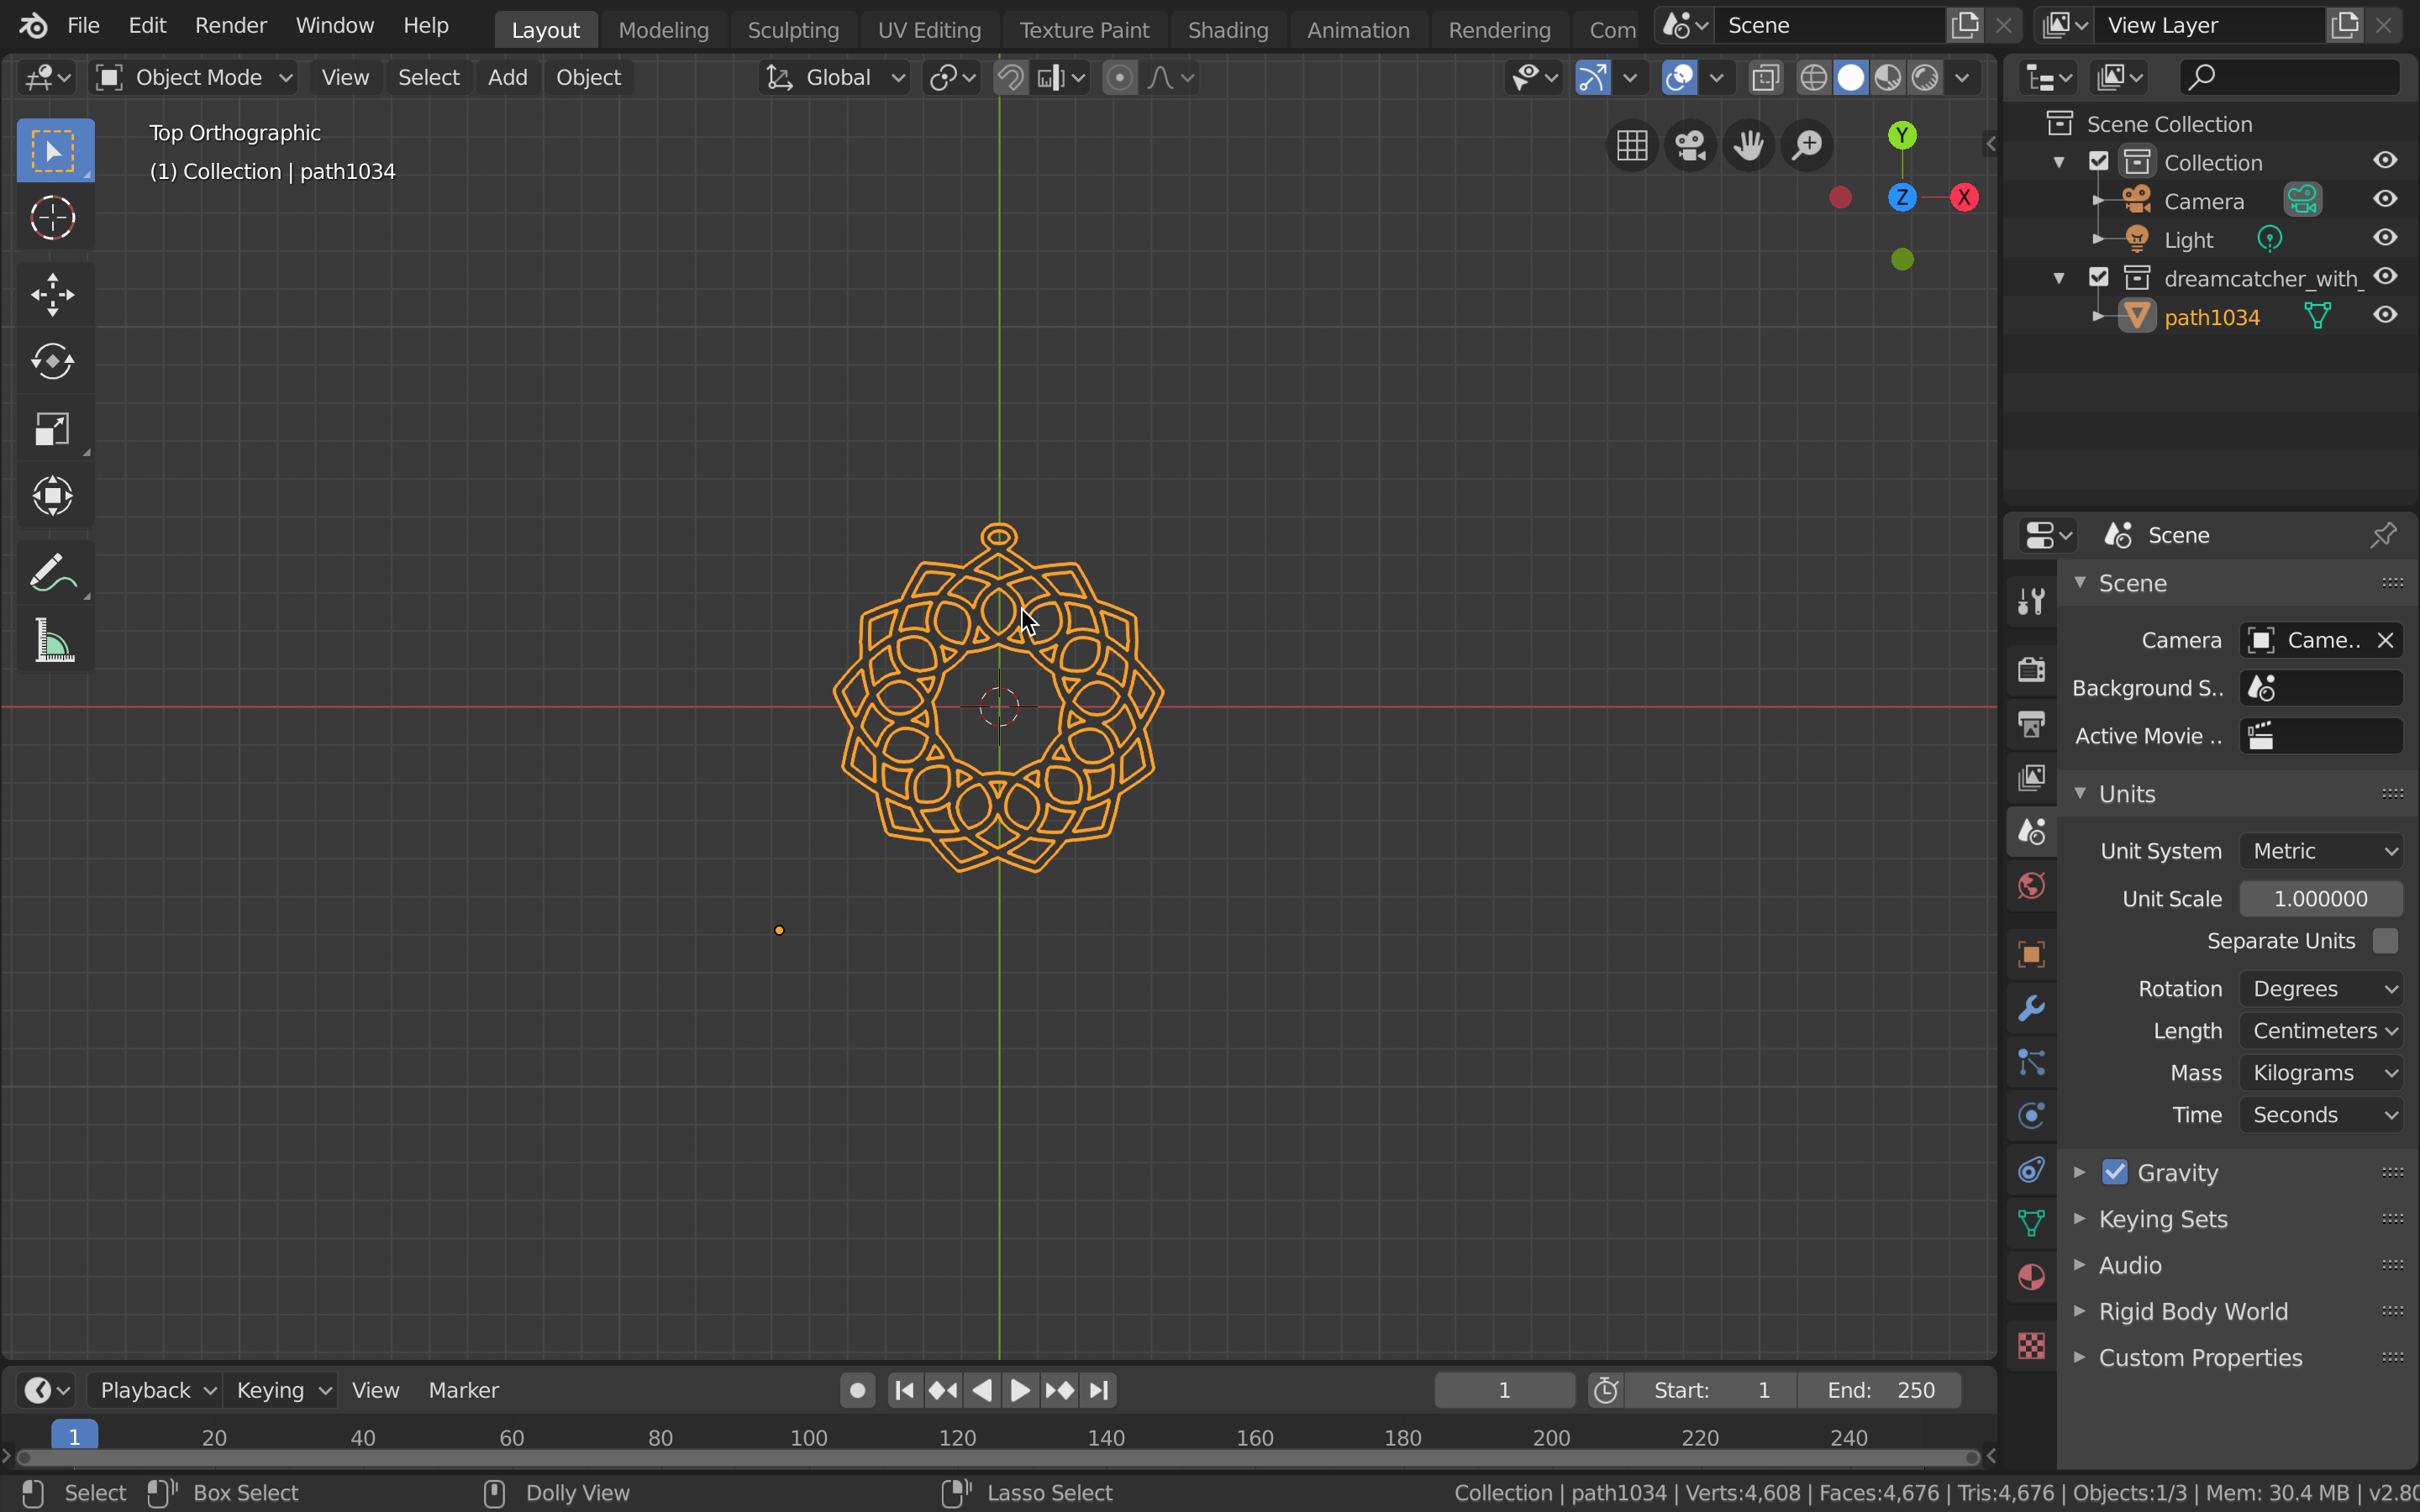
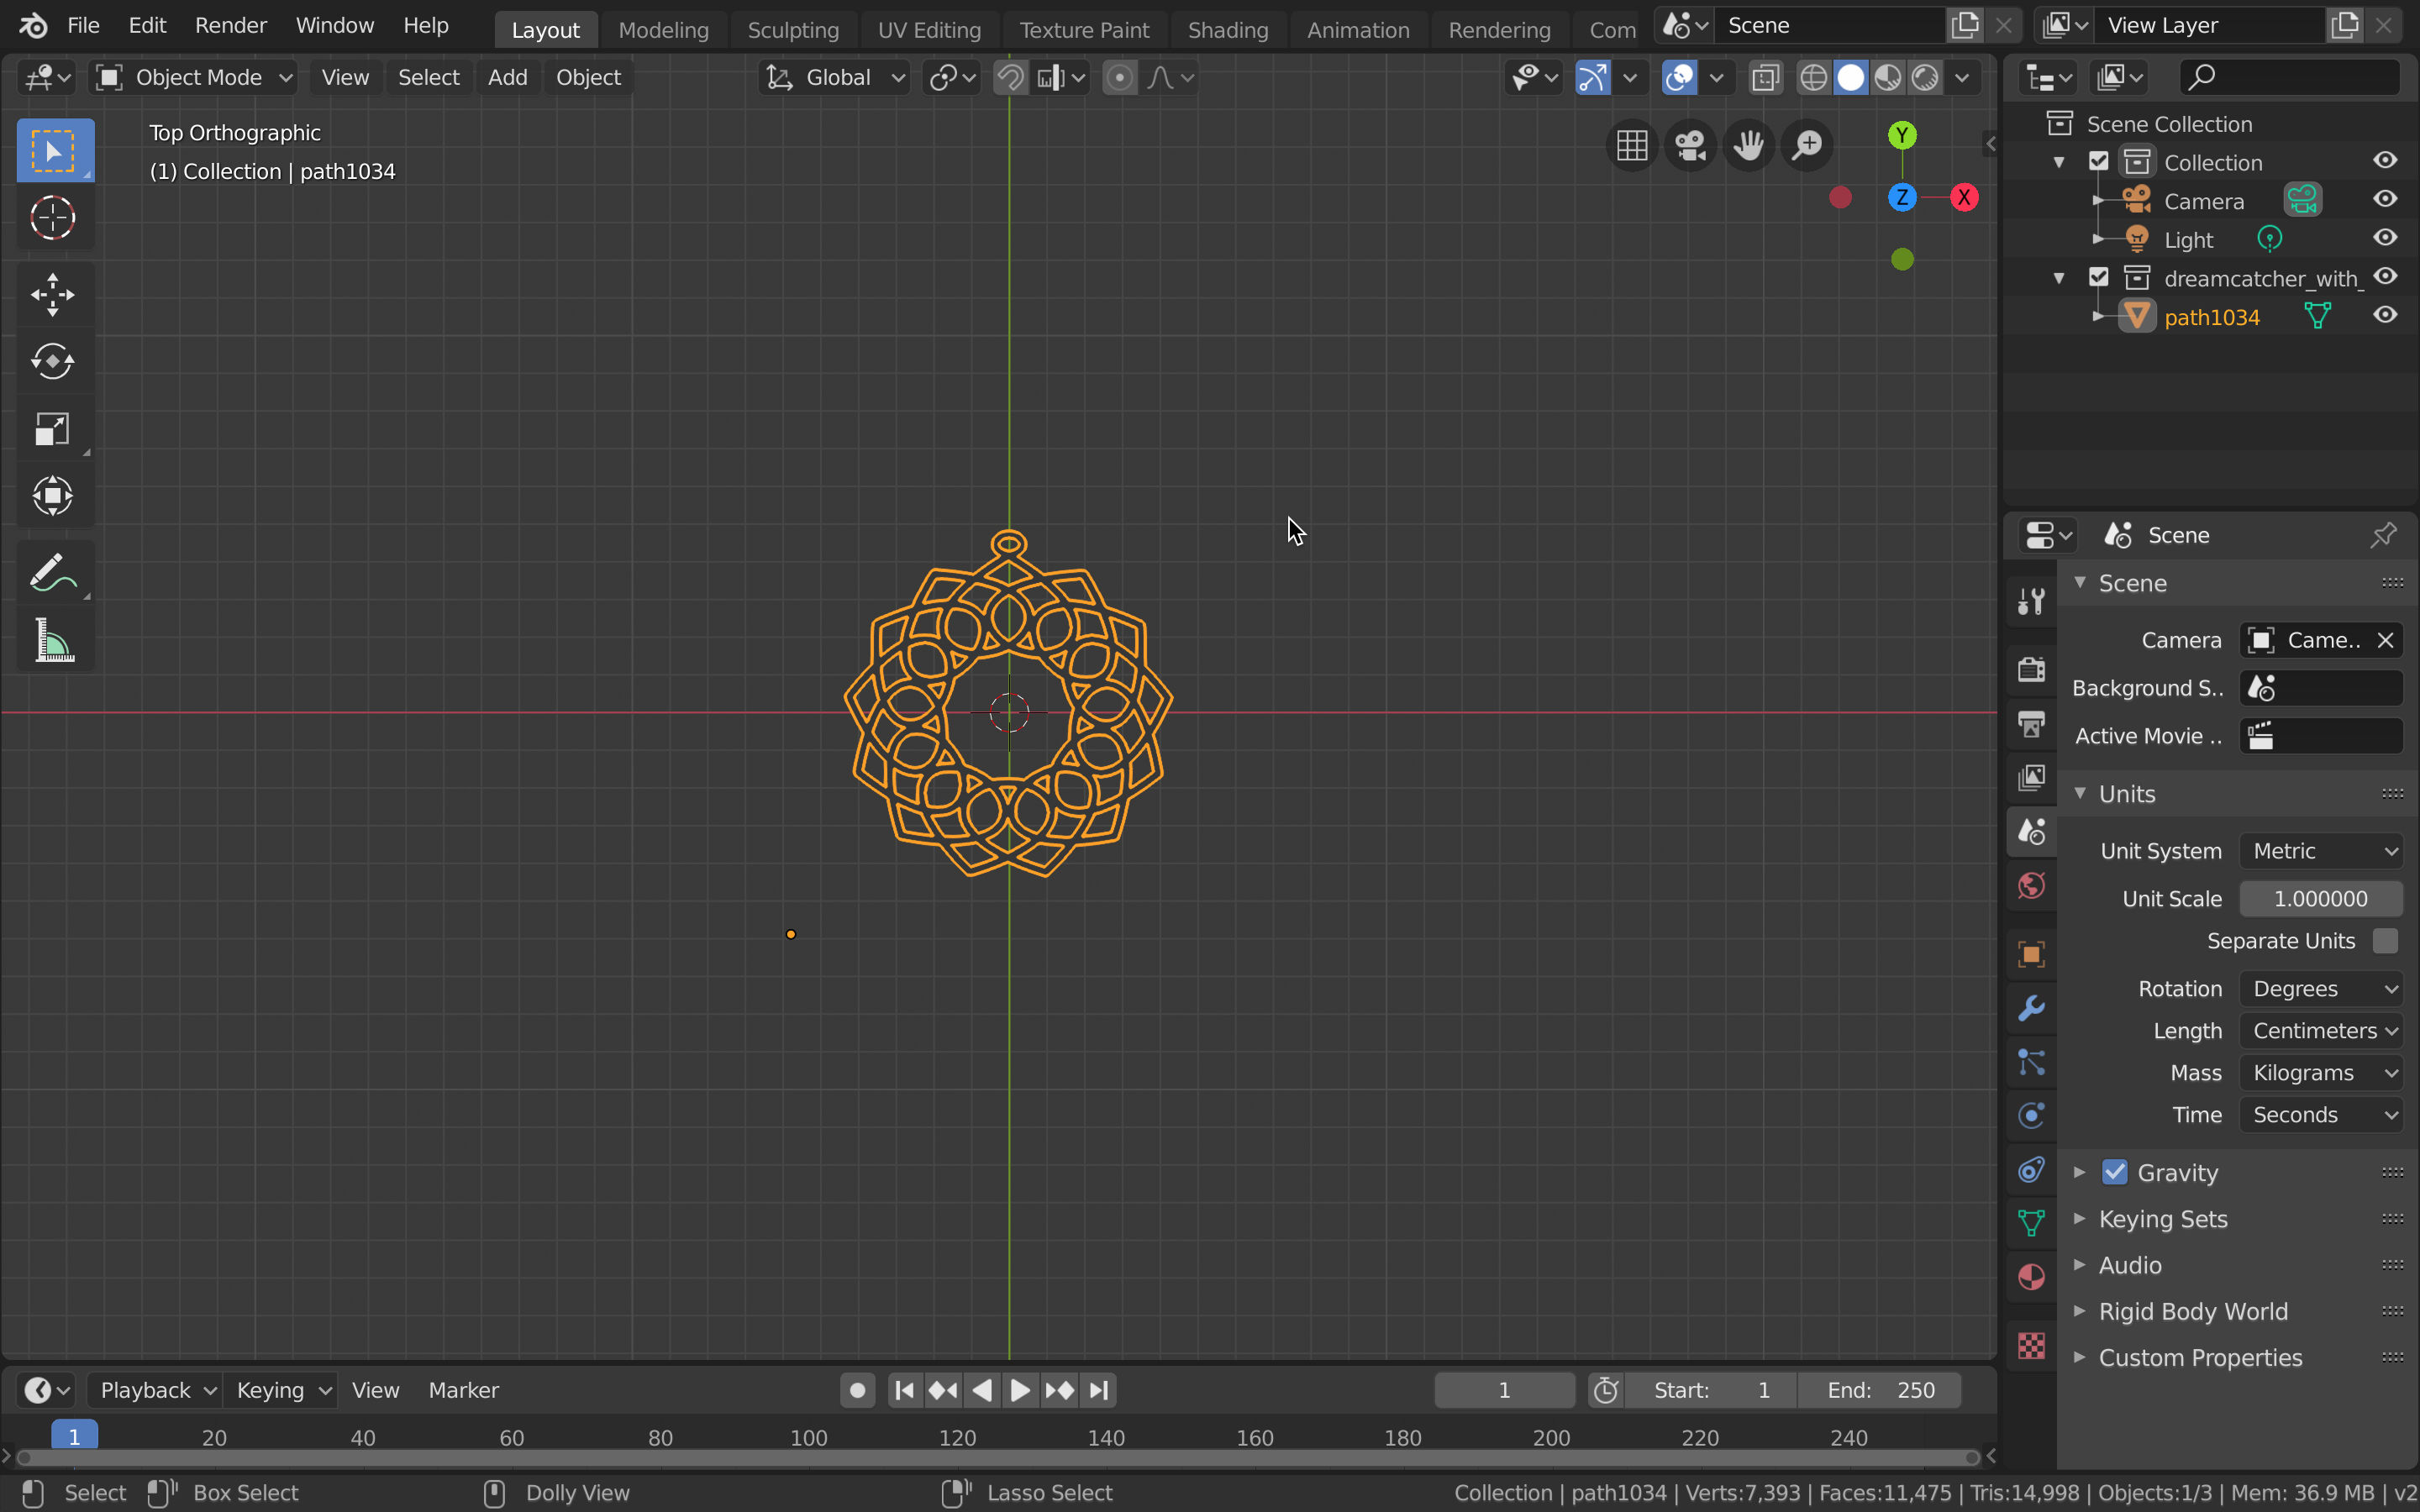
- Zoom in until you see your dreamcatcher.
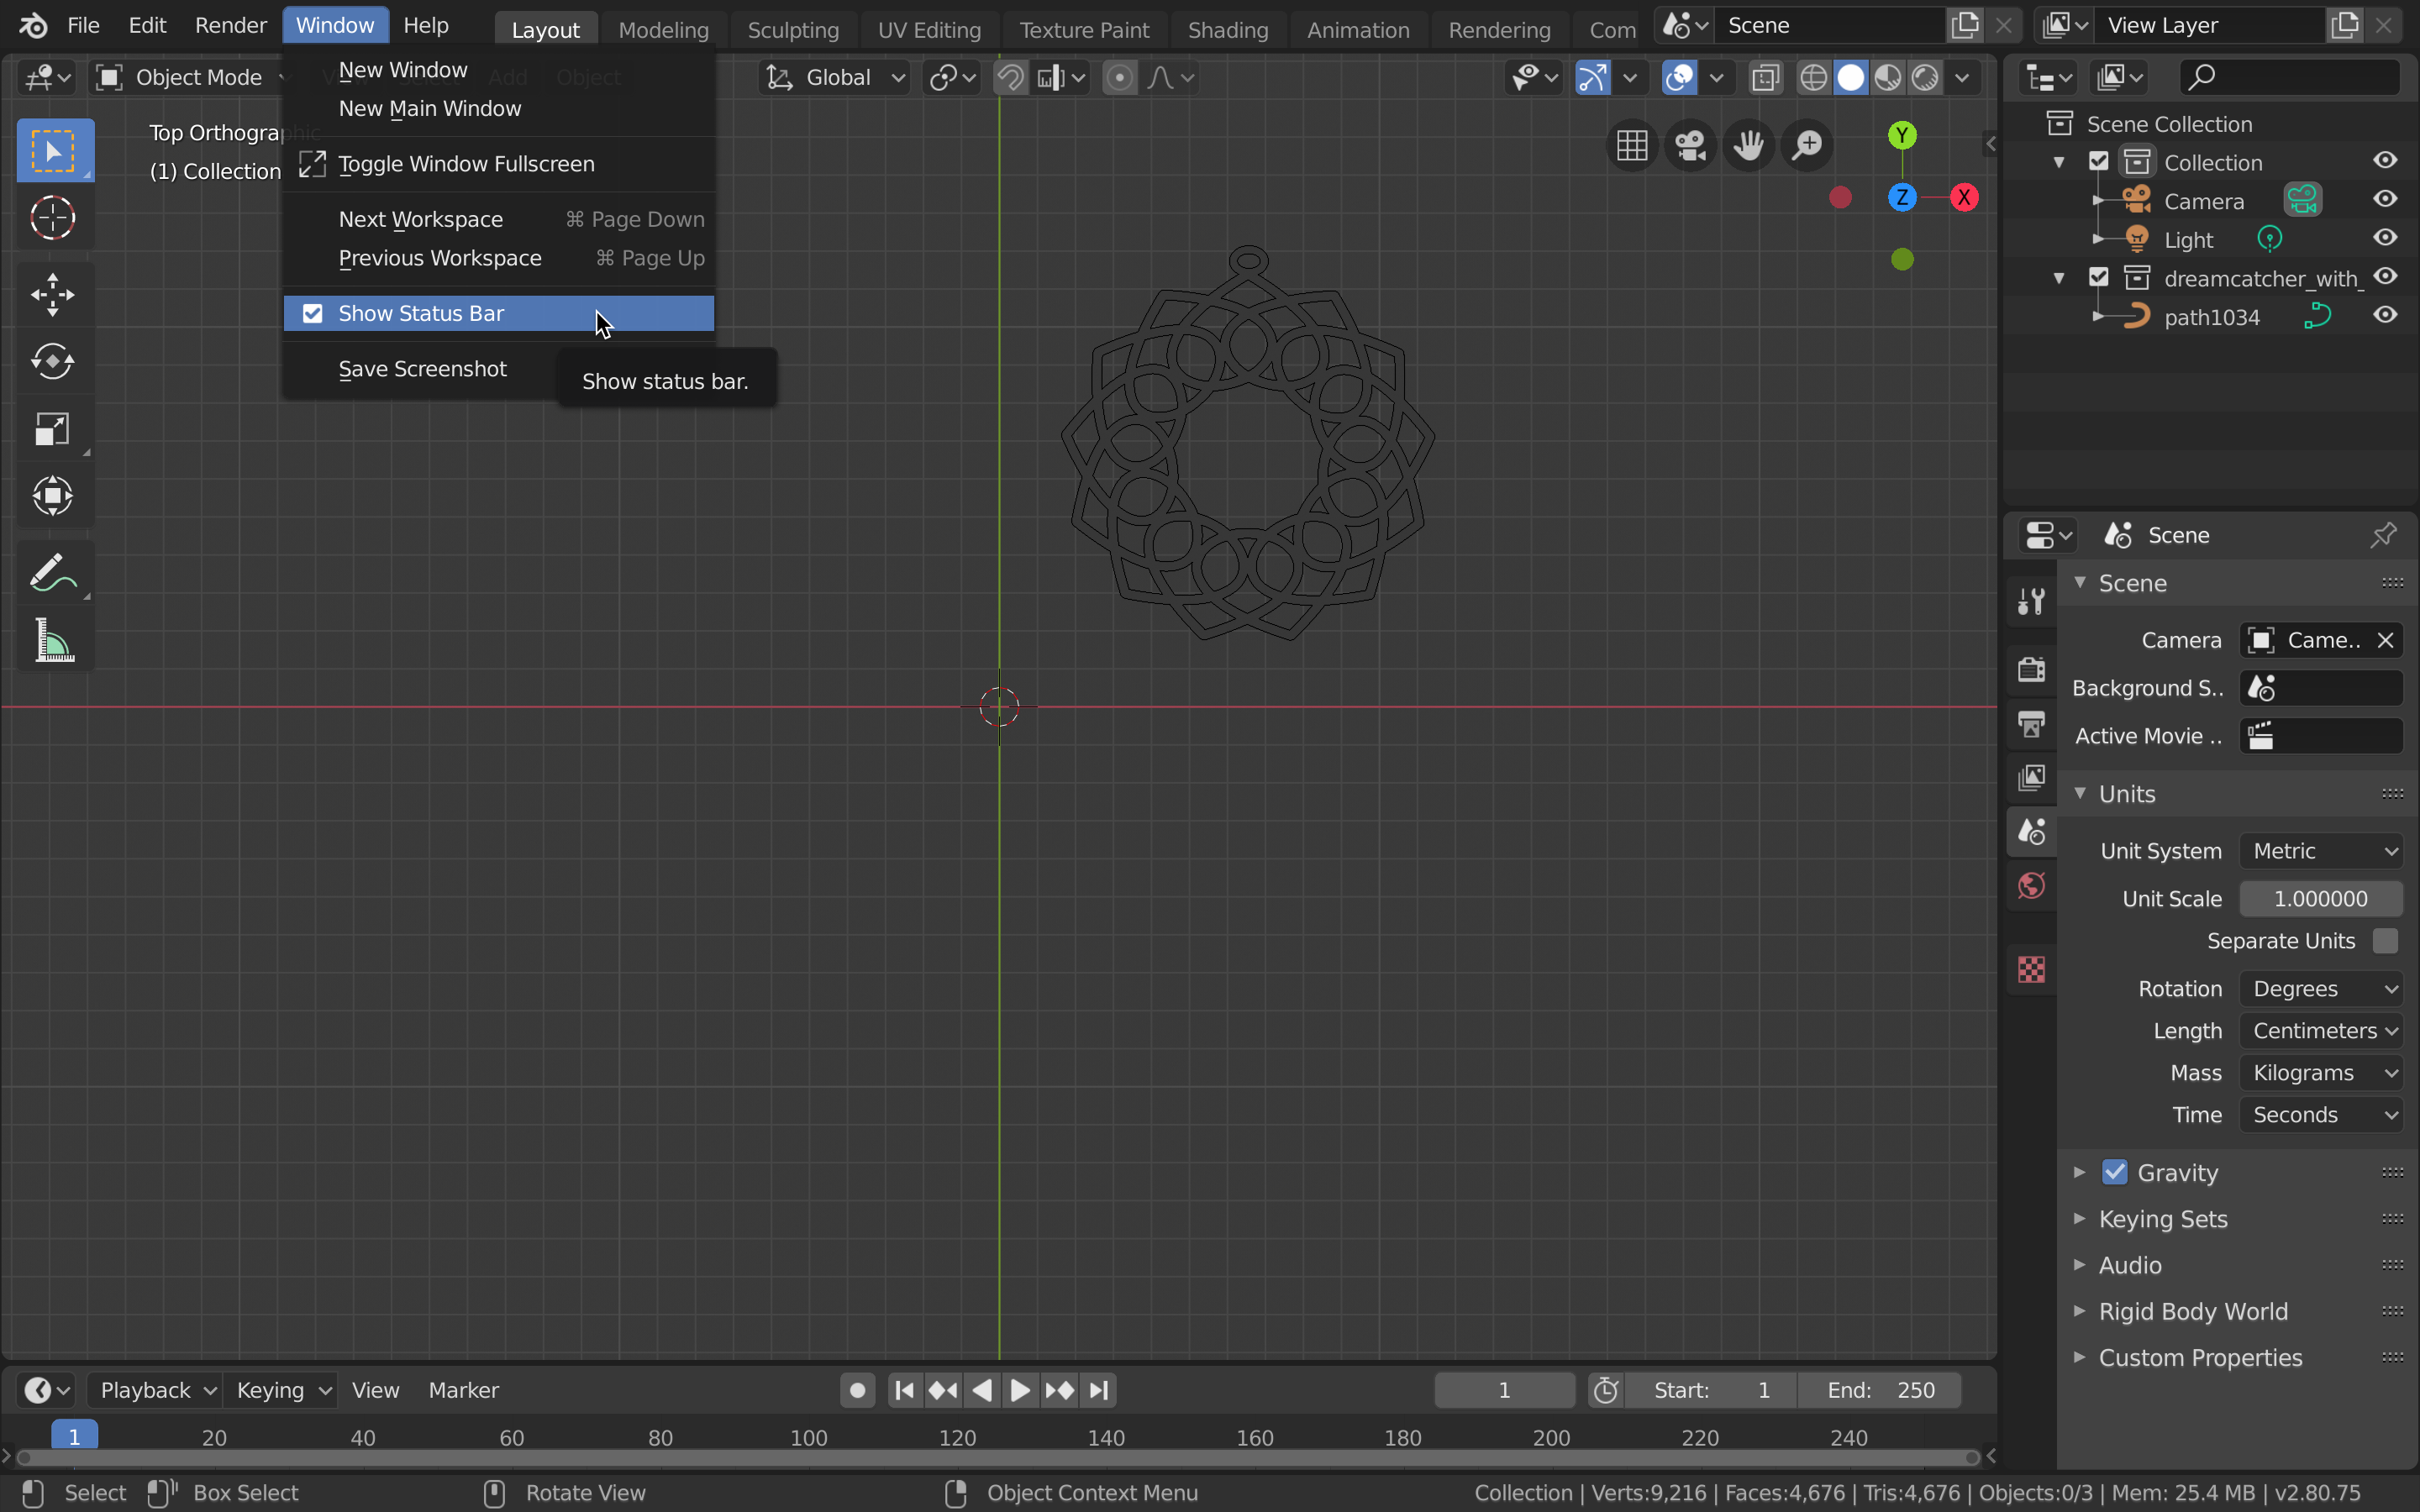
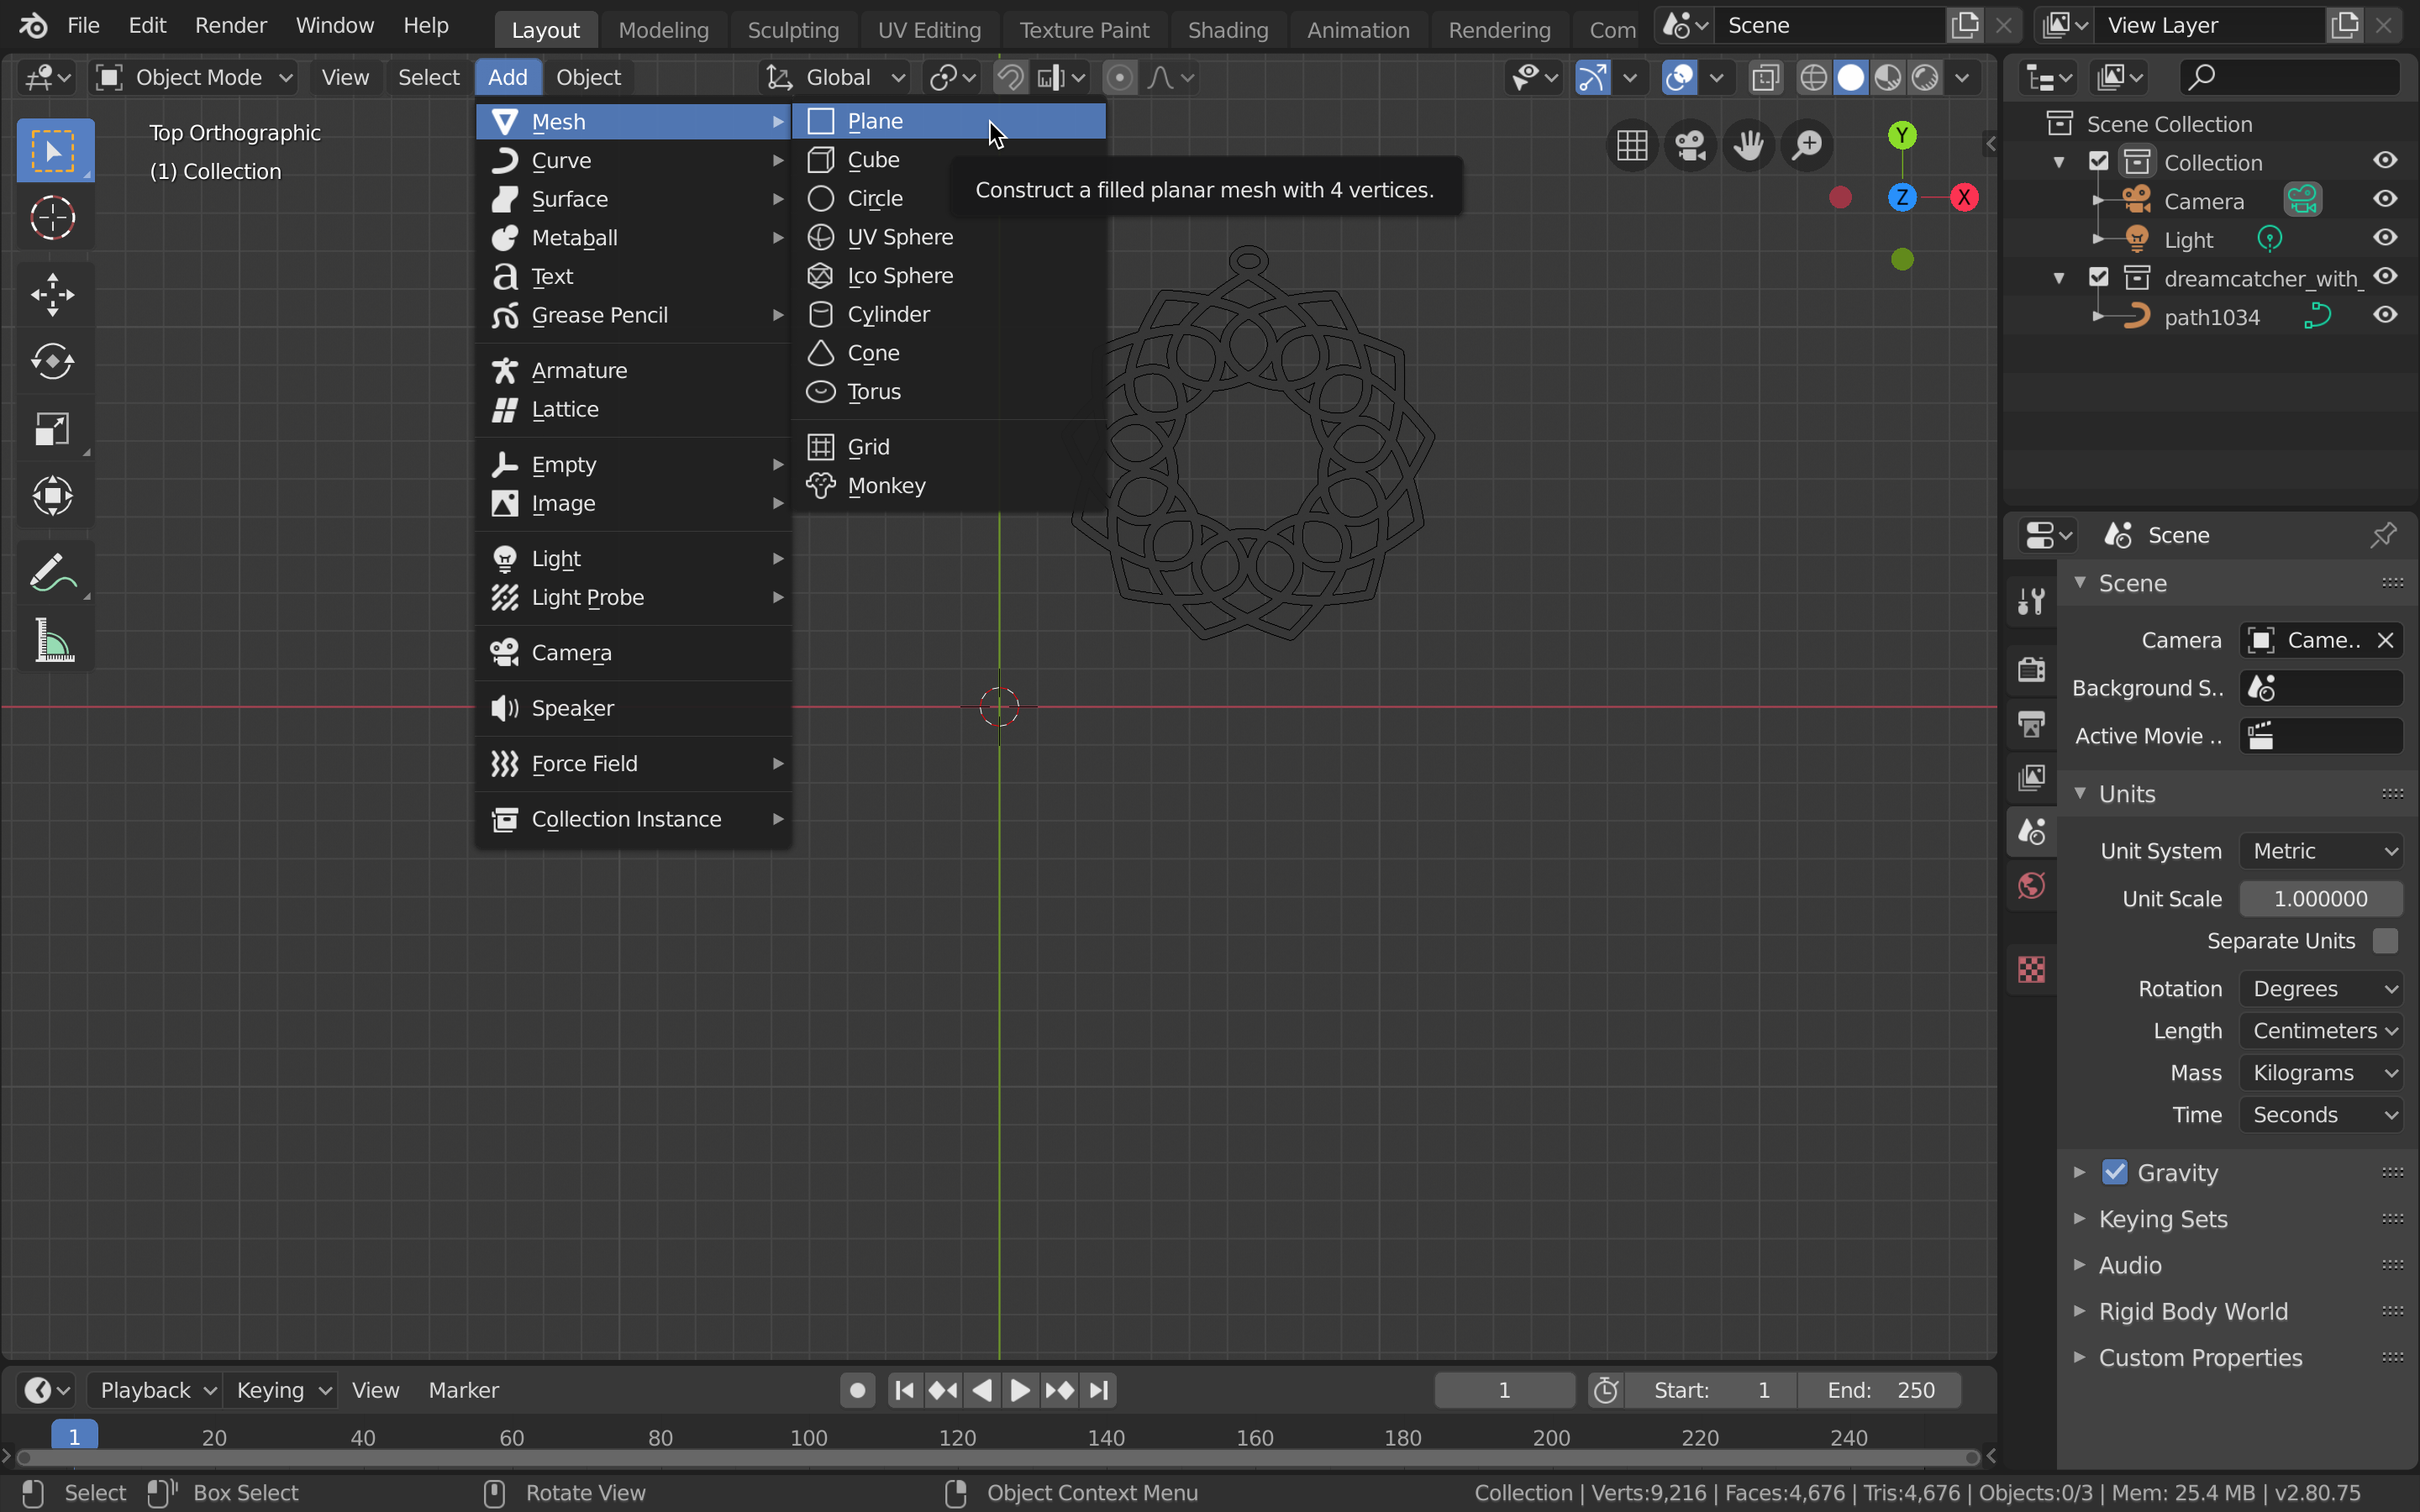
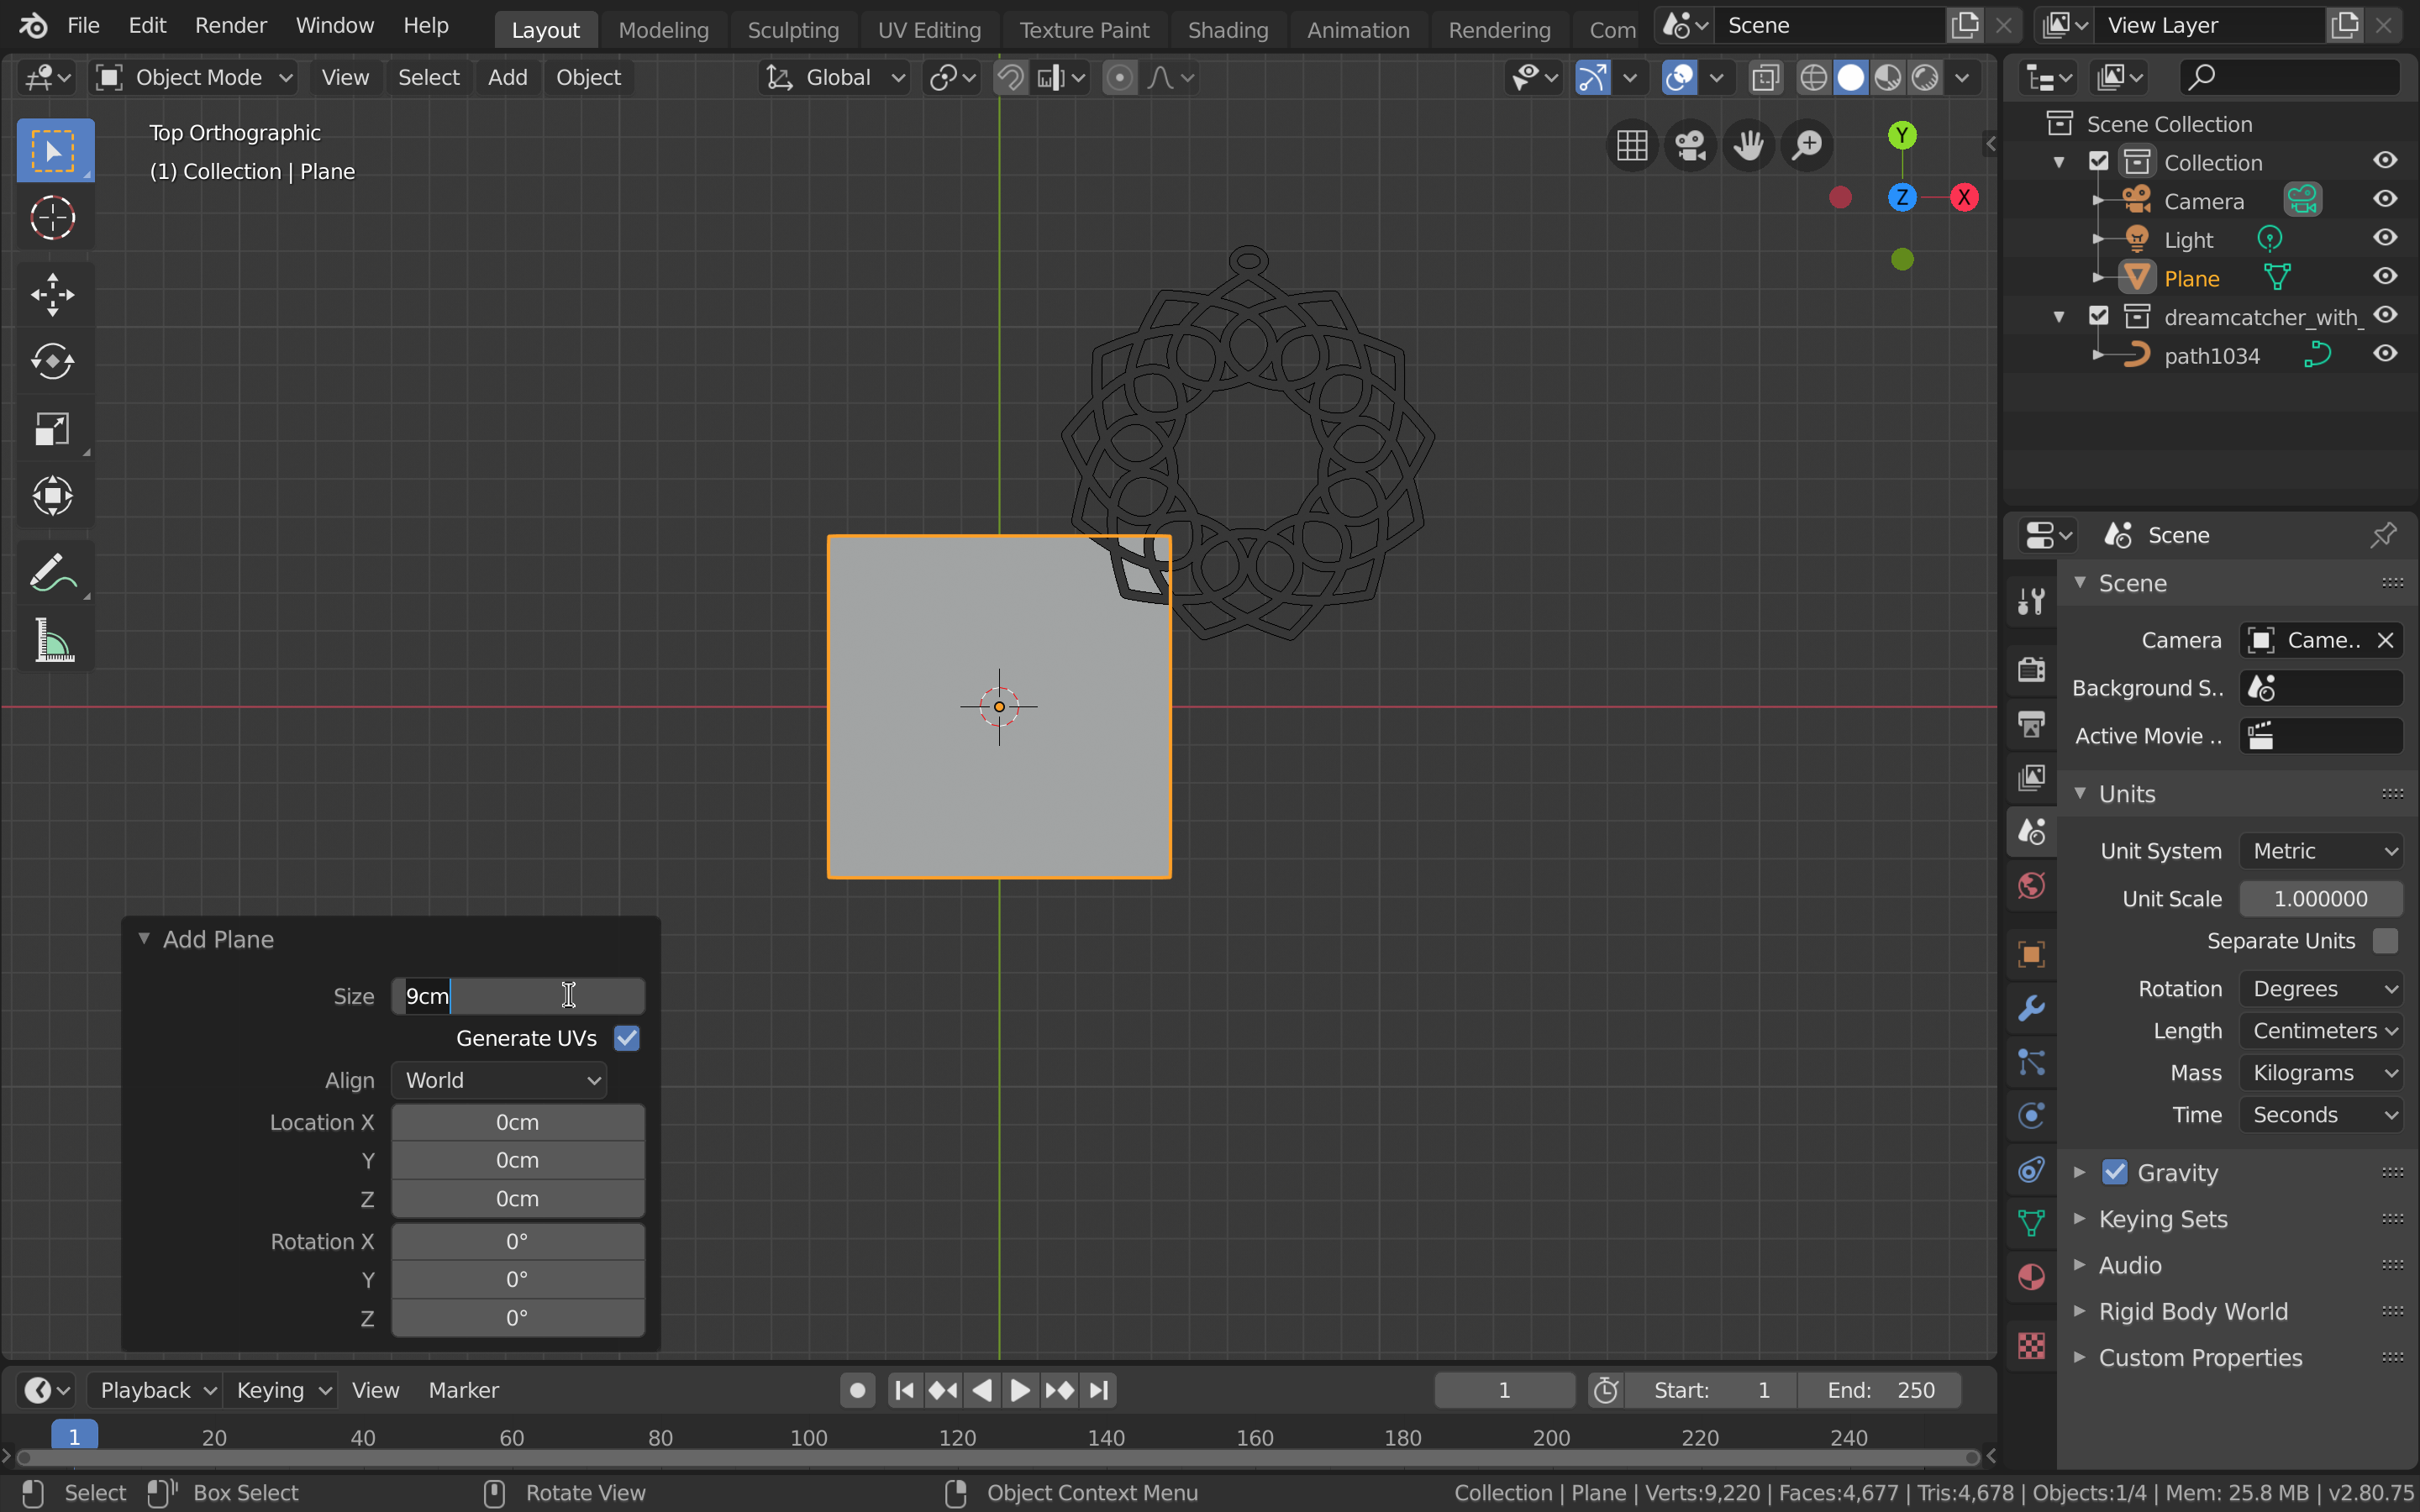
You can use Blender's hotkeys or mouse-scroll to zoom in. Depending on your operating system and Blender configuration, the keys/modifier keys will be different from mine. Show the status bar (the very bottom of the screen). When you press shift, control, command, or option/alt, the status bar displays possible mouse actions (left, right, scroll) and what will be done. Take a moment to locate both zoom and pan and try these. If you lose your place, change the viewpoint to Top again. - Add a reference plane using Add | Mesh | Plane.
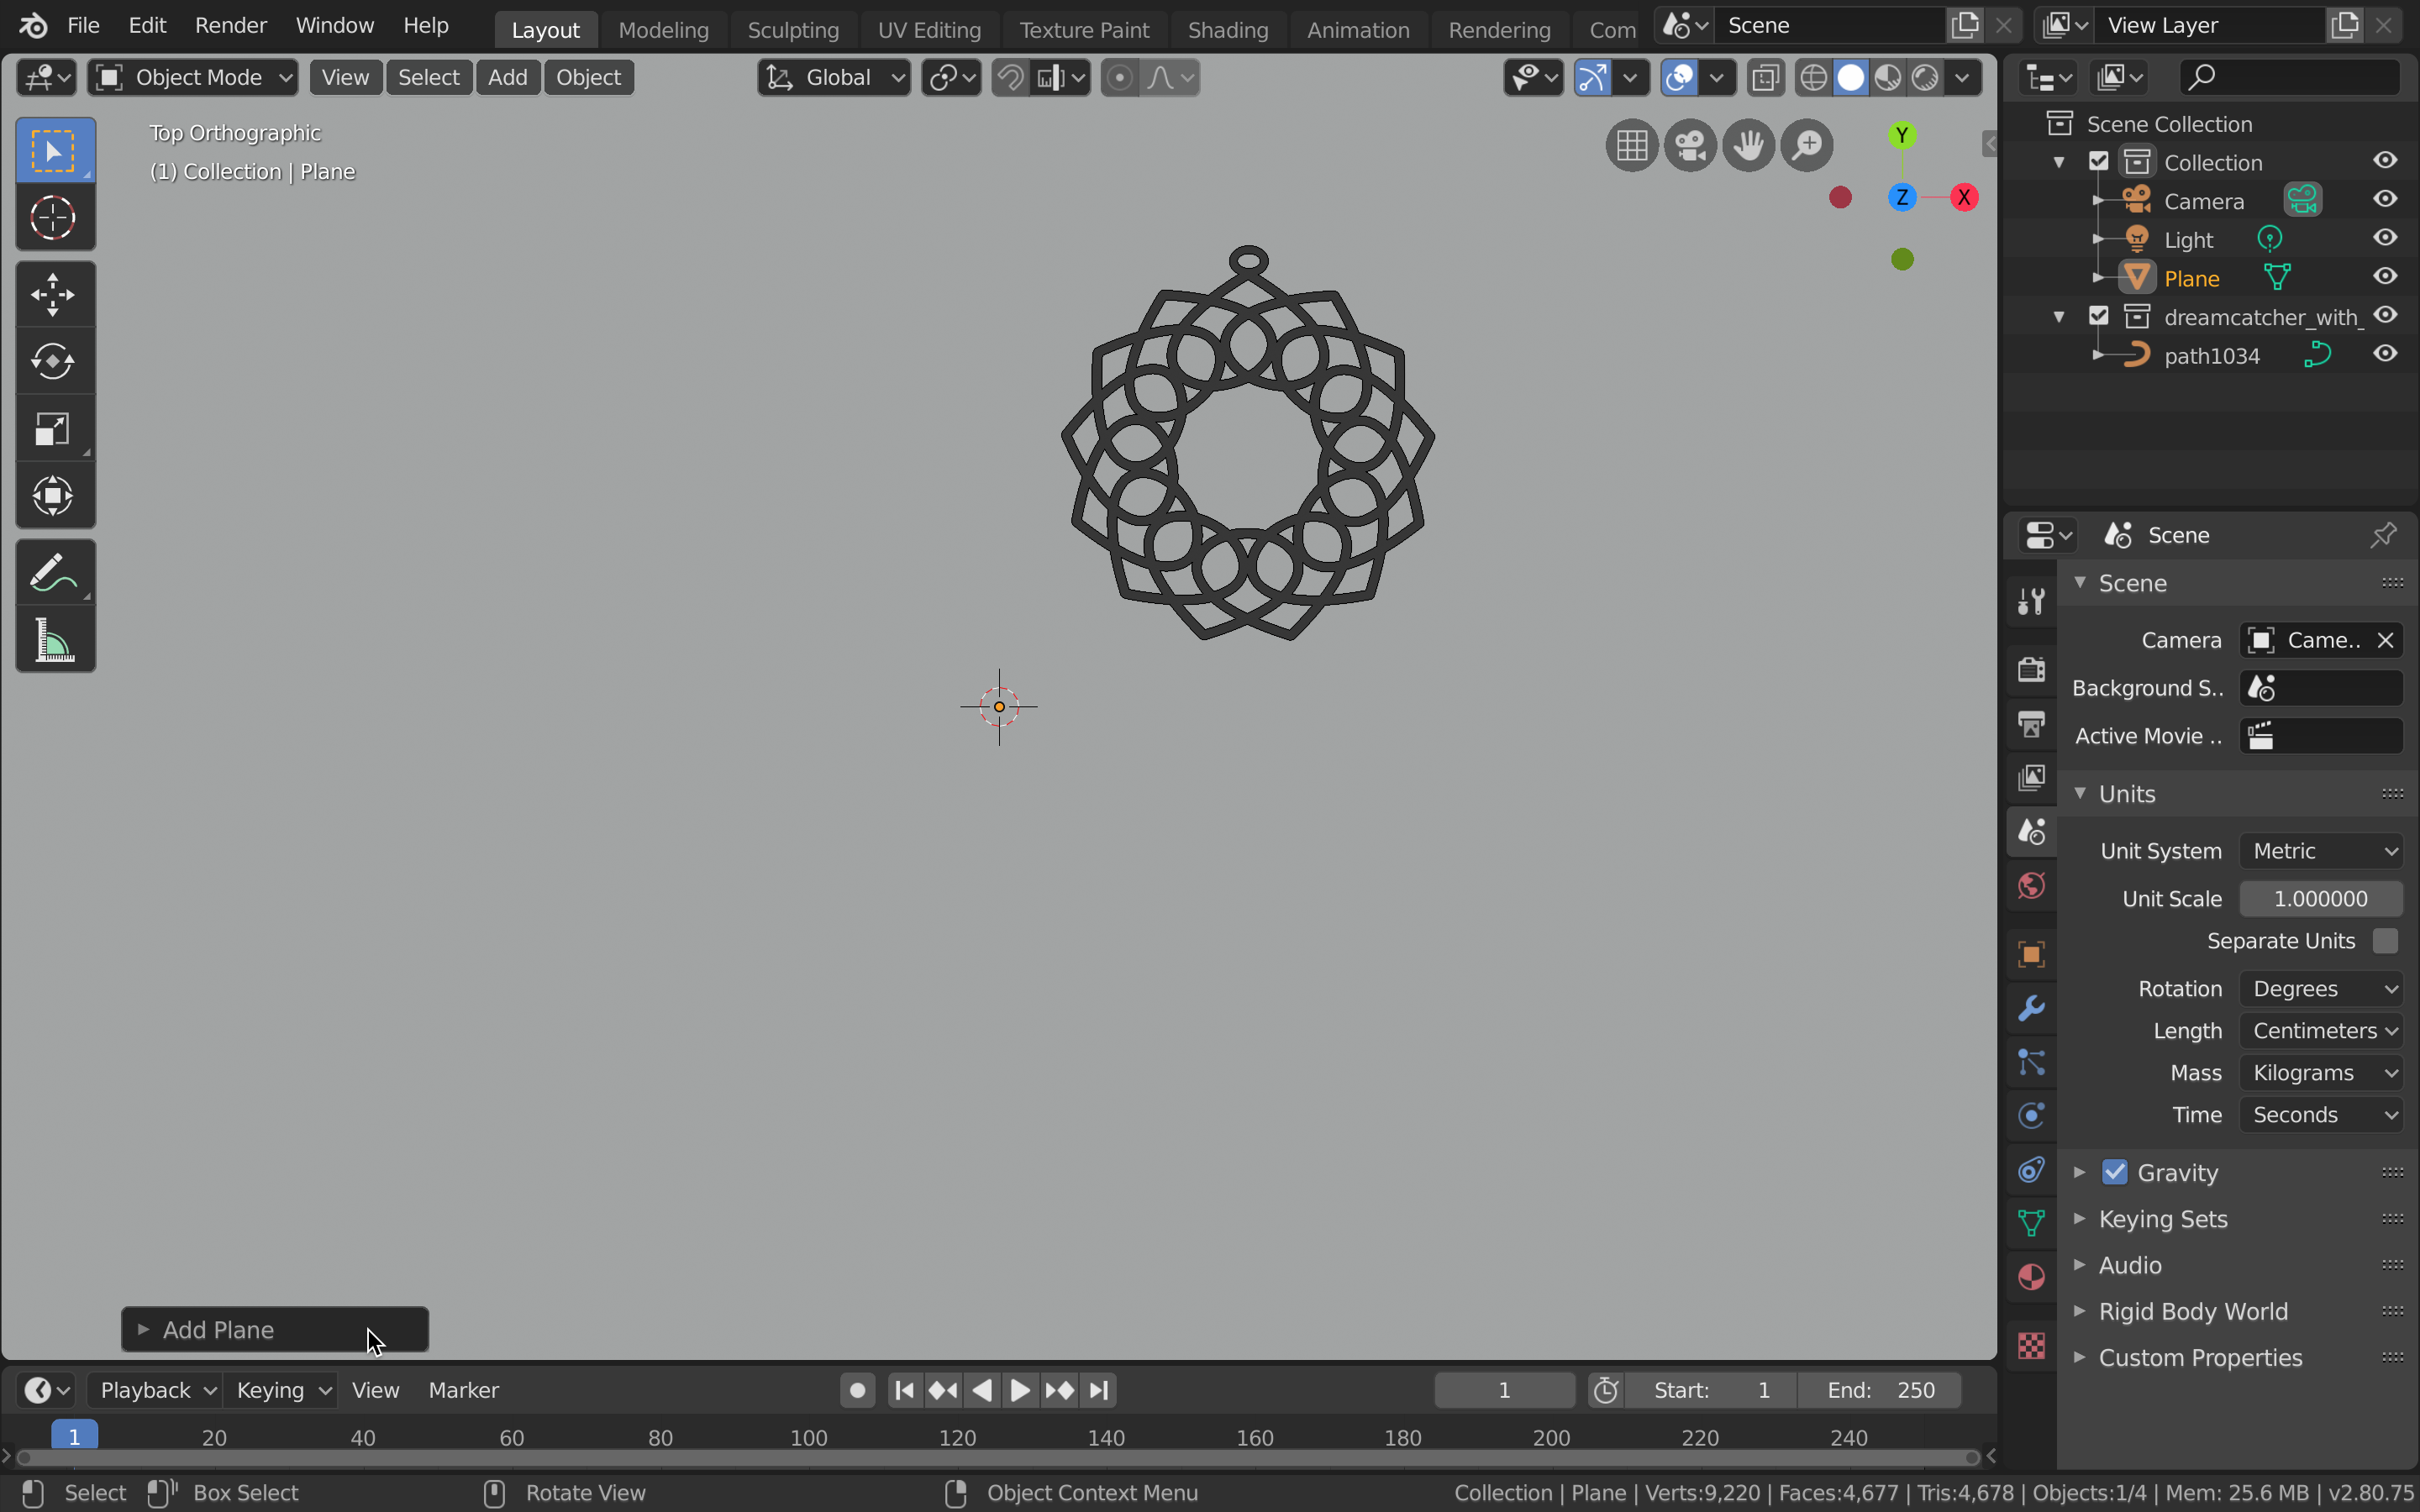
Without clicking anywhere else, expand the plane's parameters.
Change the size to 9 cm. - Select the dreamcatcher by clicking on it.
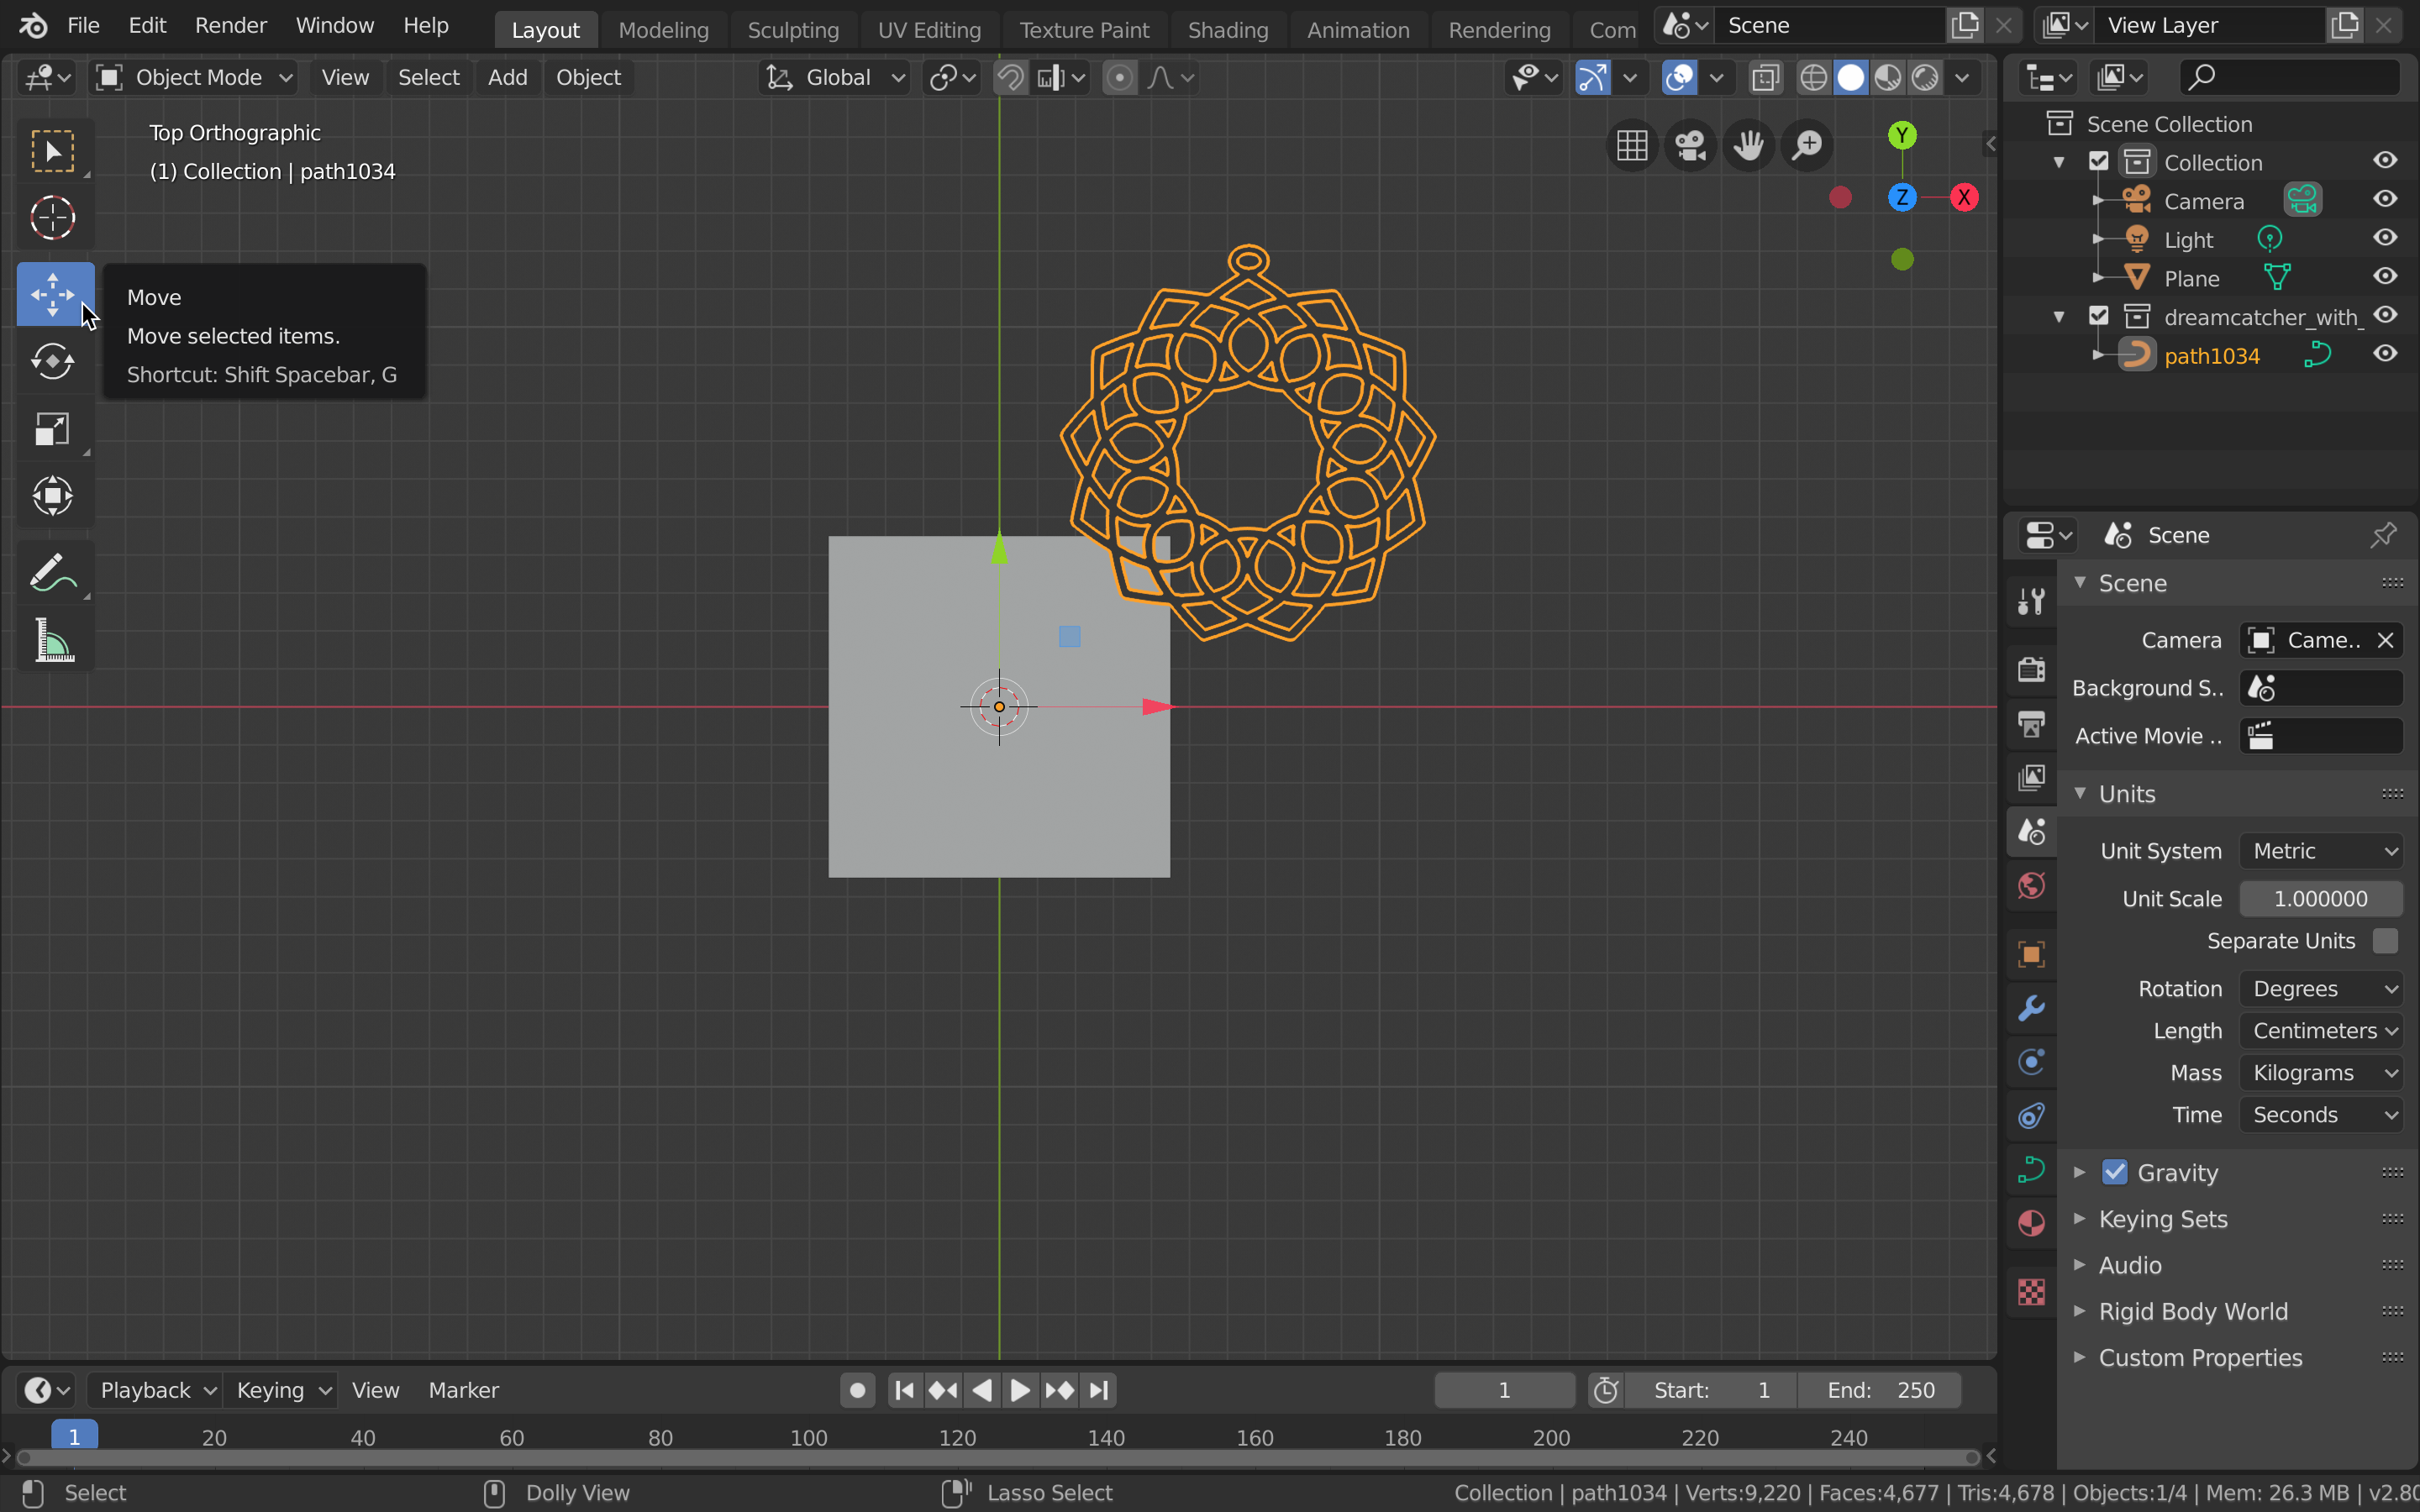
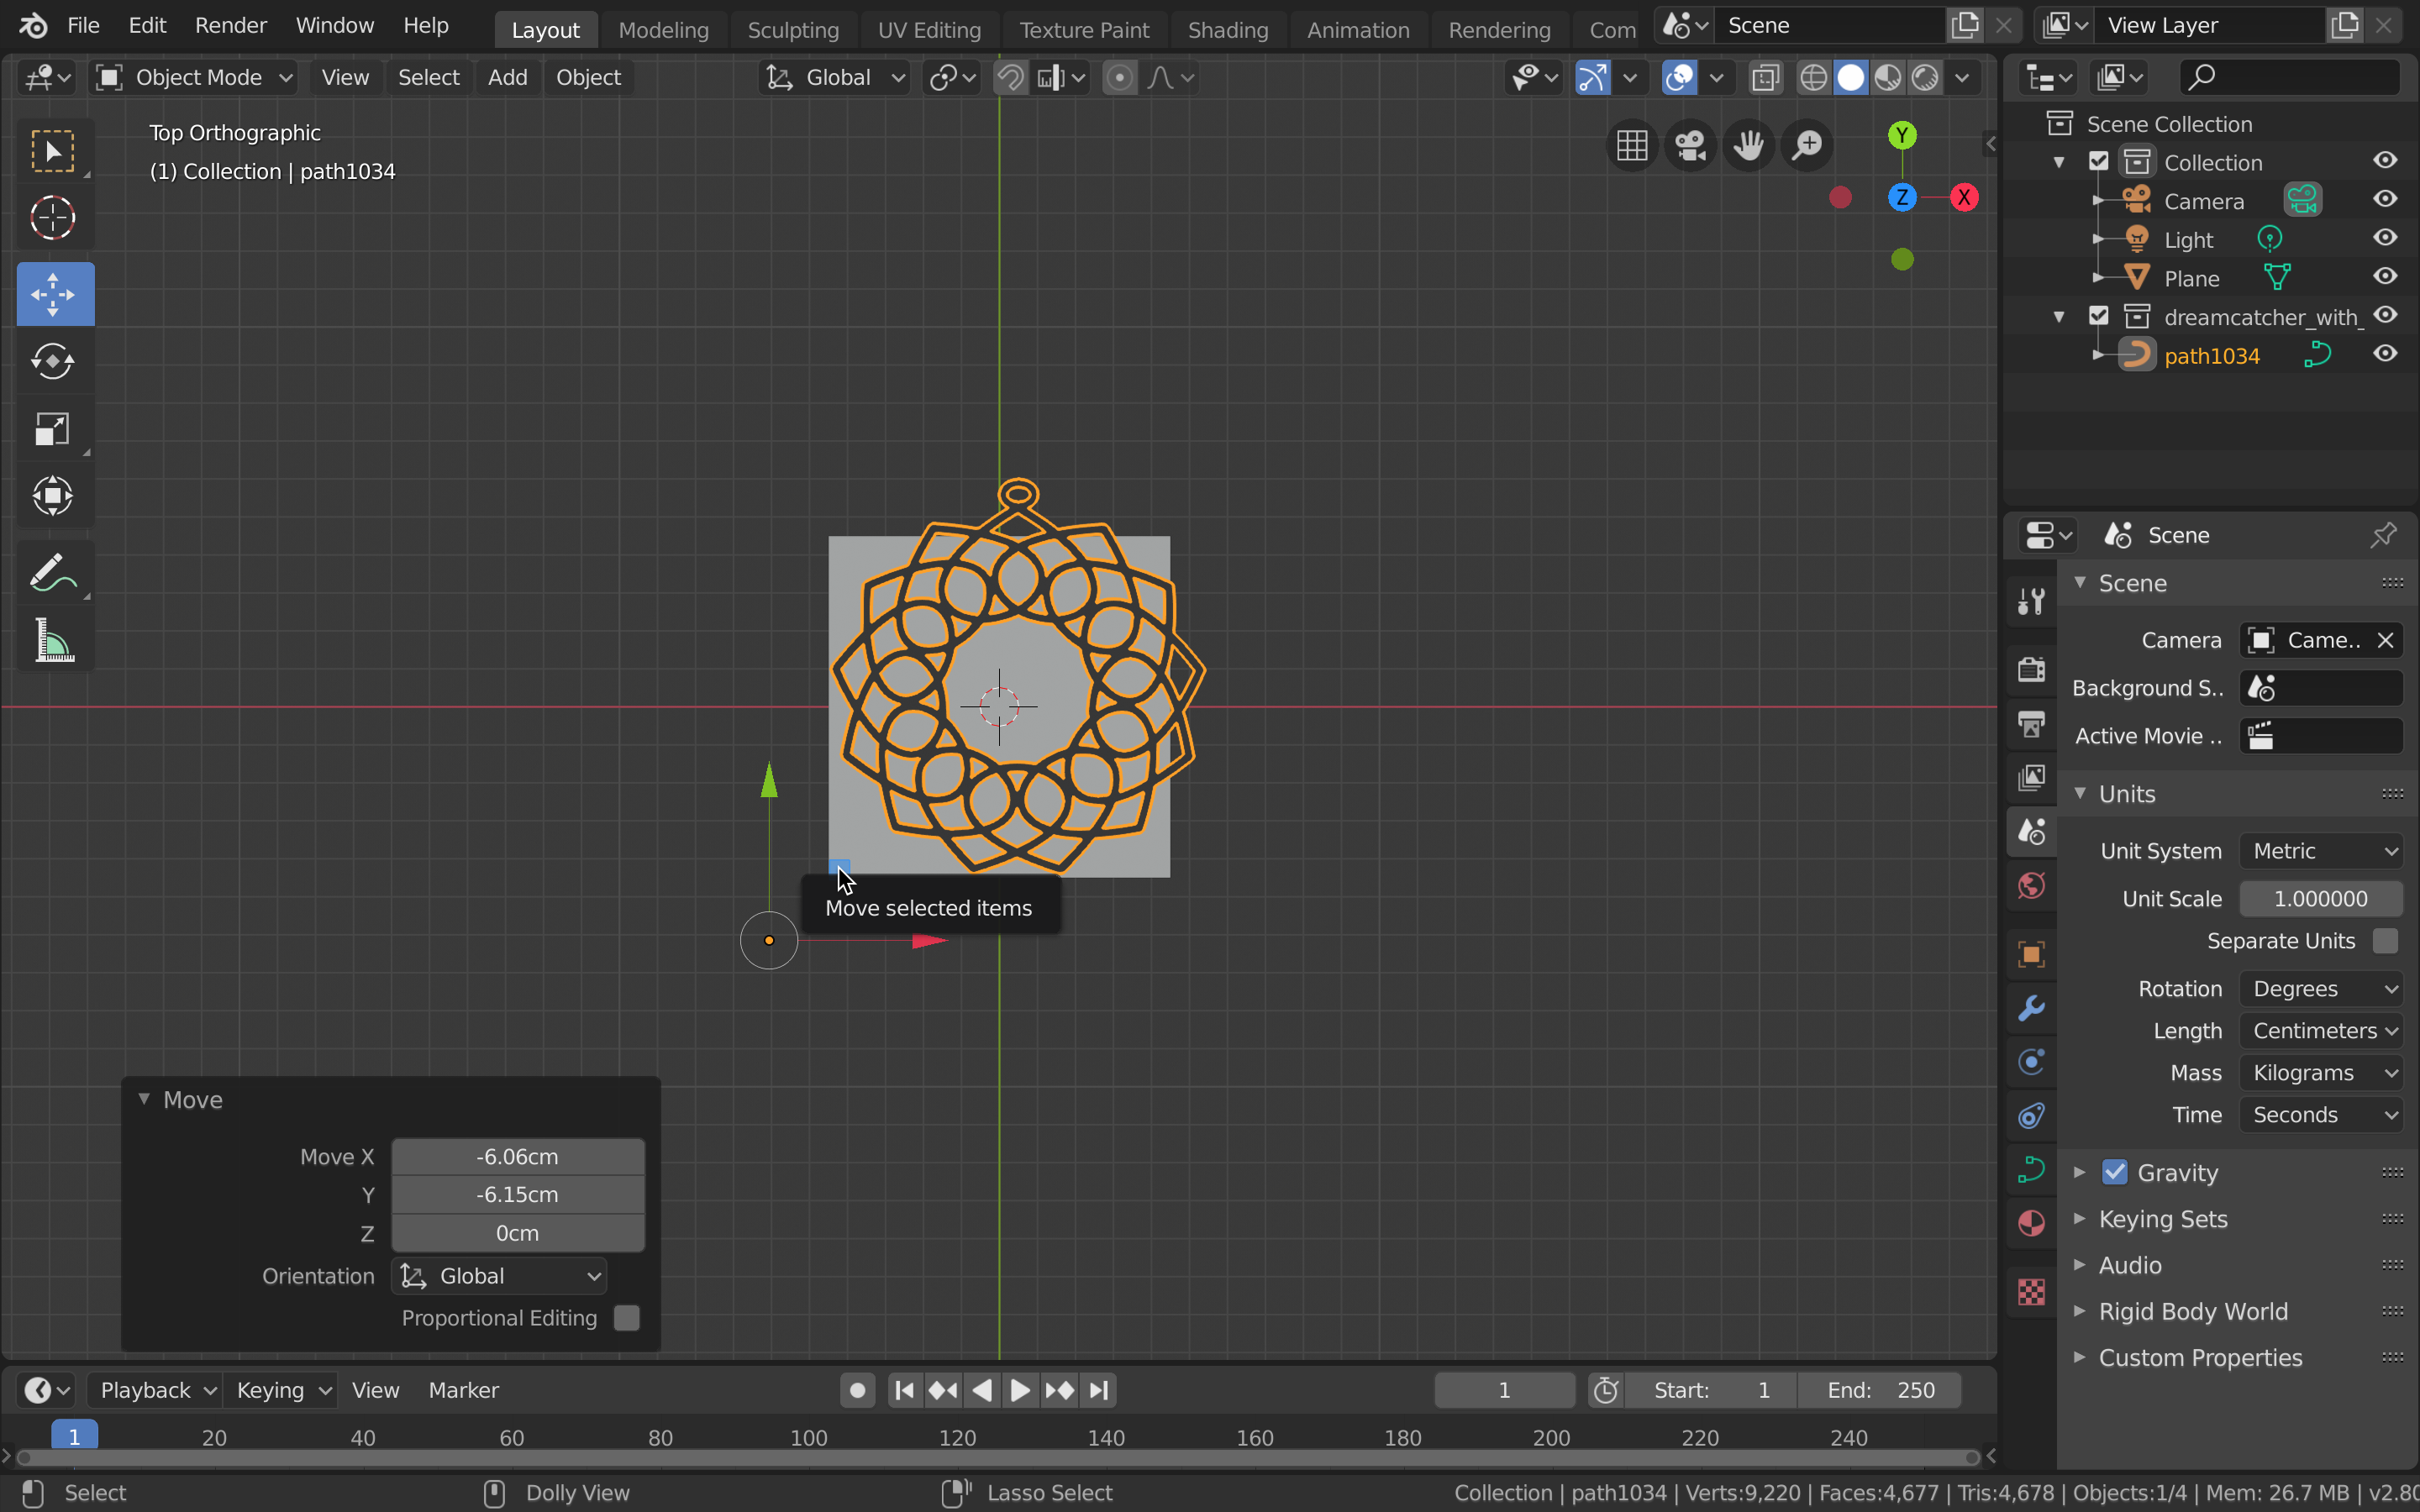
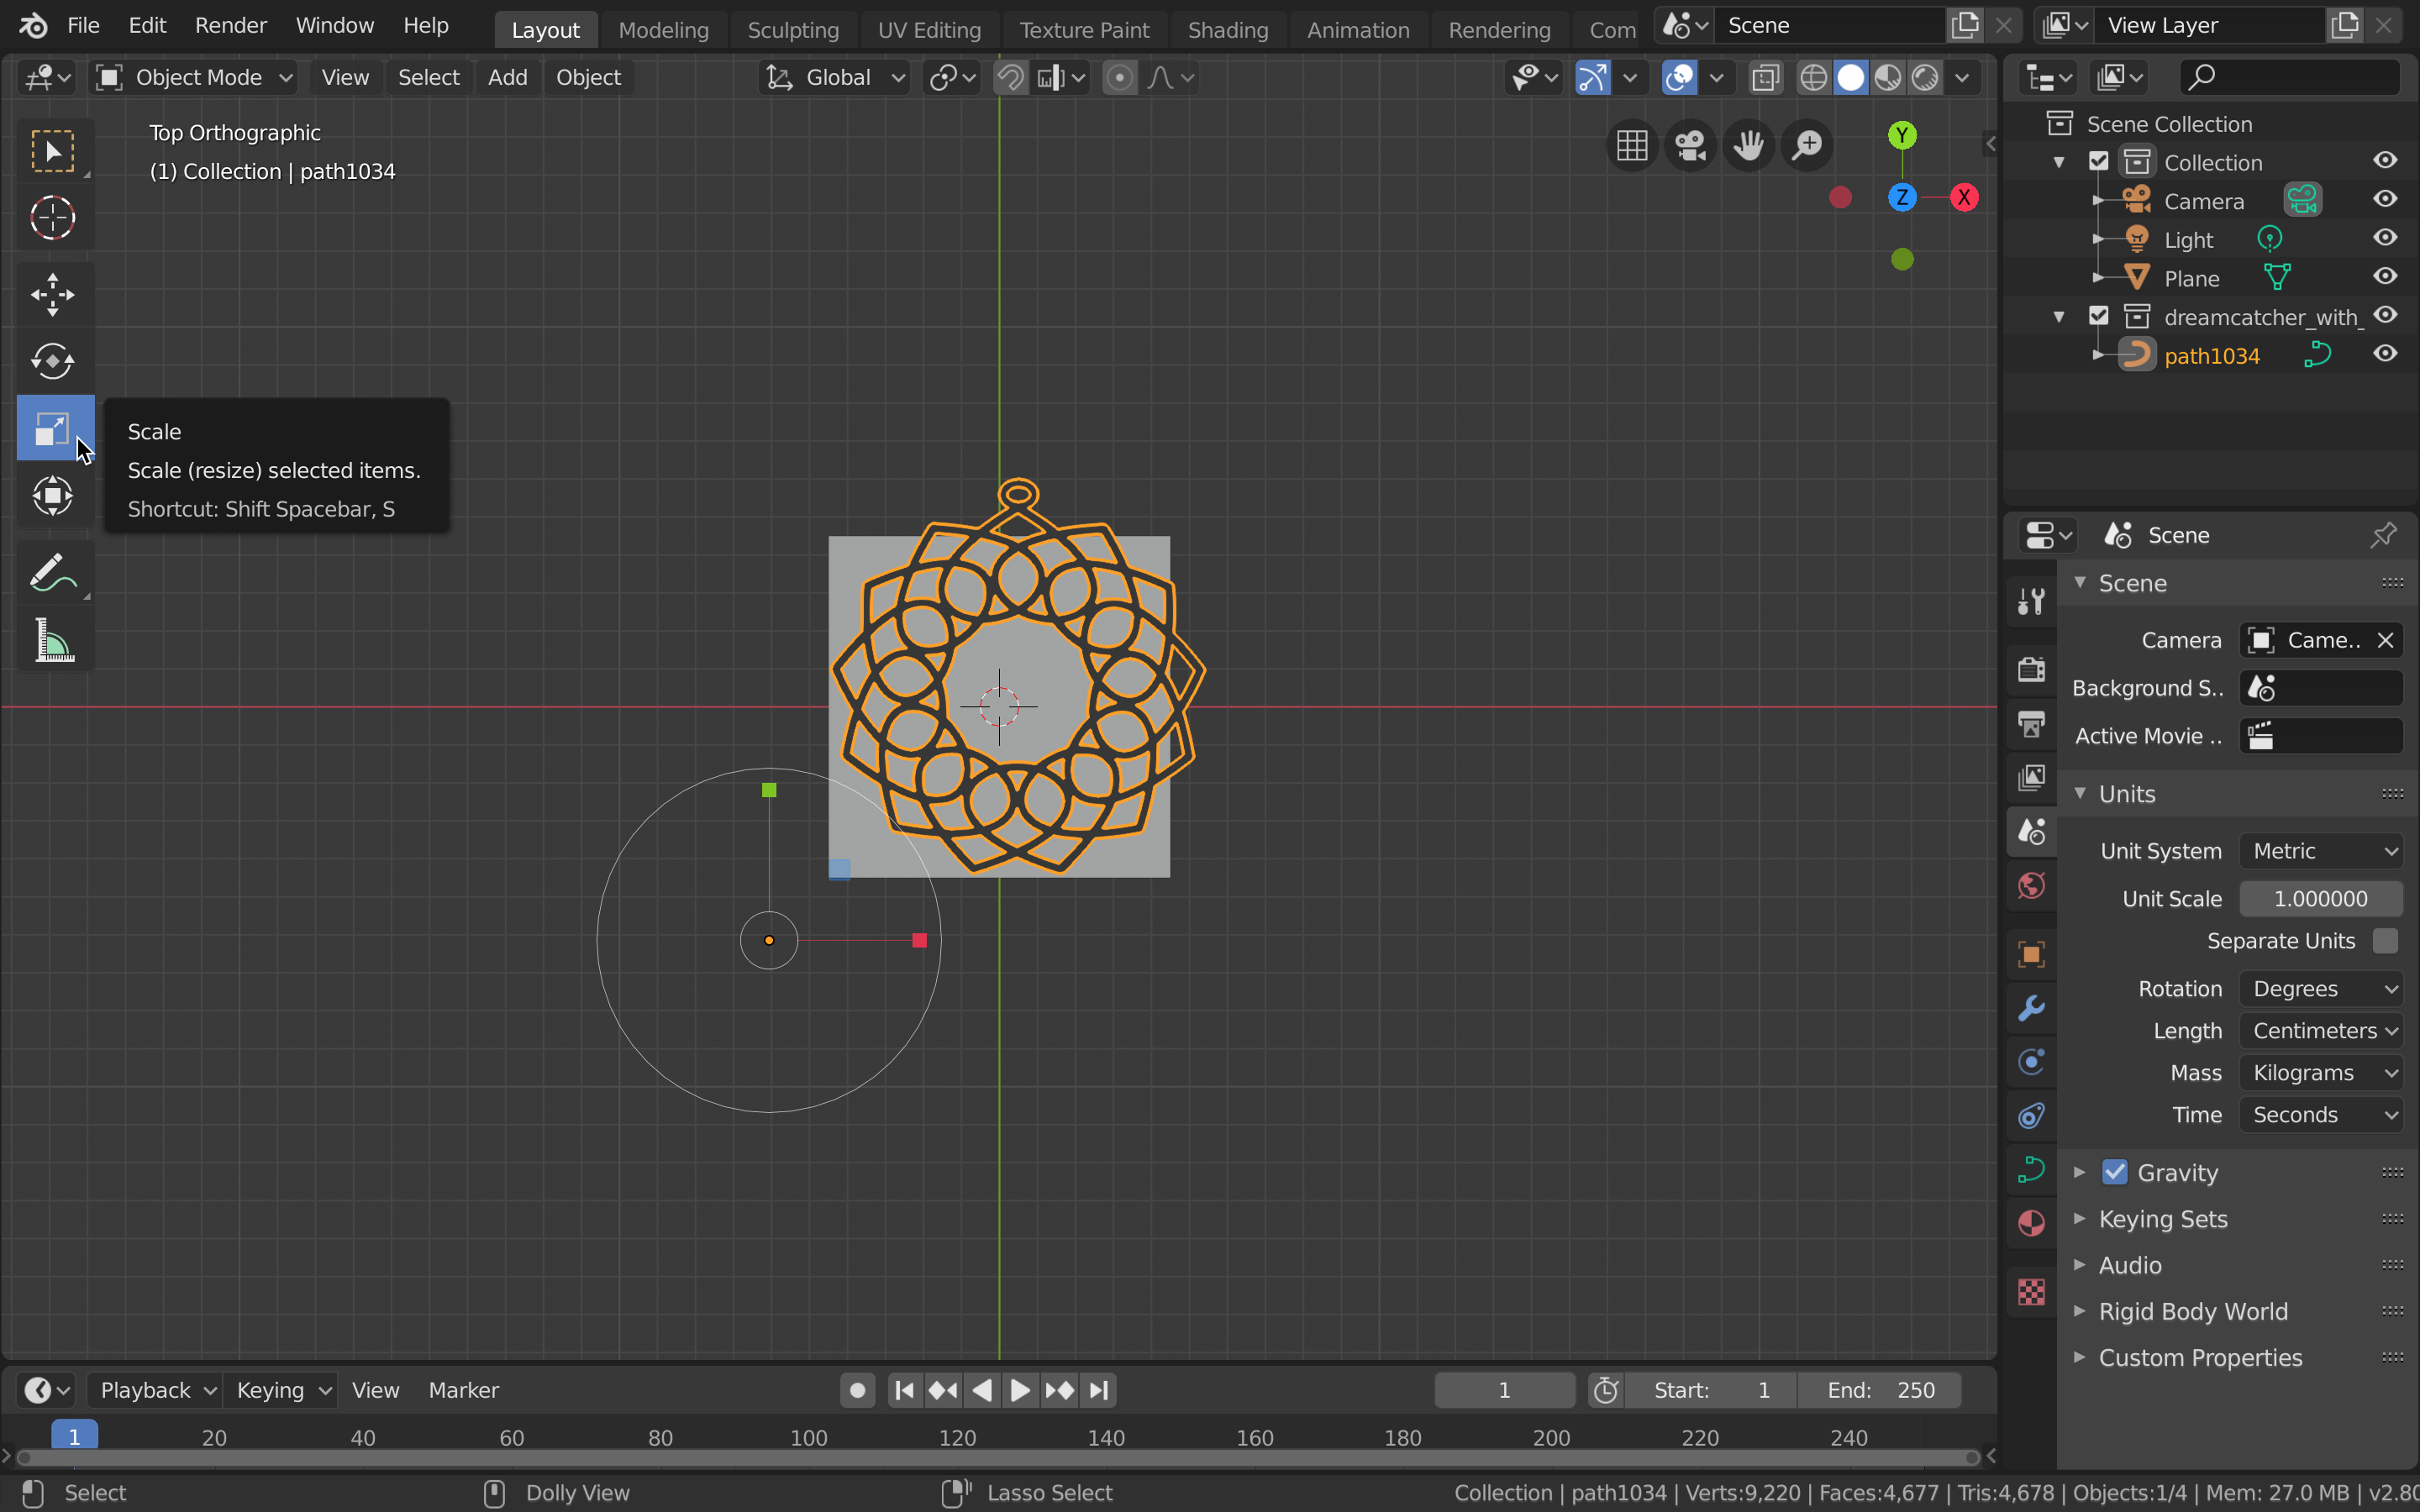
- Use the Move and Scale tools to size your dreamcatcher to the plane. Stay in the Top viewpoint or the move/scale will not work for this use.
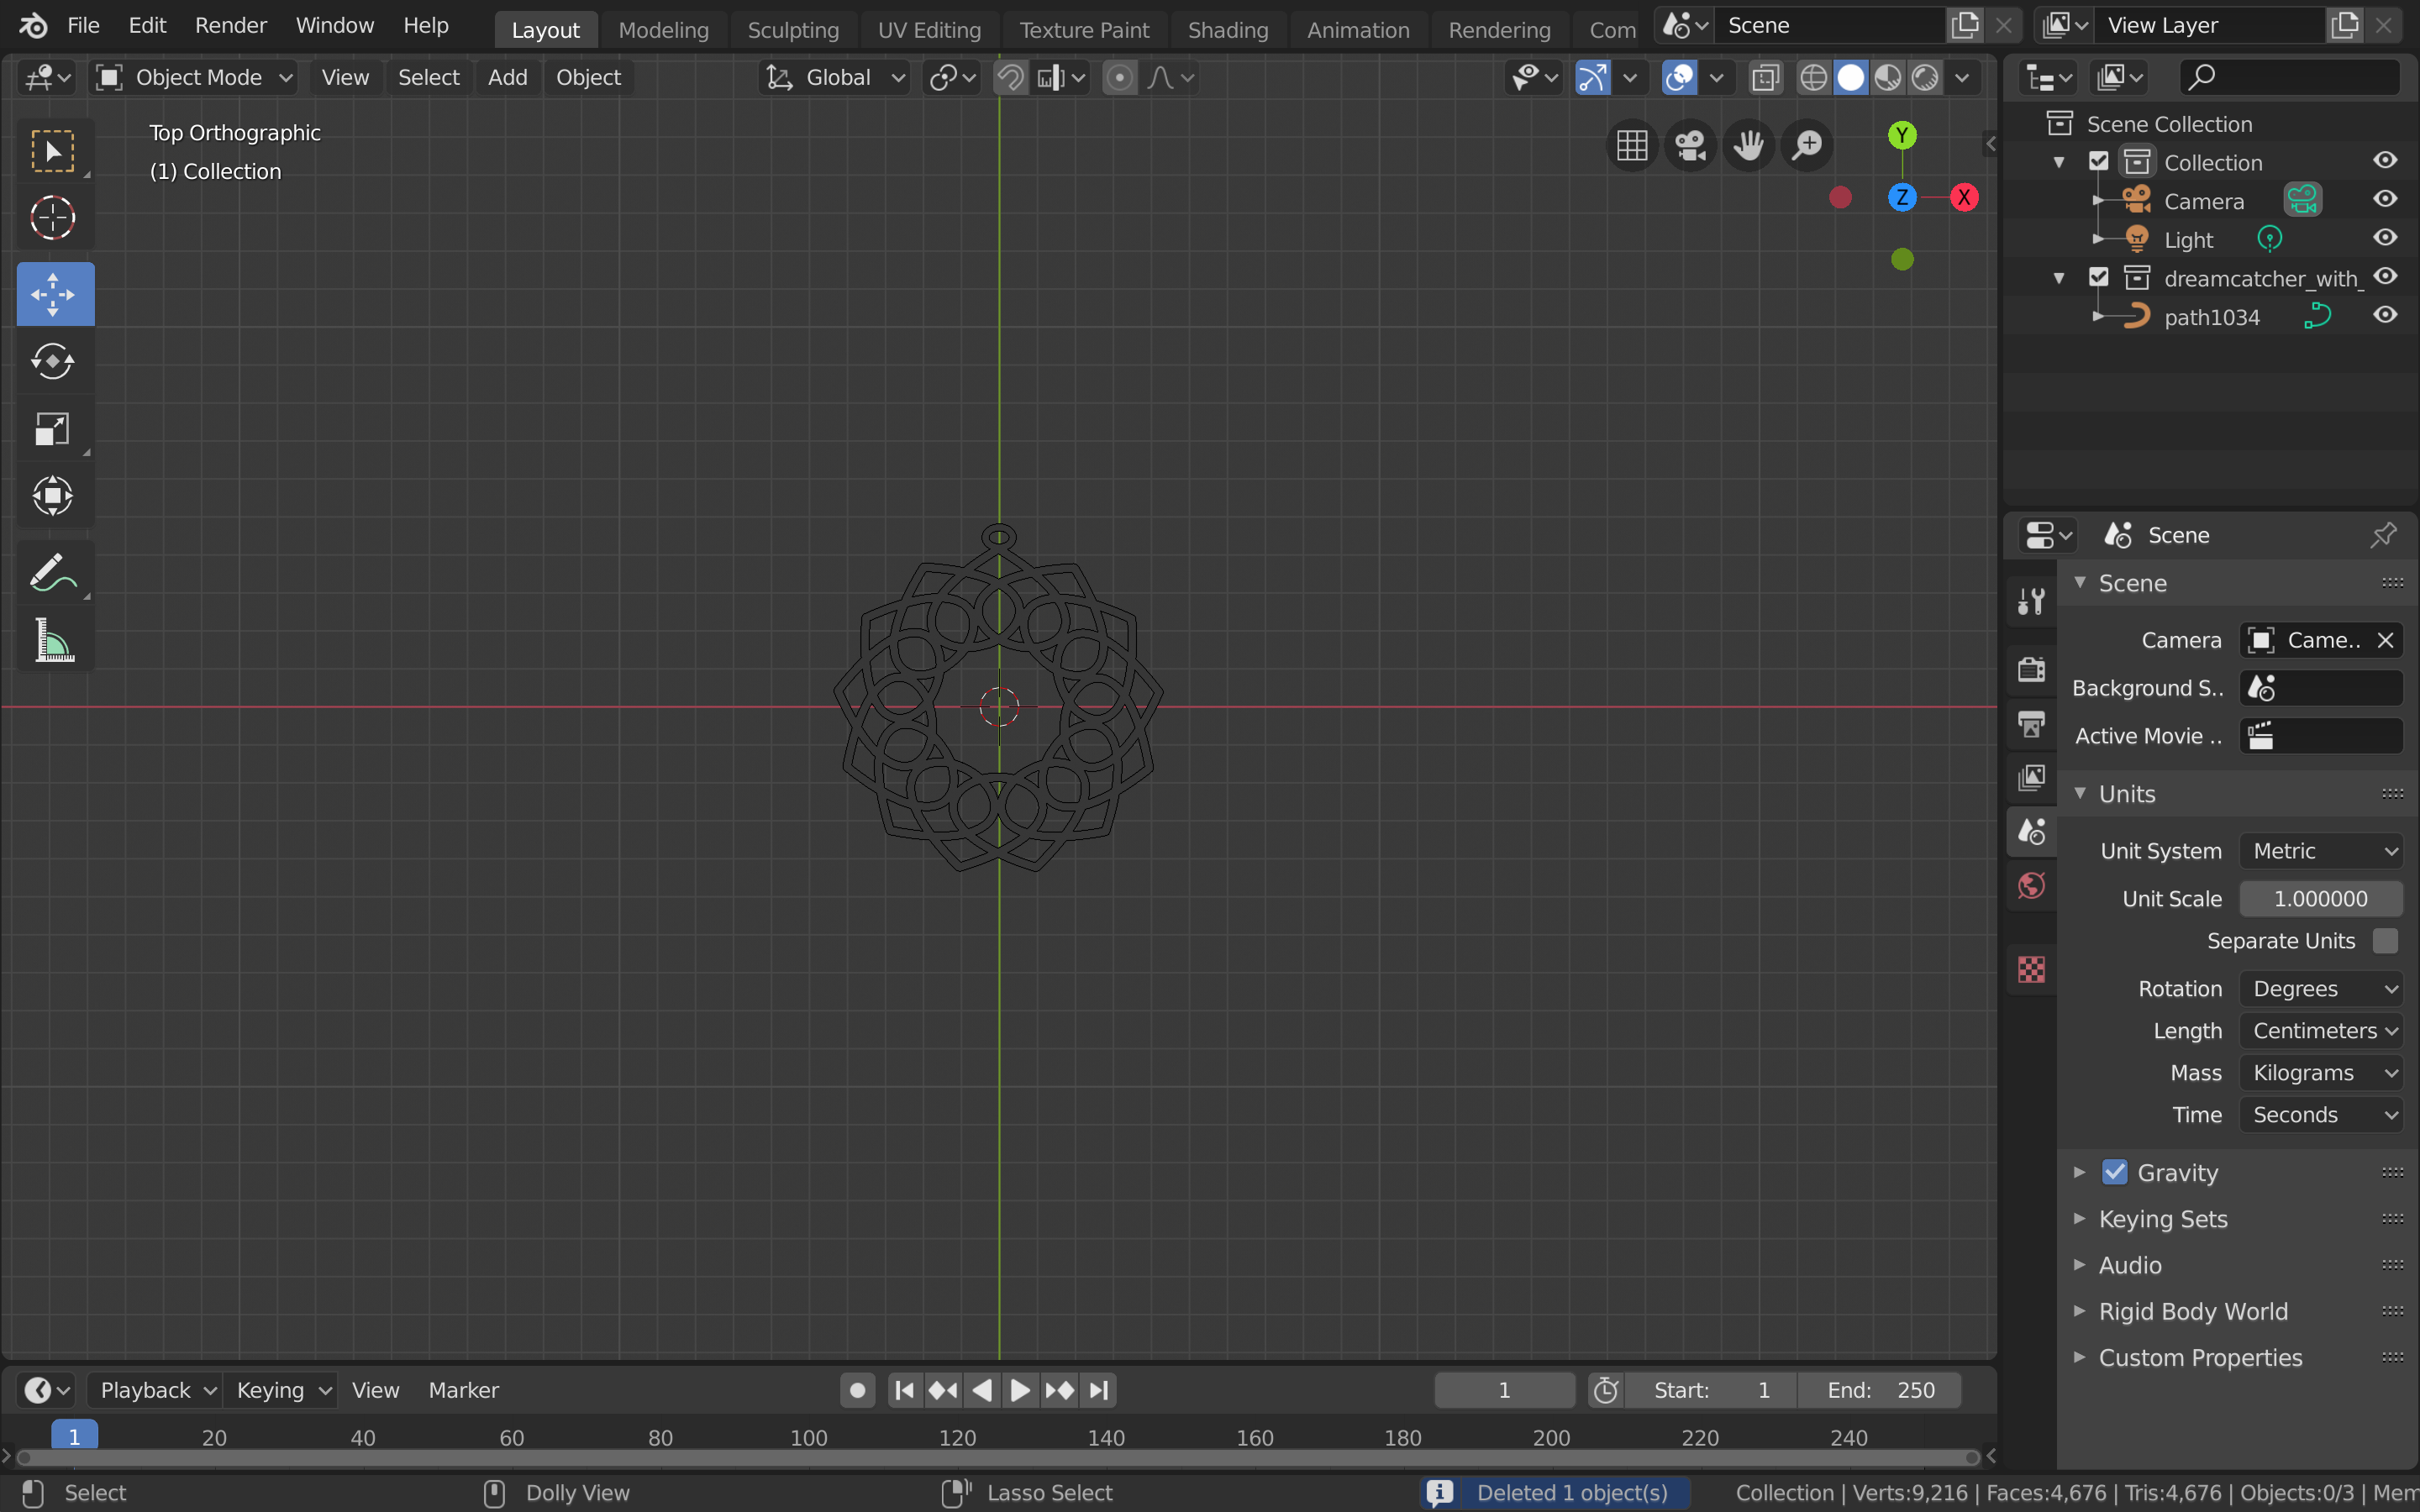
- Select the plane and delete it.
- Select the dreamcatcher.
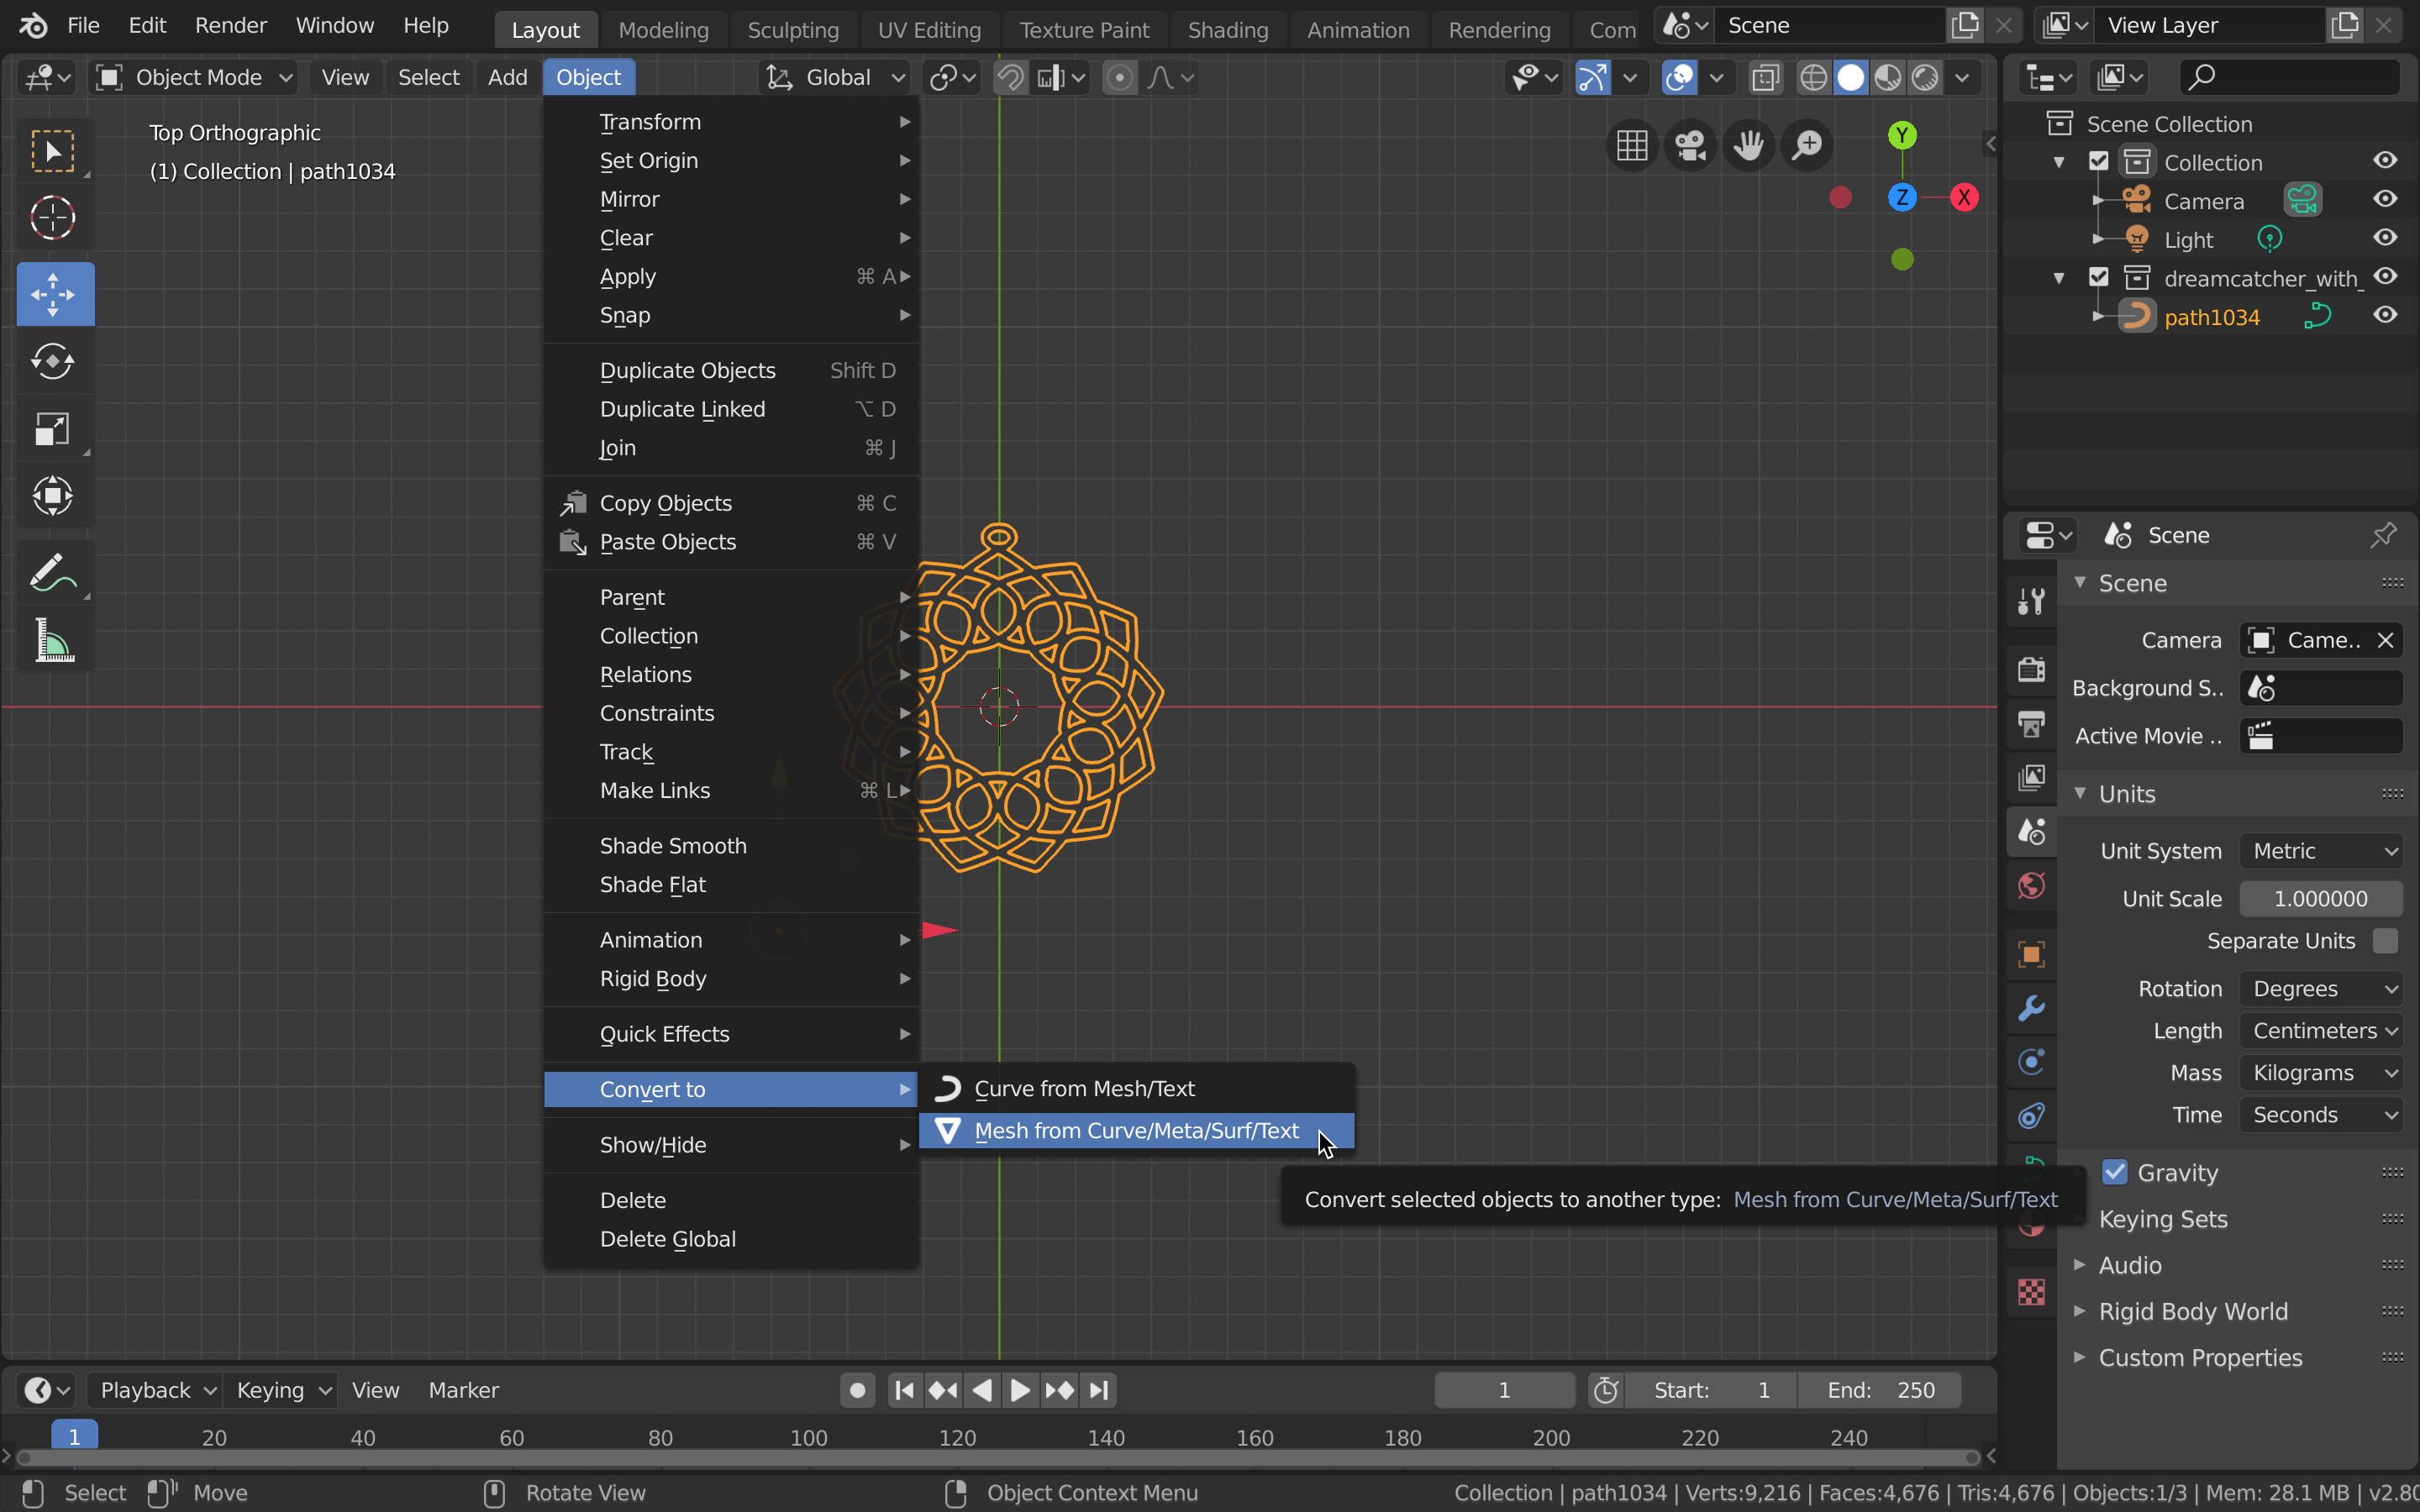
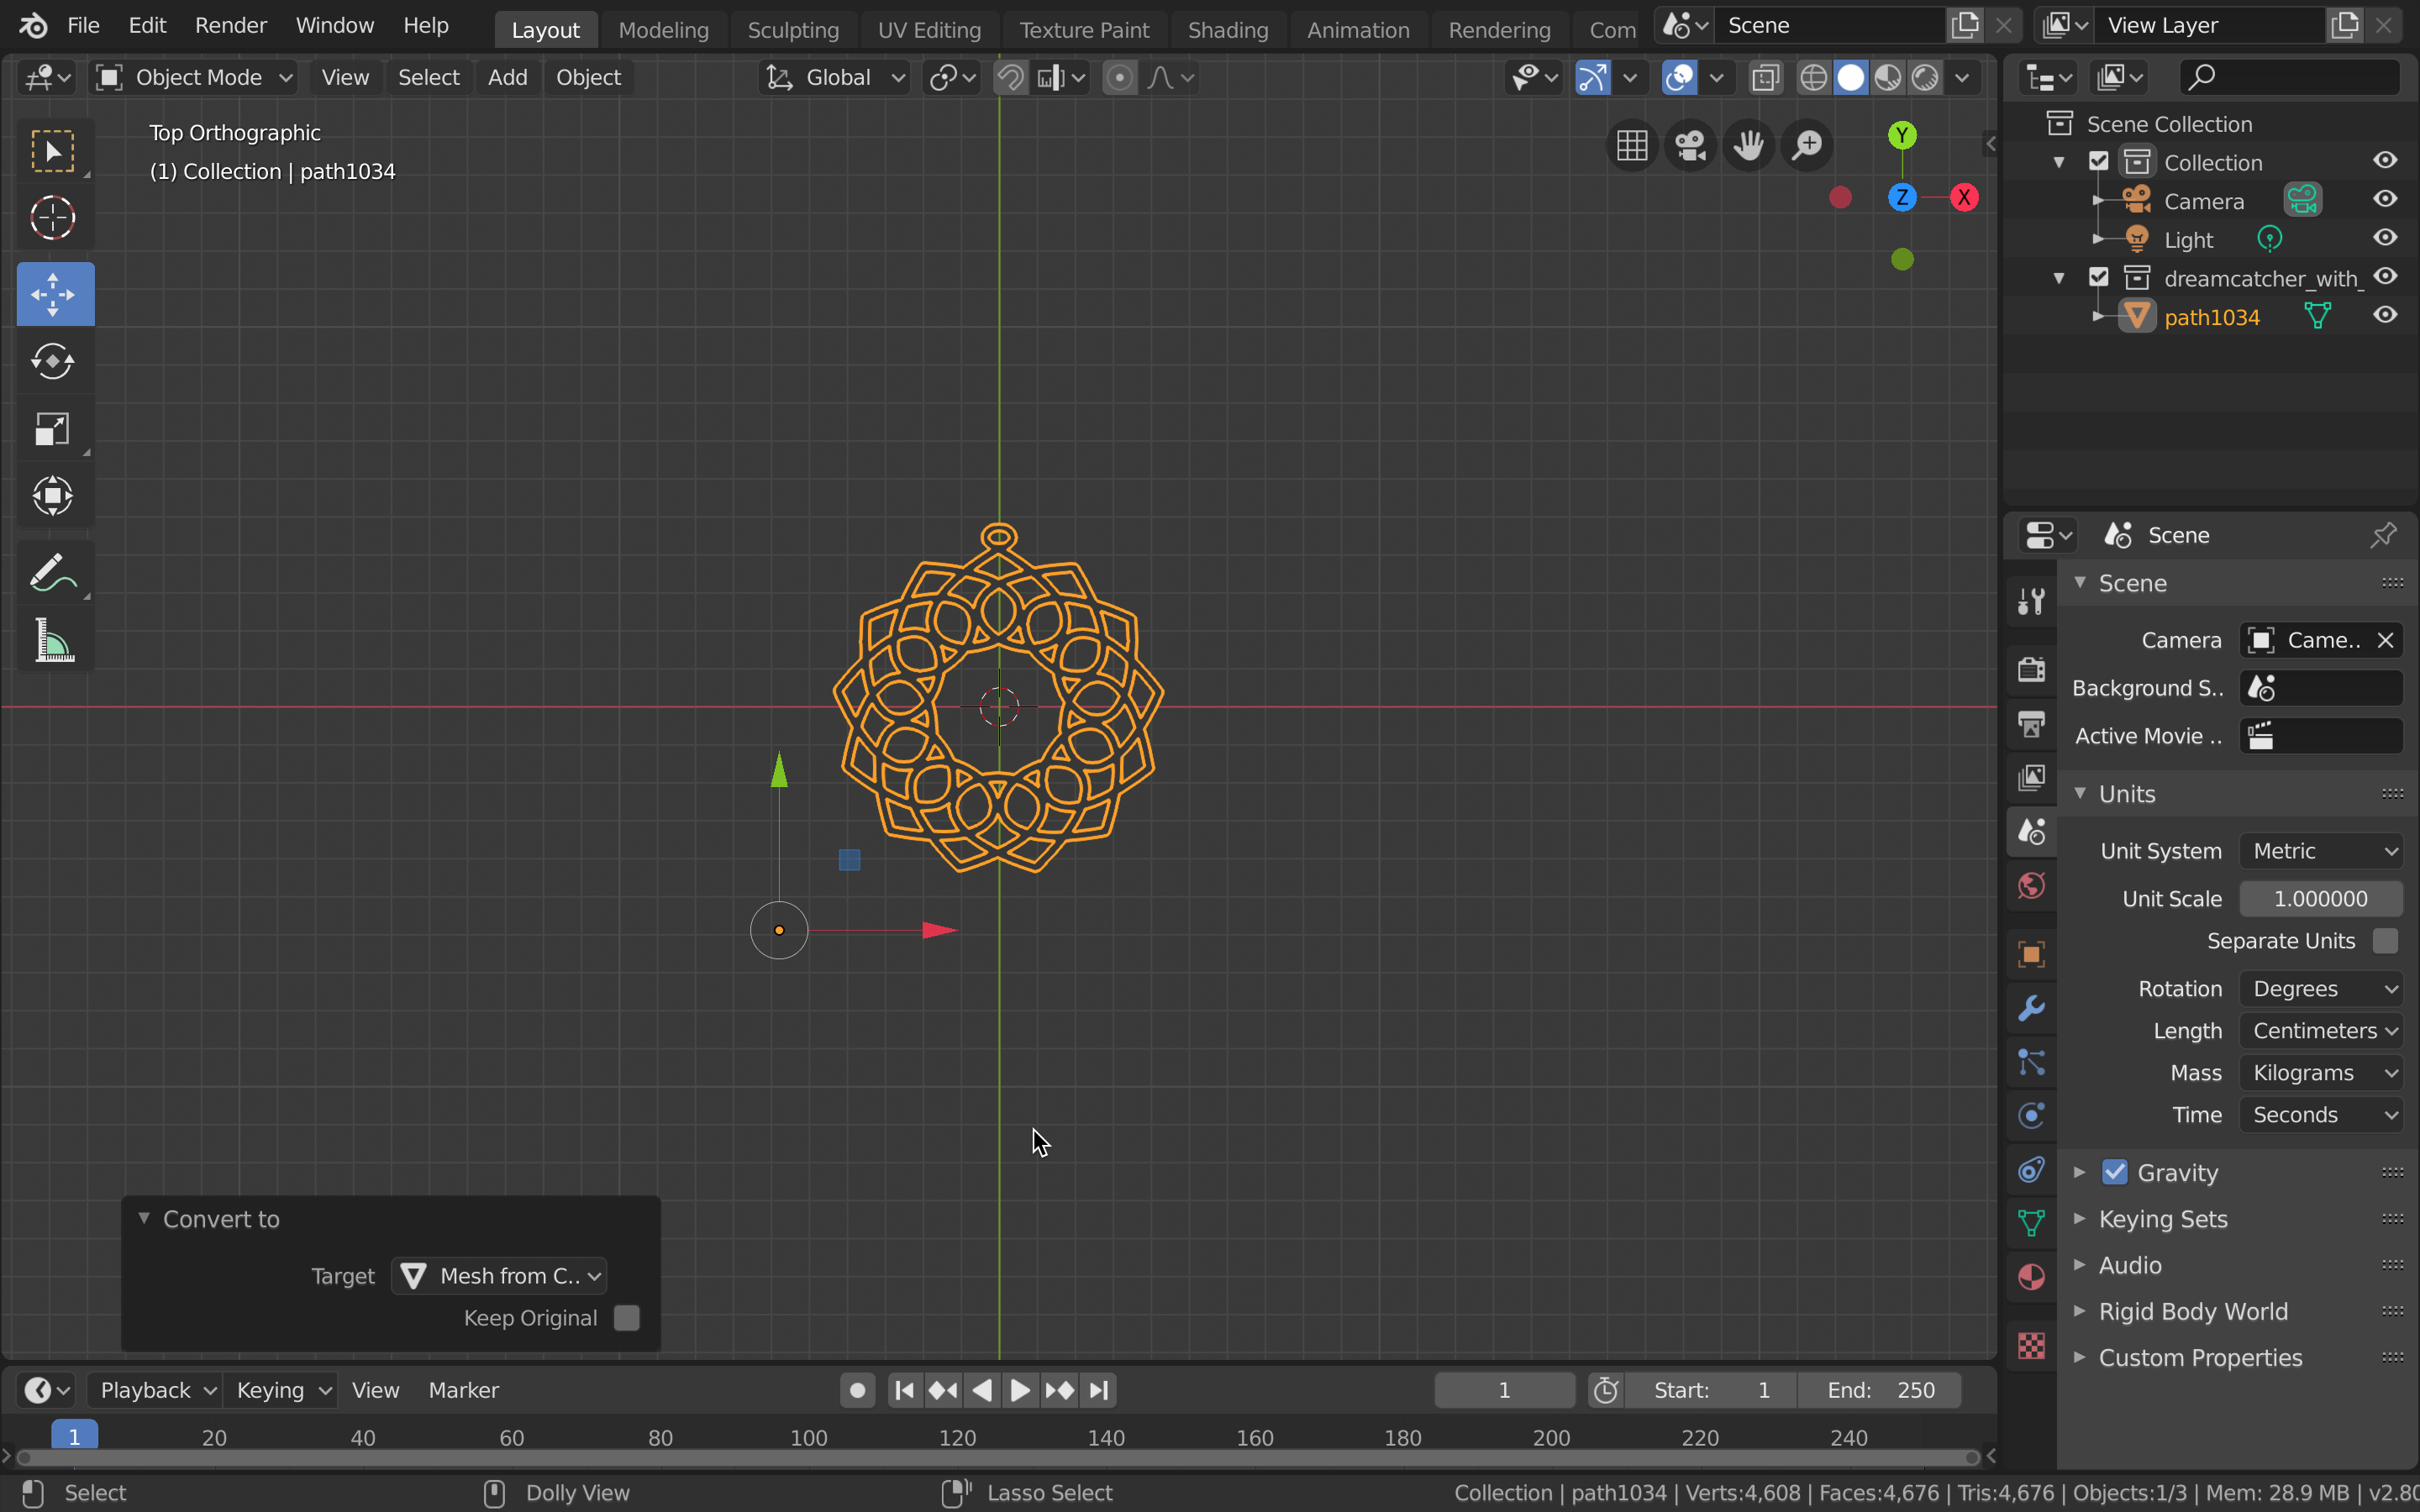
- Convert the object to a mesh using Object, Convert to, Mesh from Curve/Meta/Surf/Text.
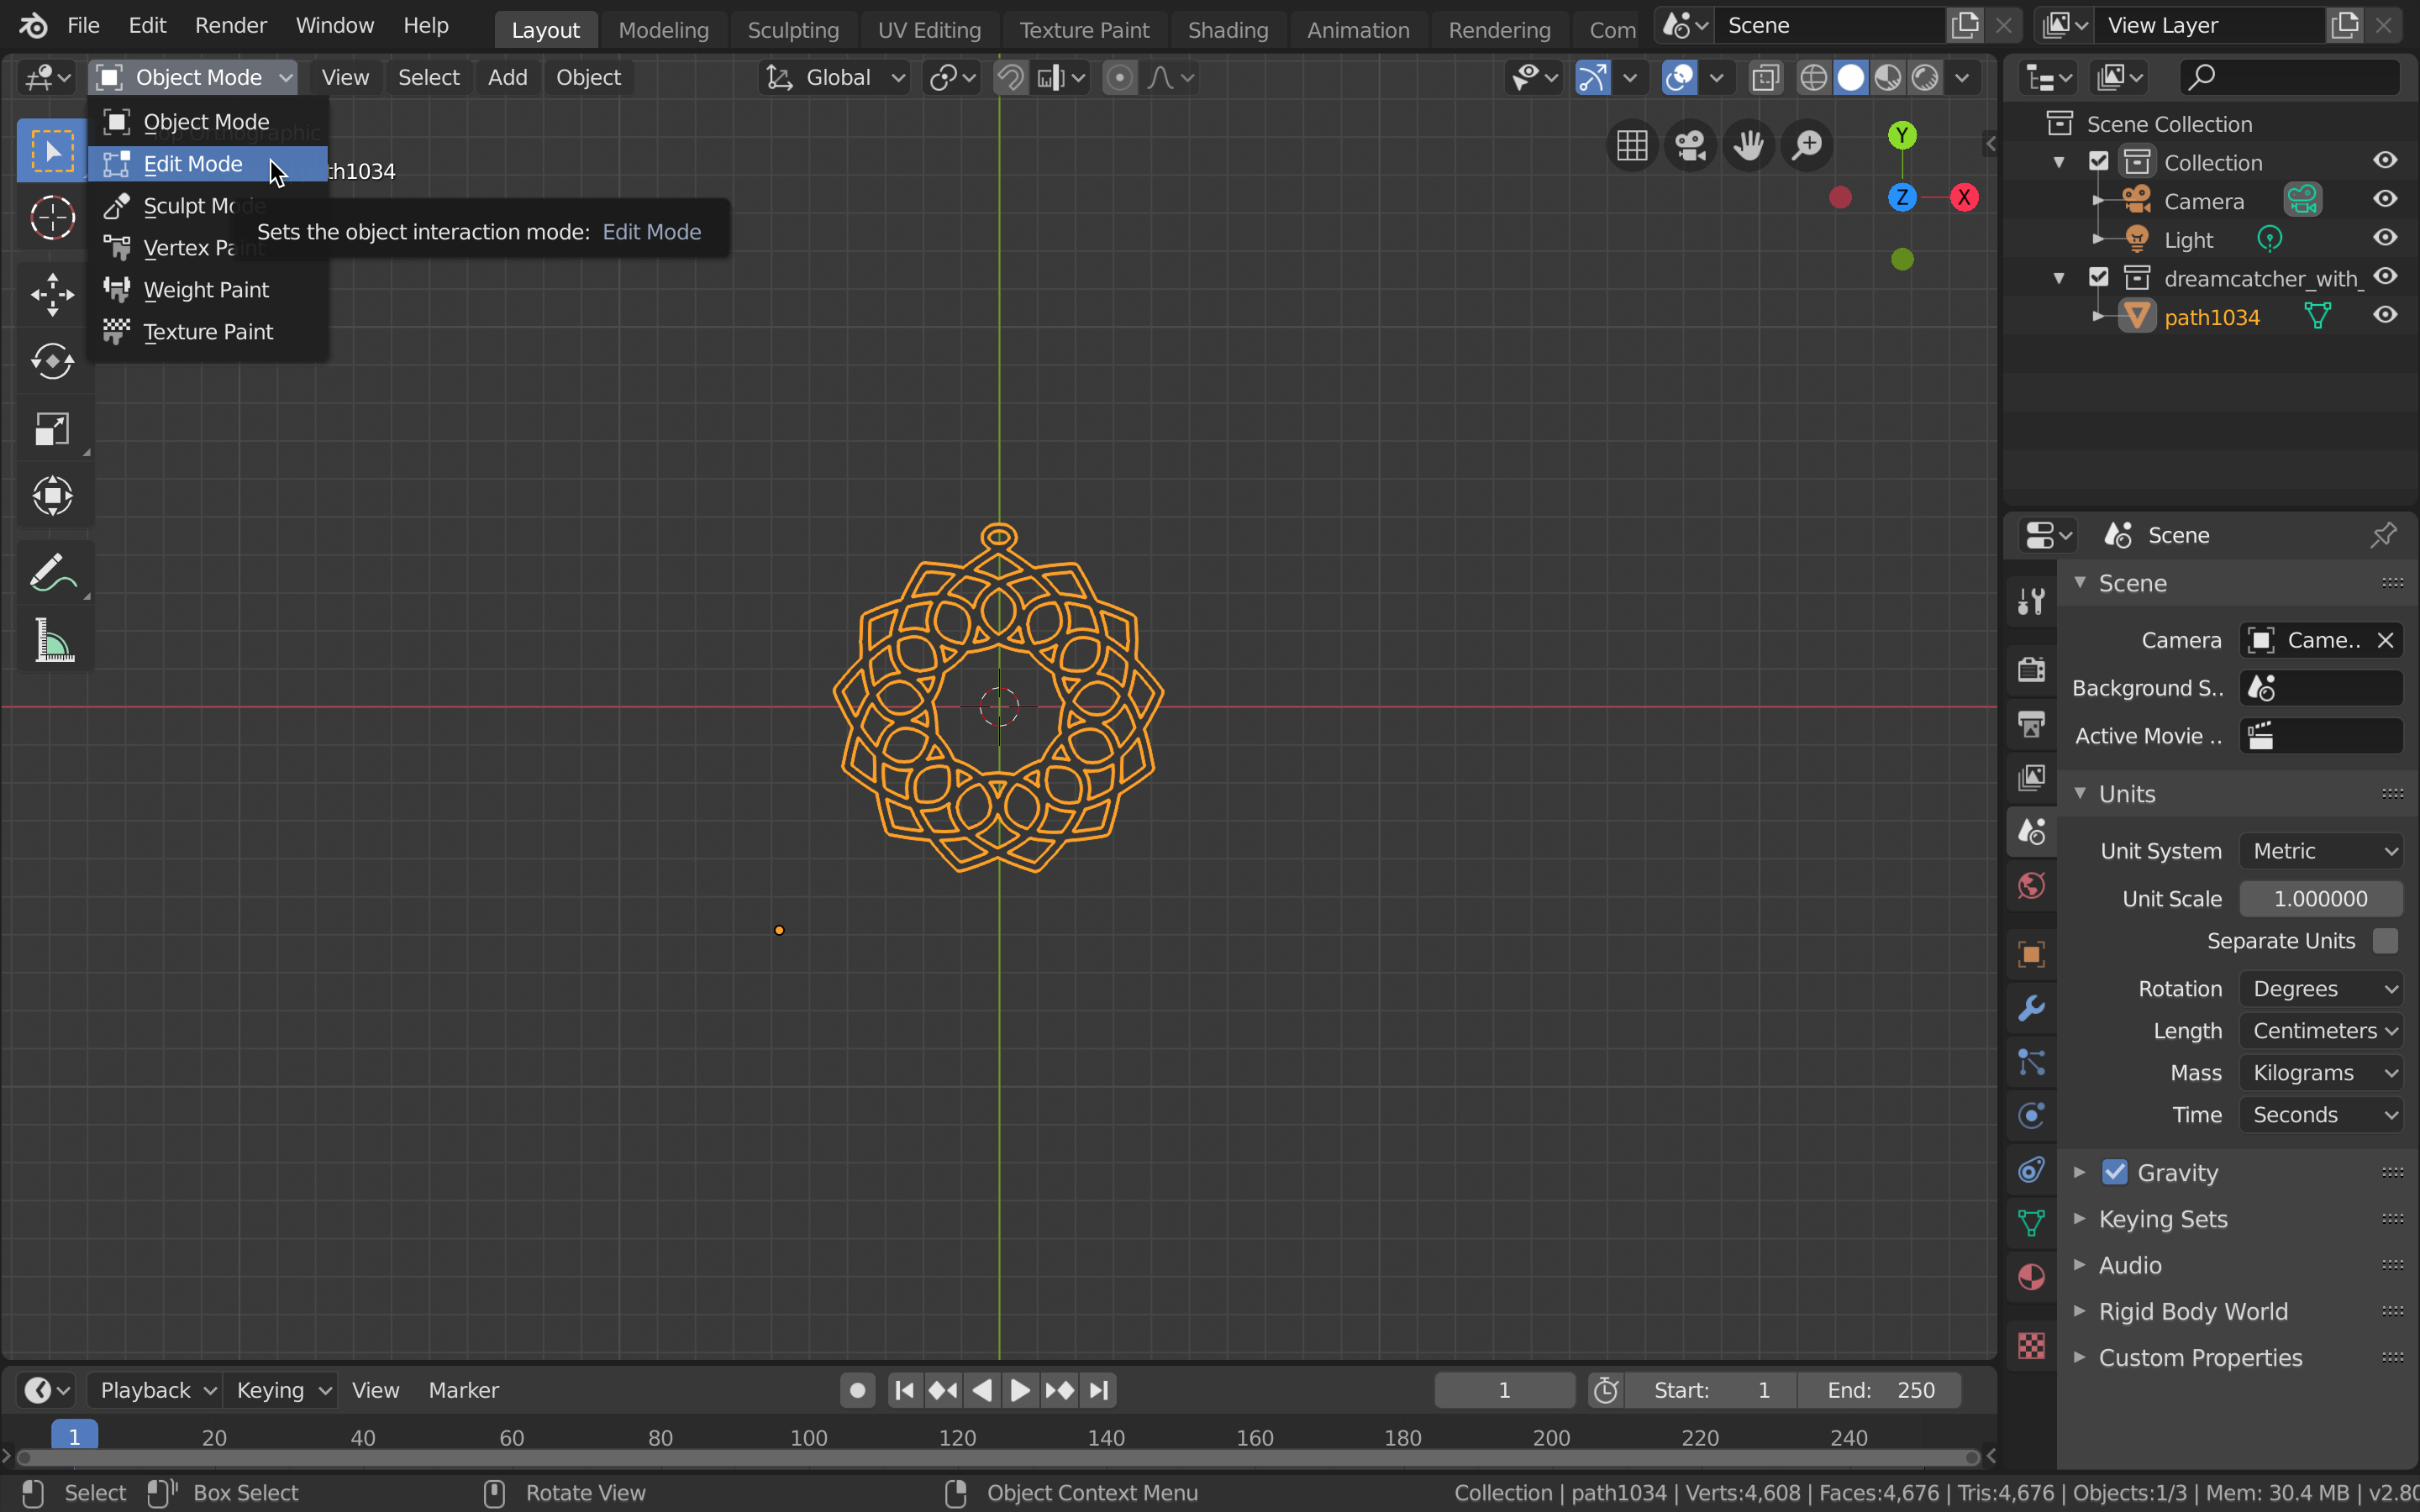
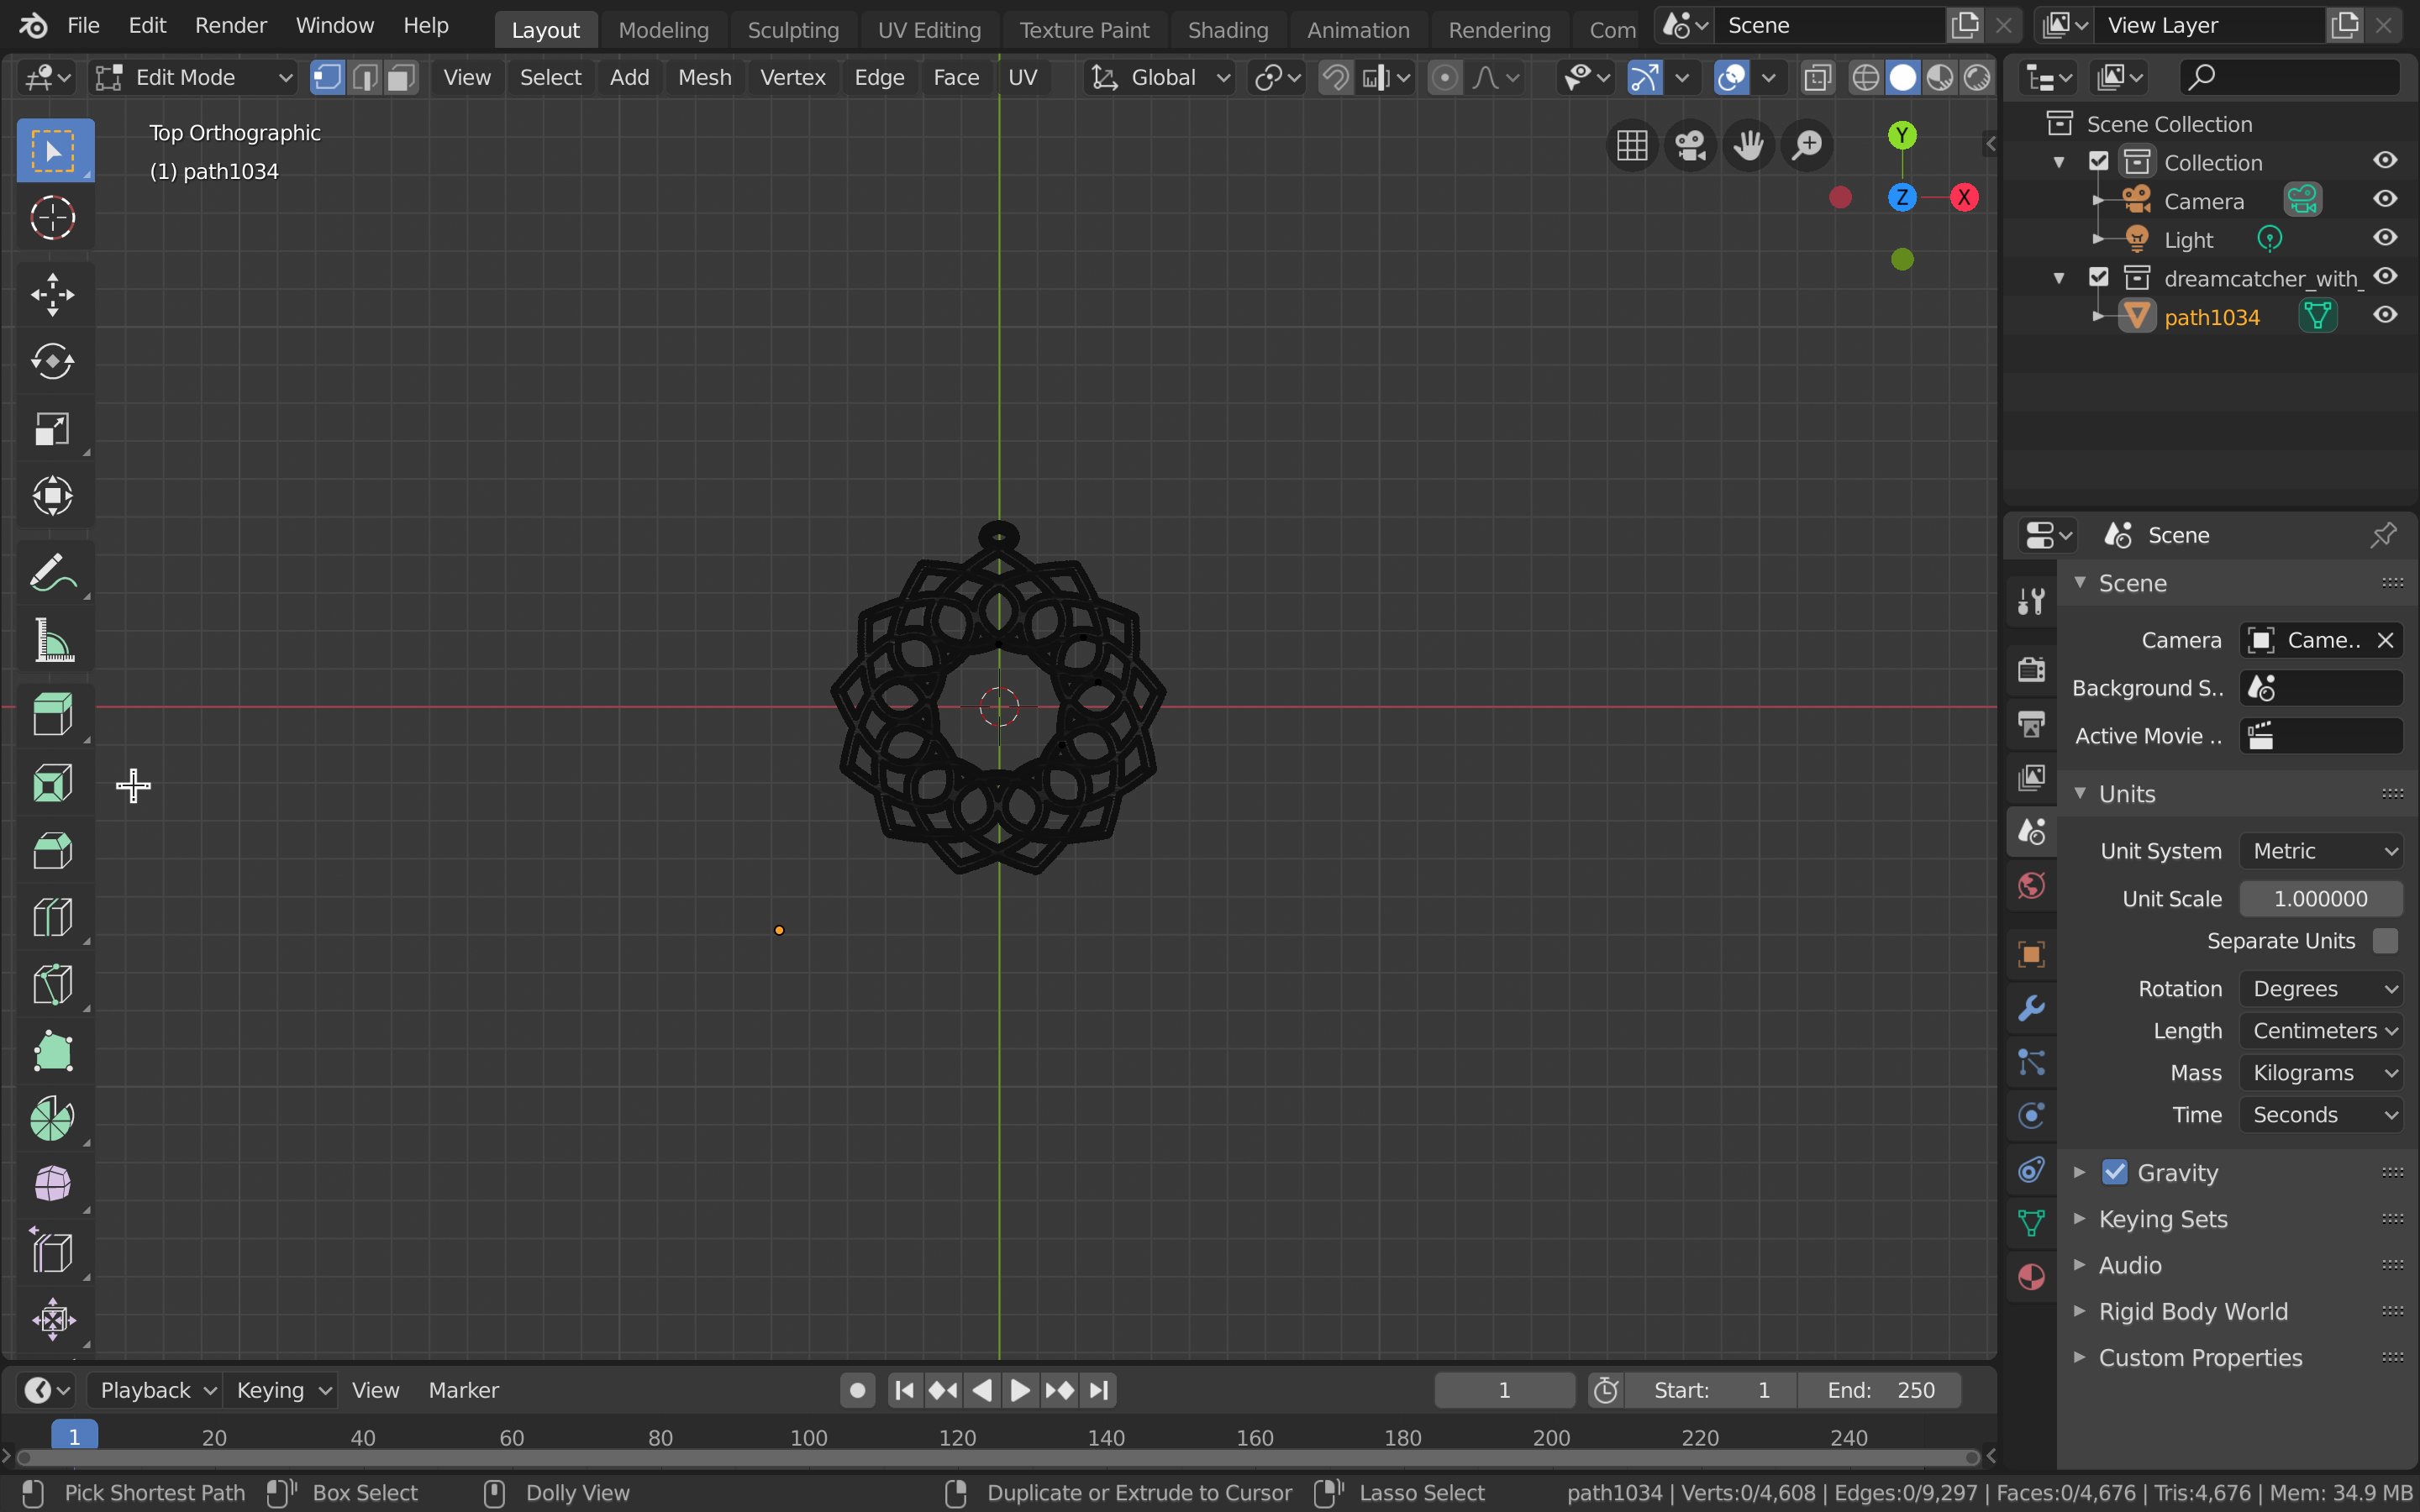
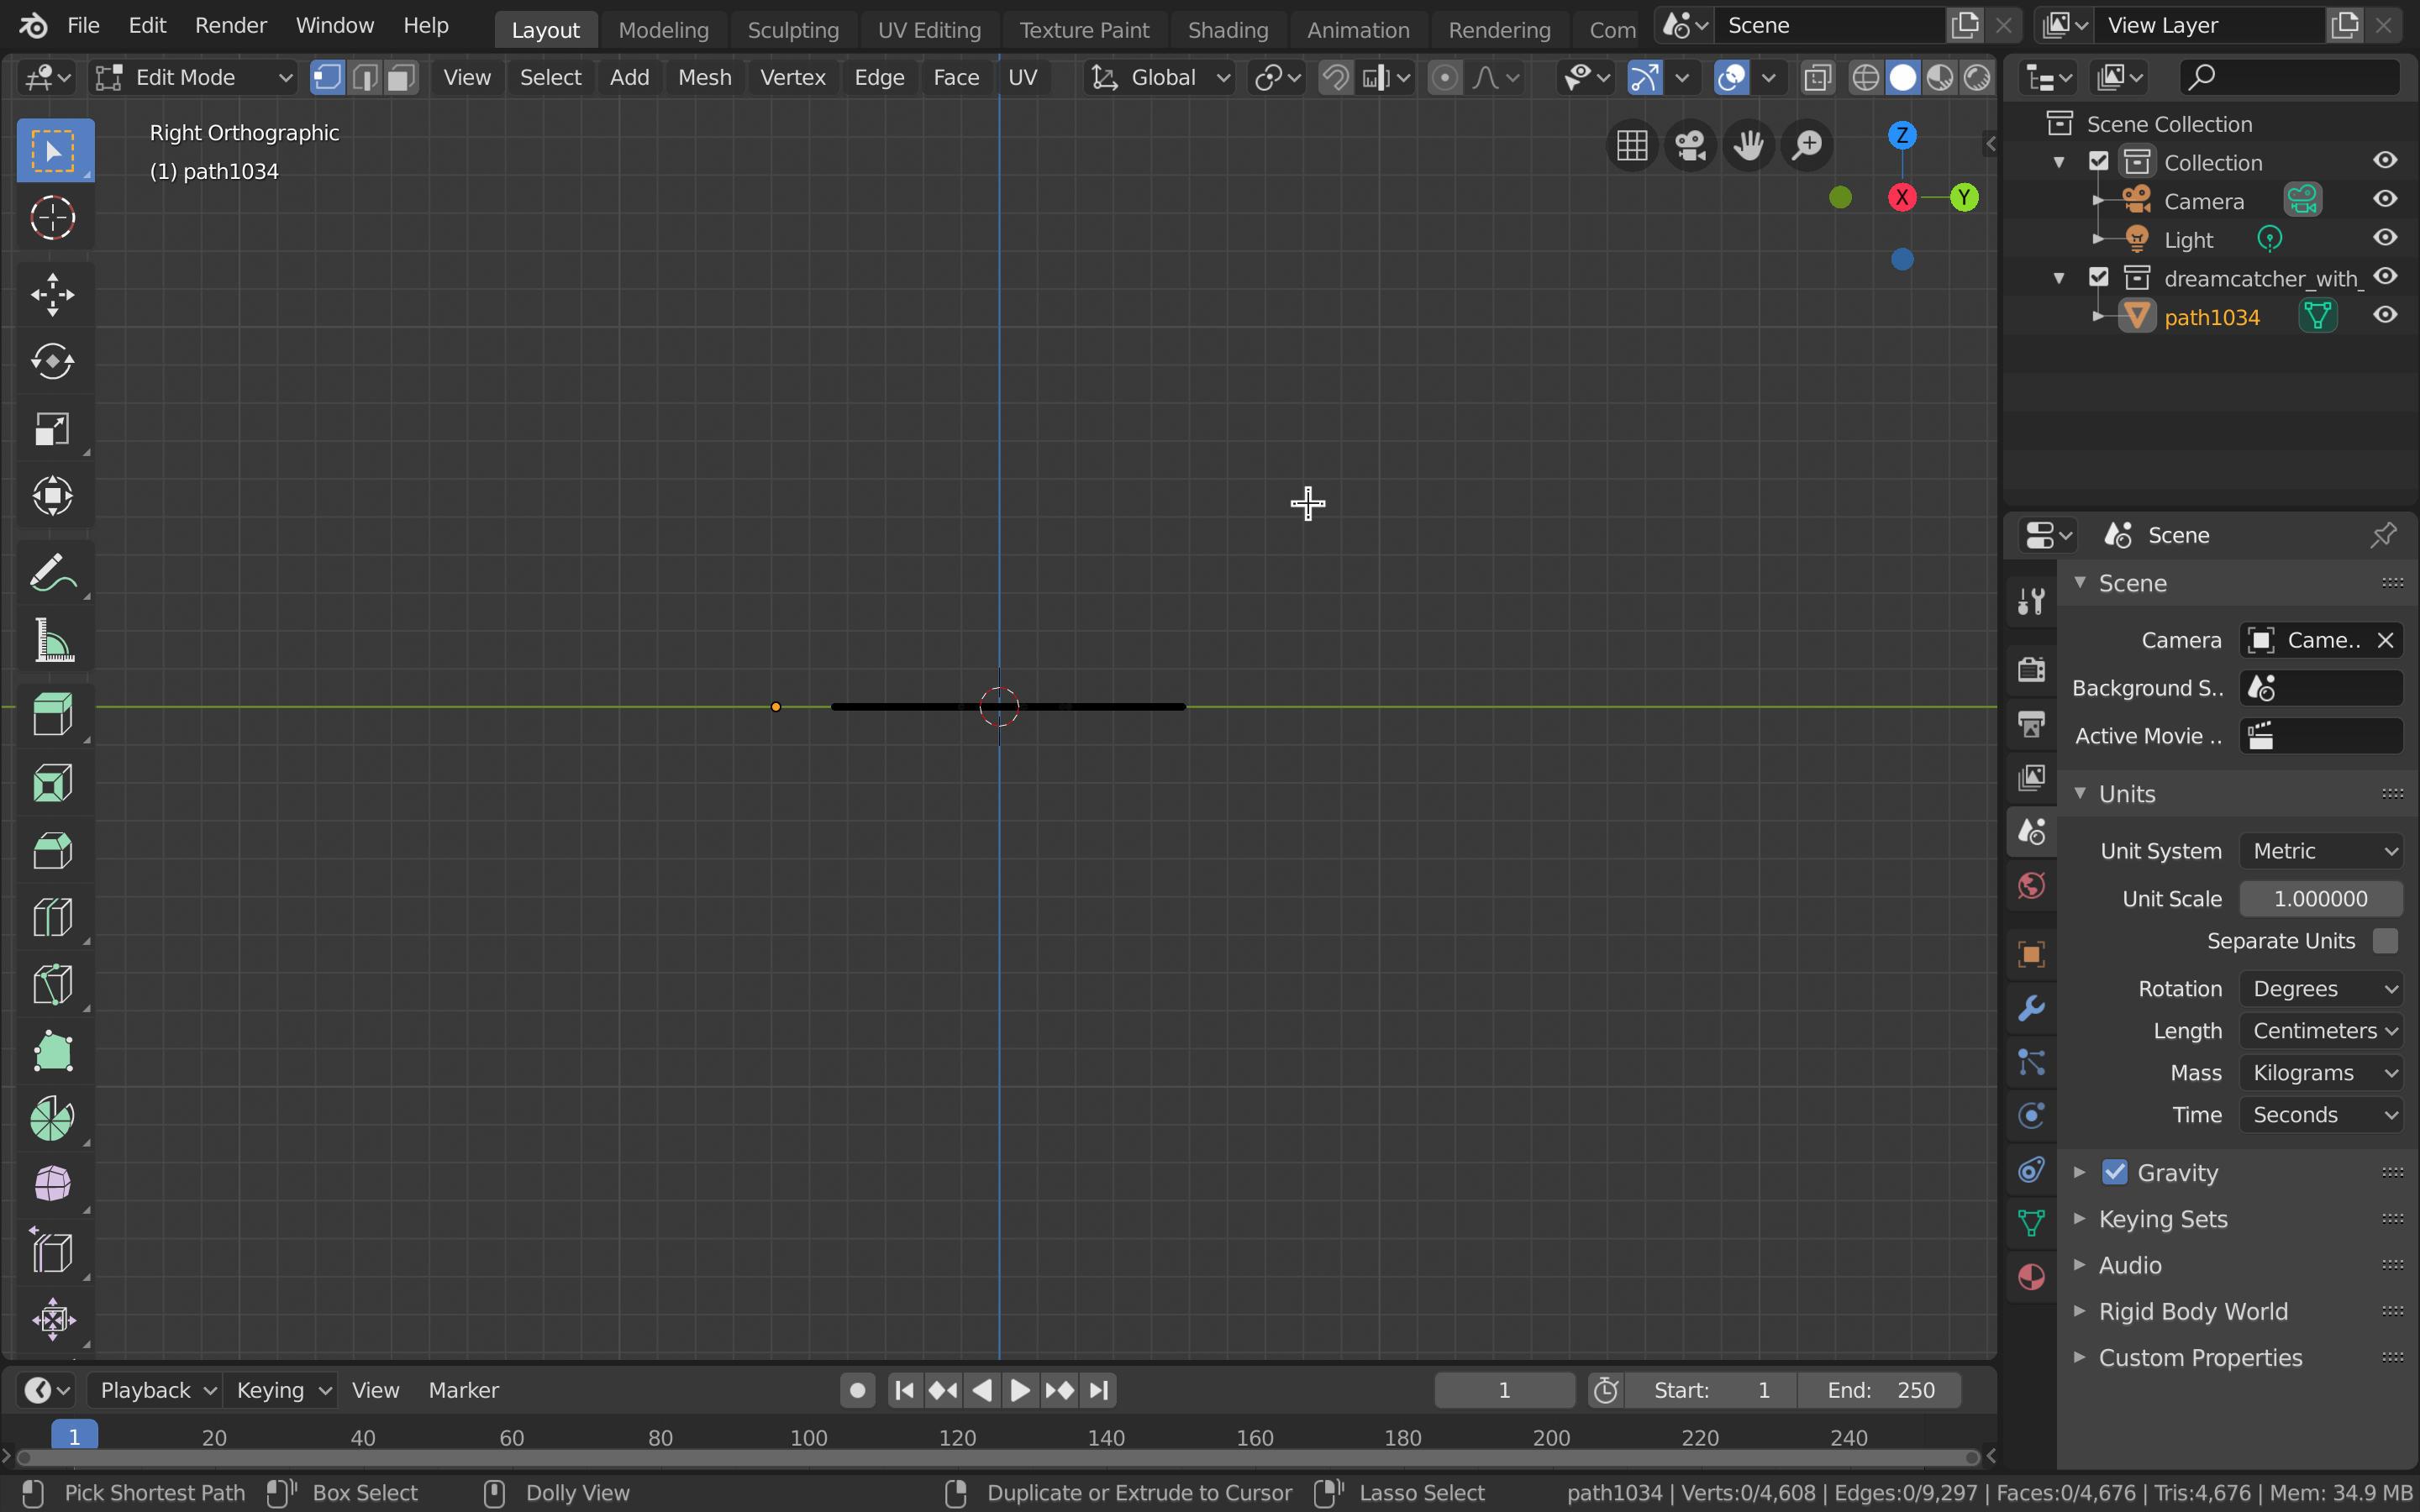
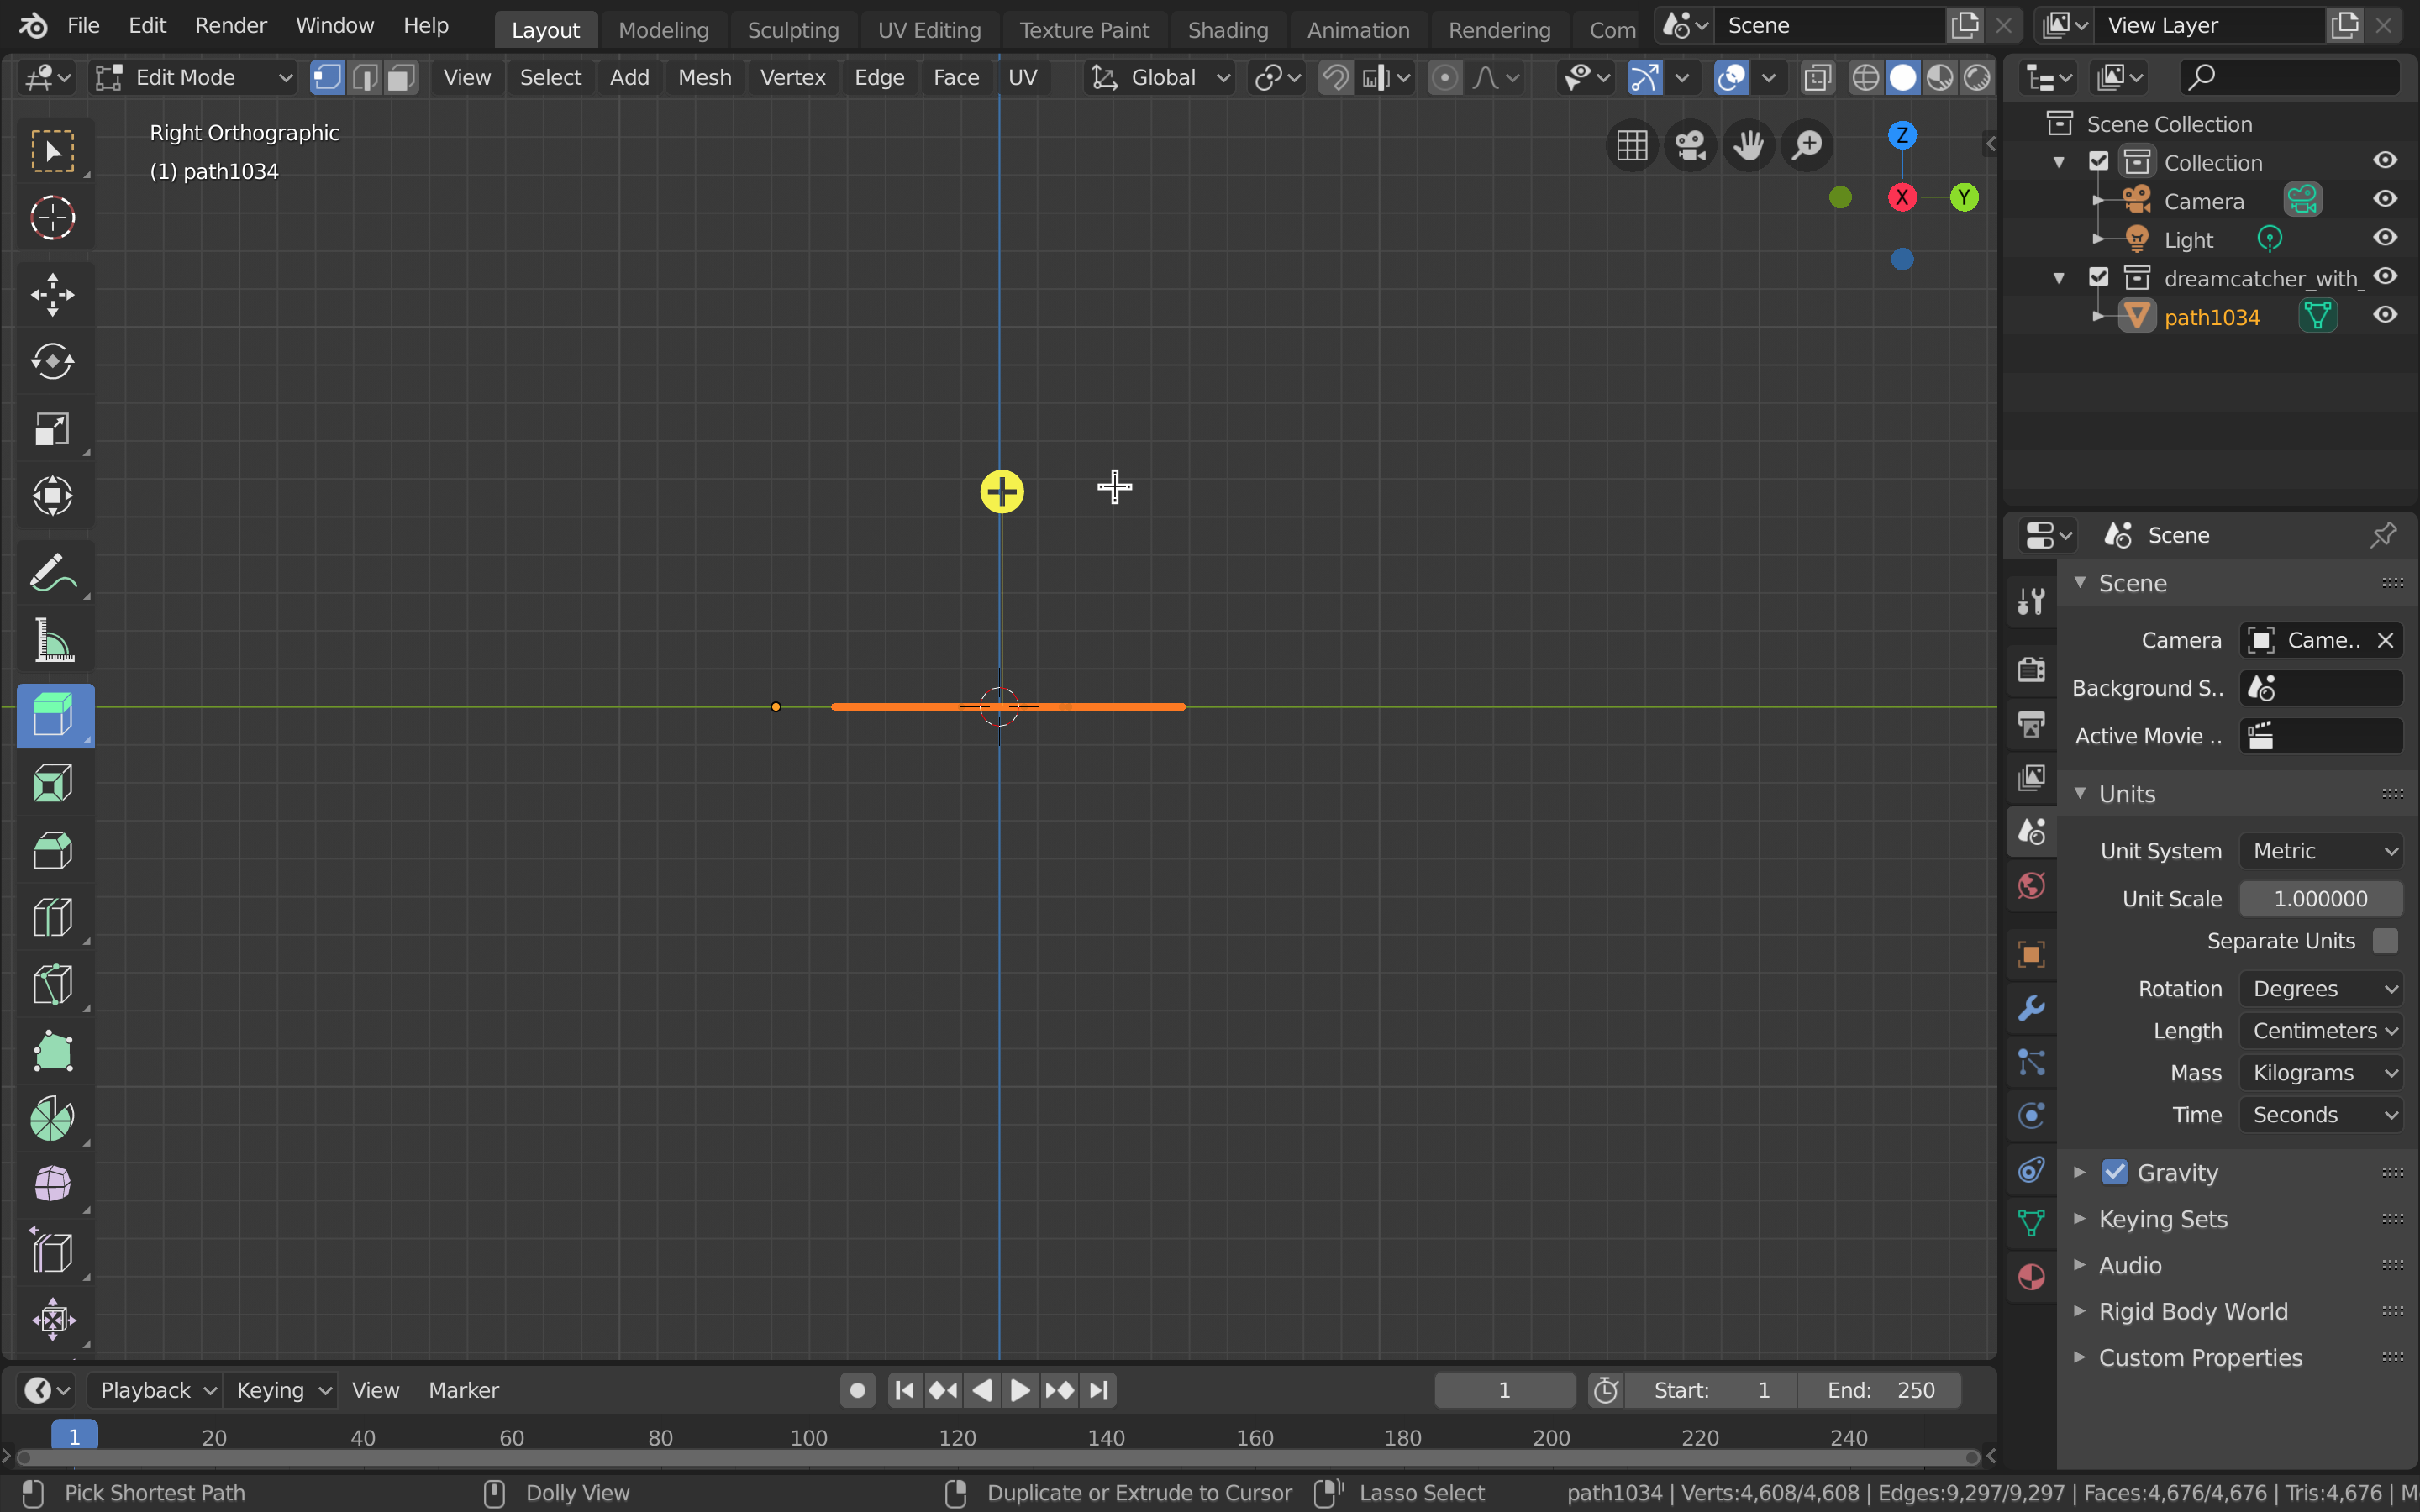
- With the dreamcatcher selected, change to Edit Mode.
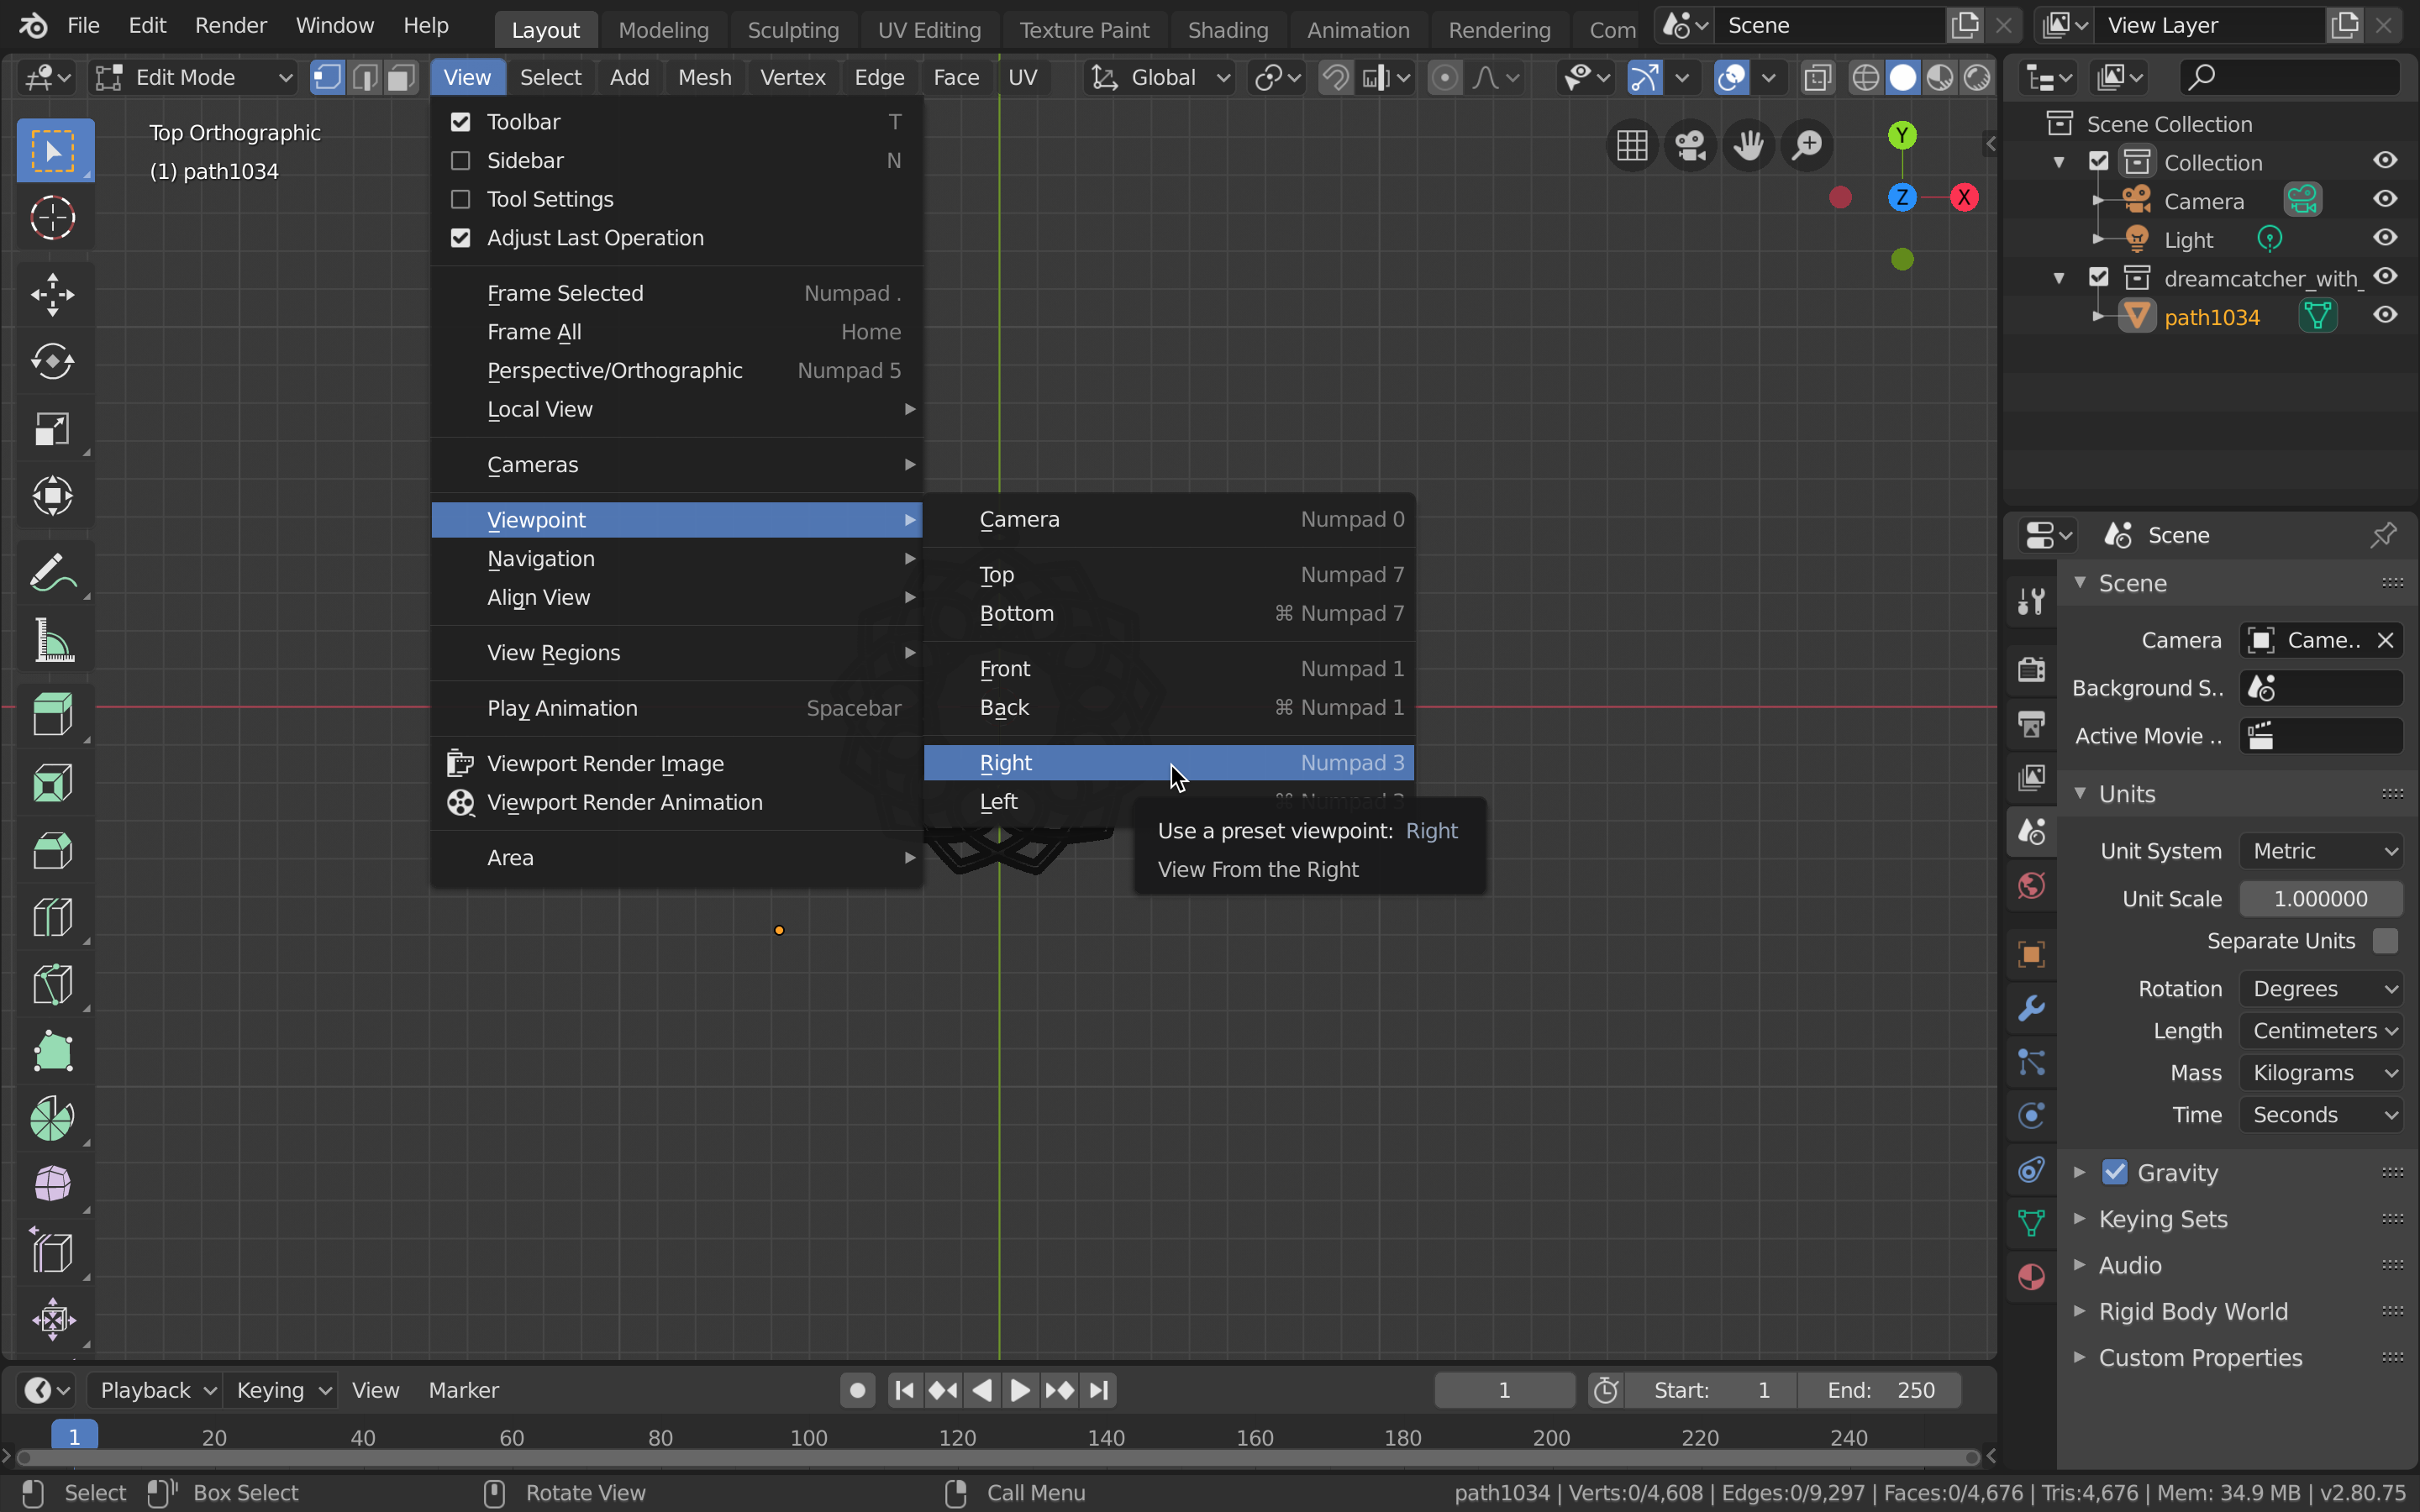
If you do not see the same edit mode tools, your convert to mesh isn't done. - Change the viewpoint to Right.
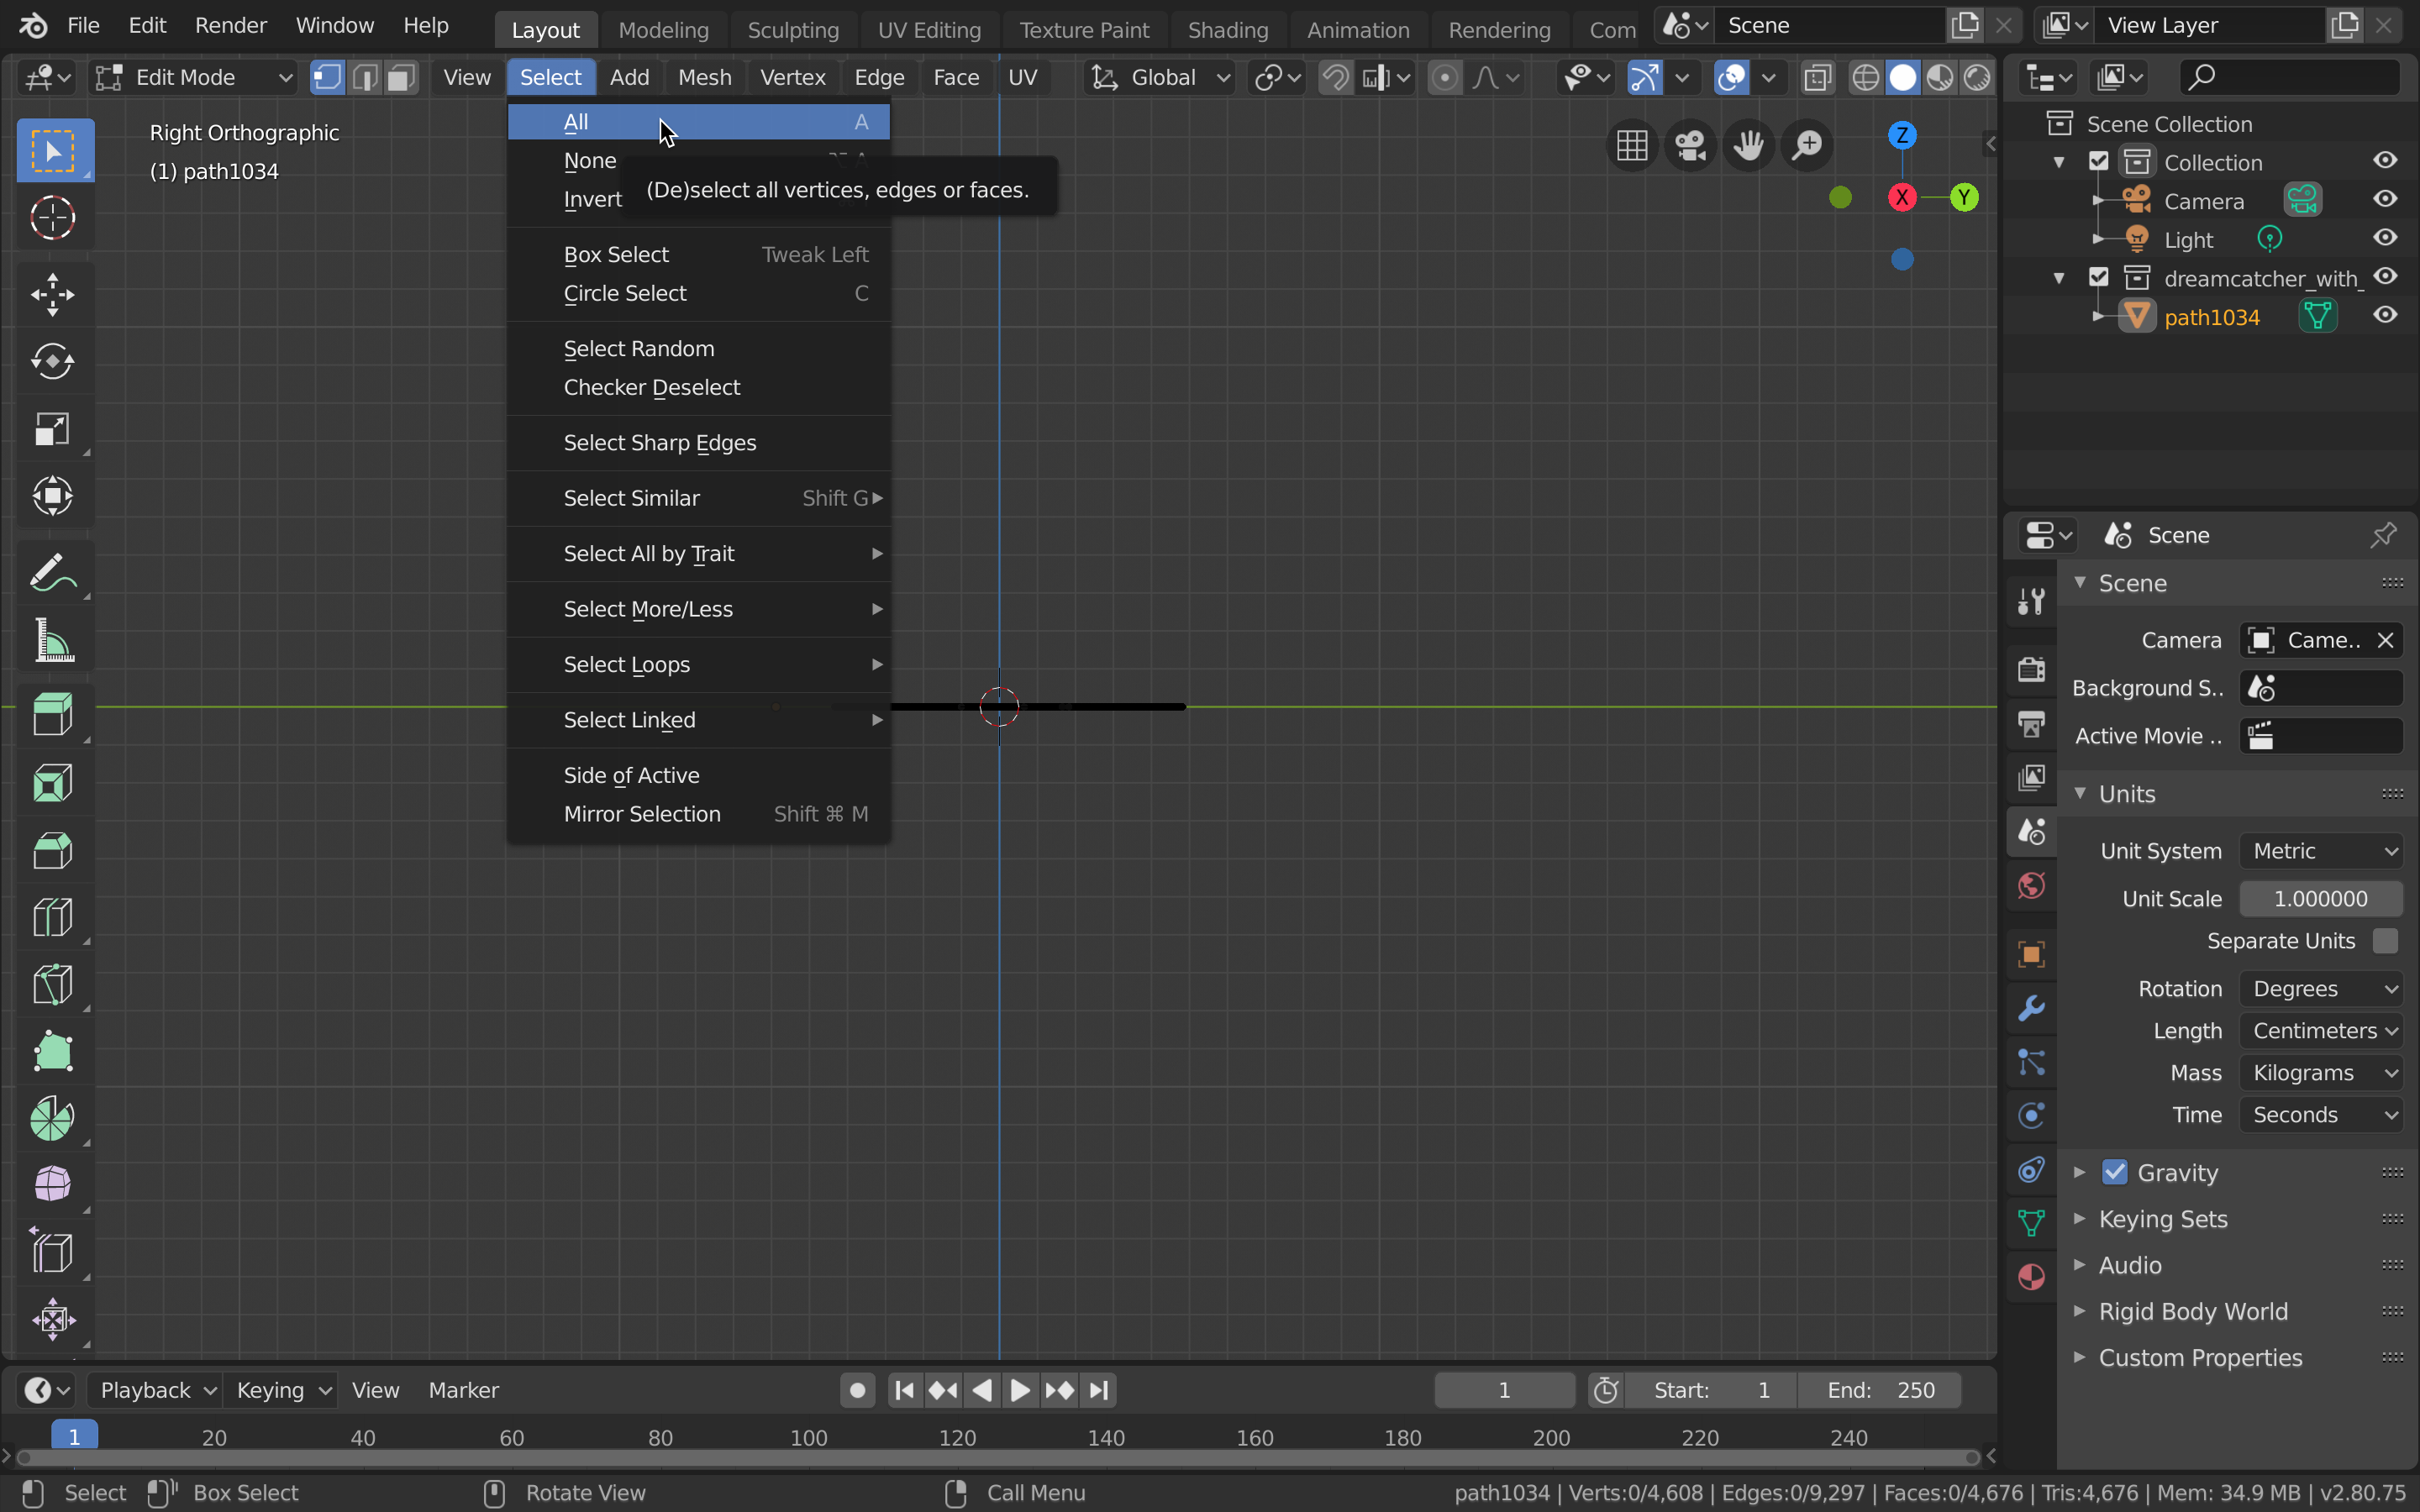
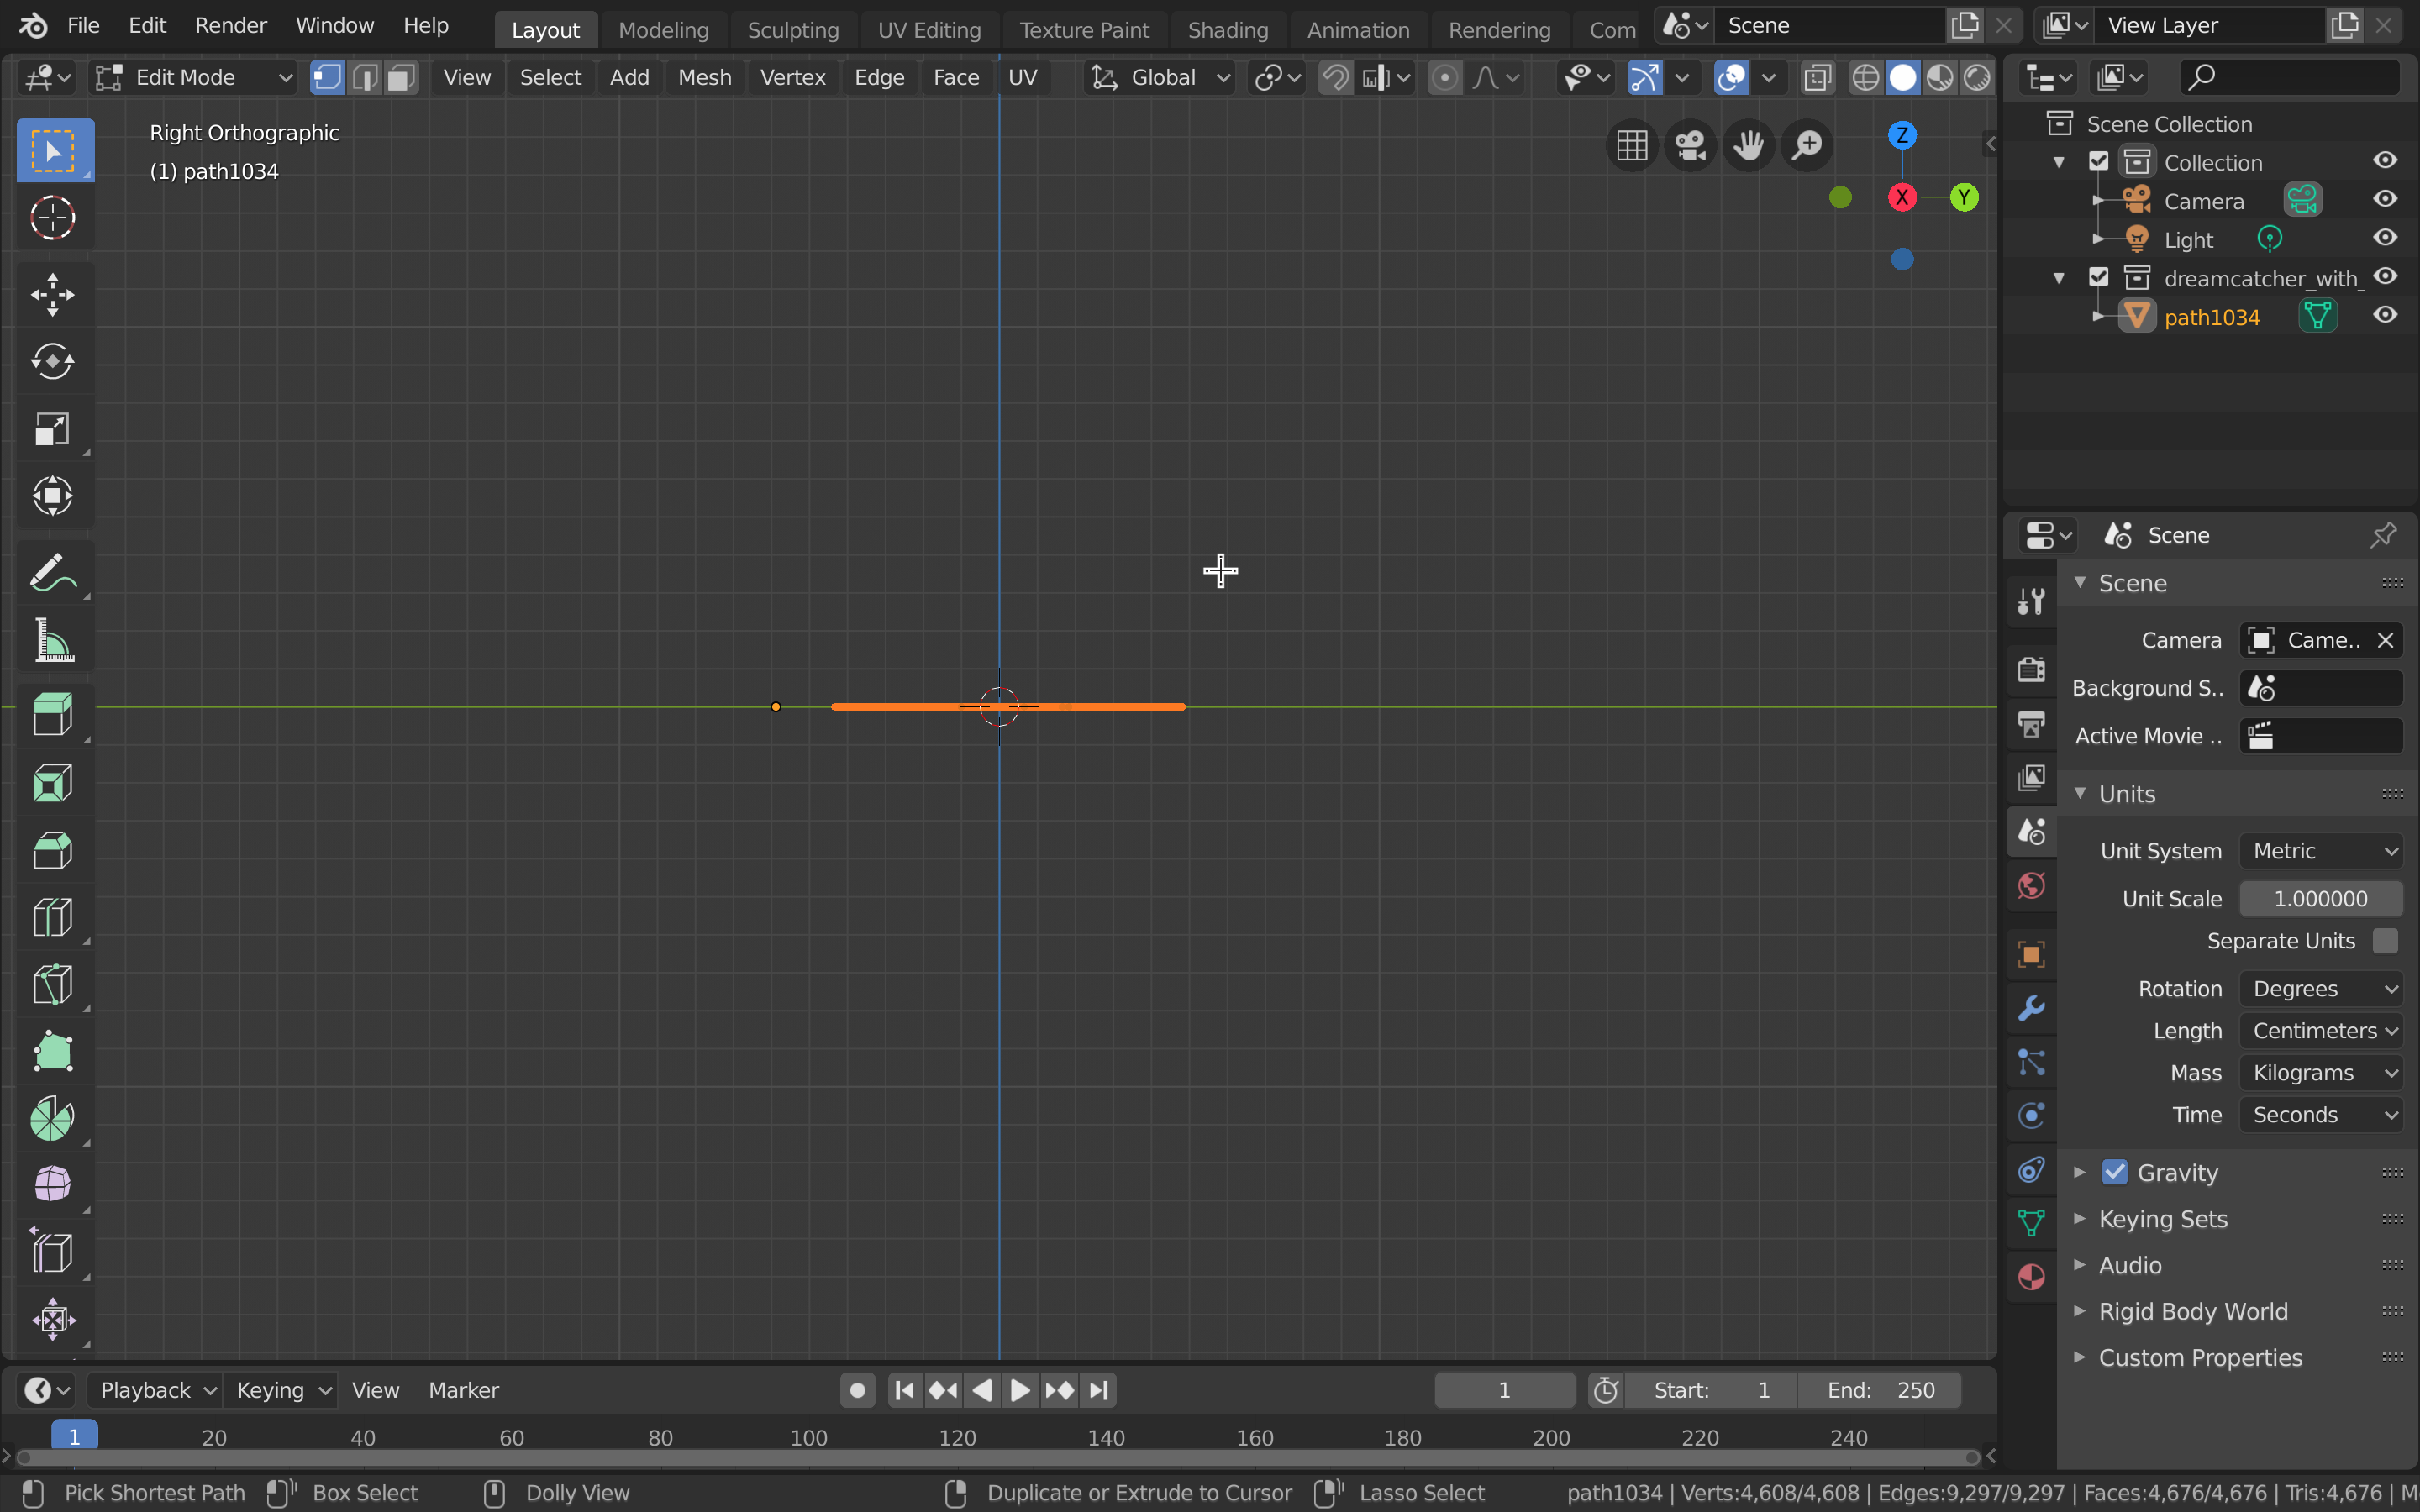
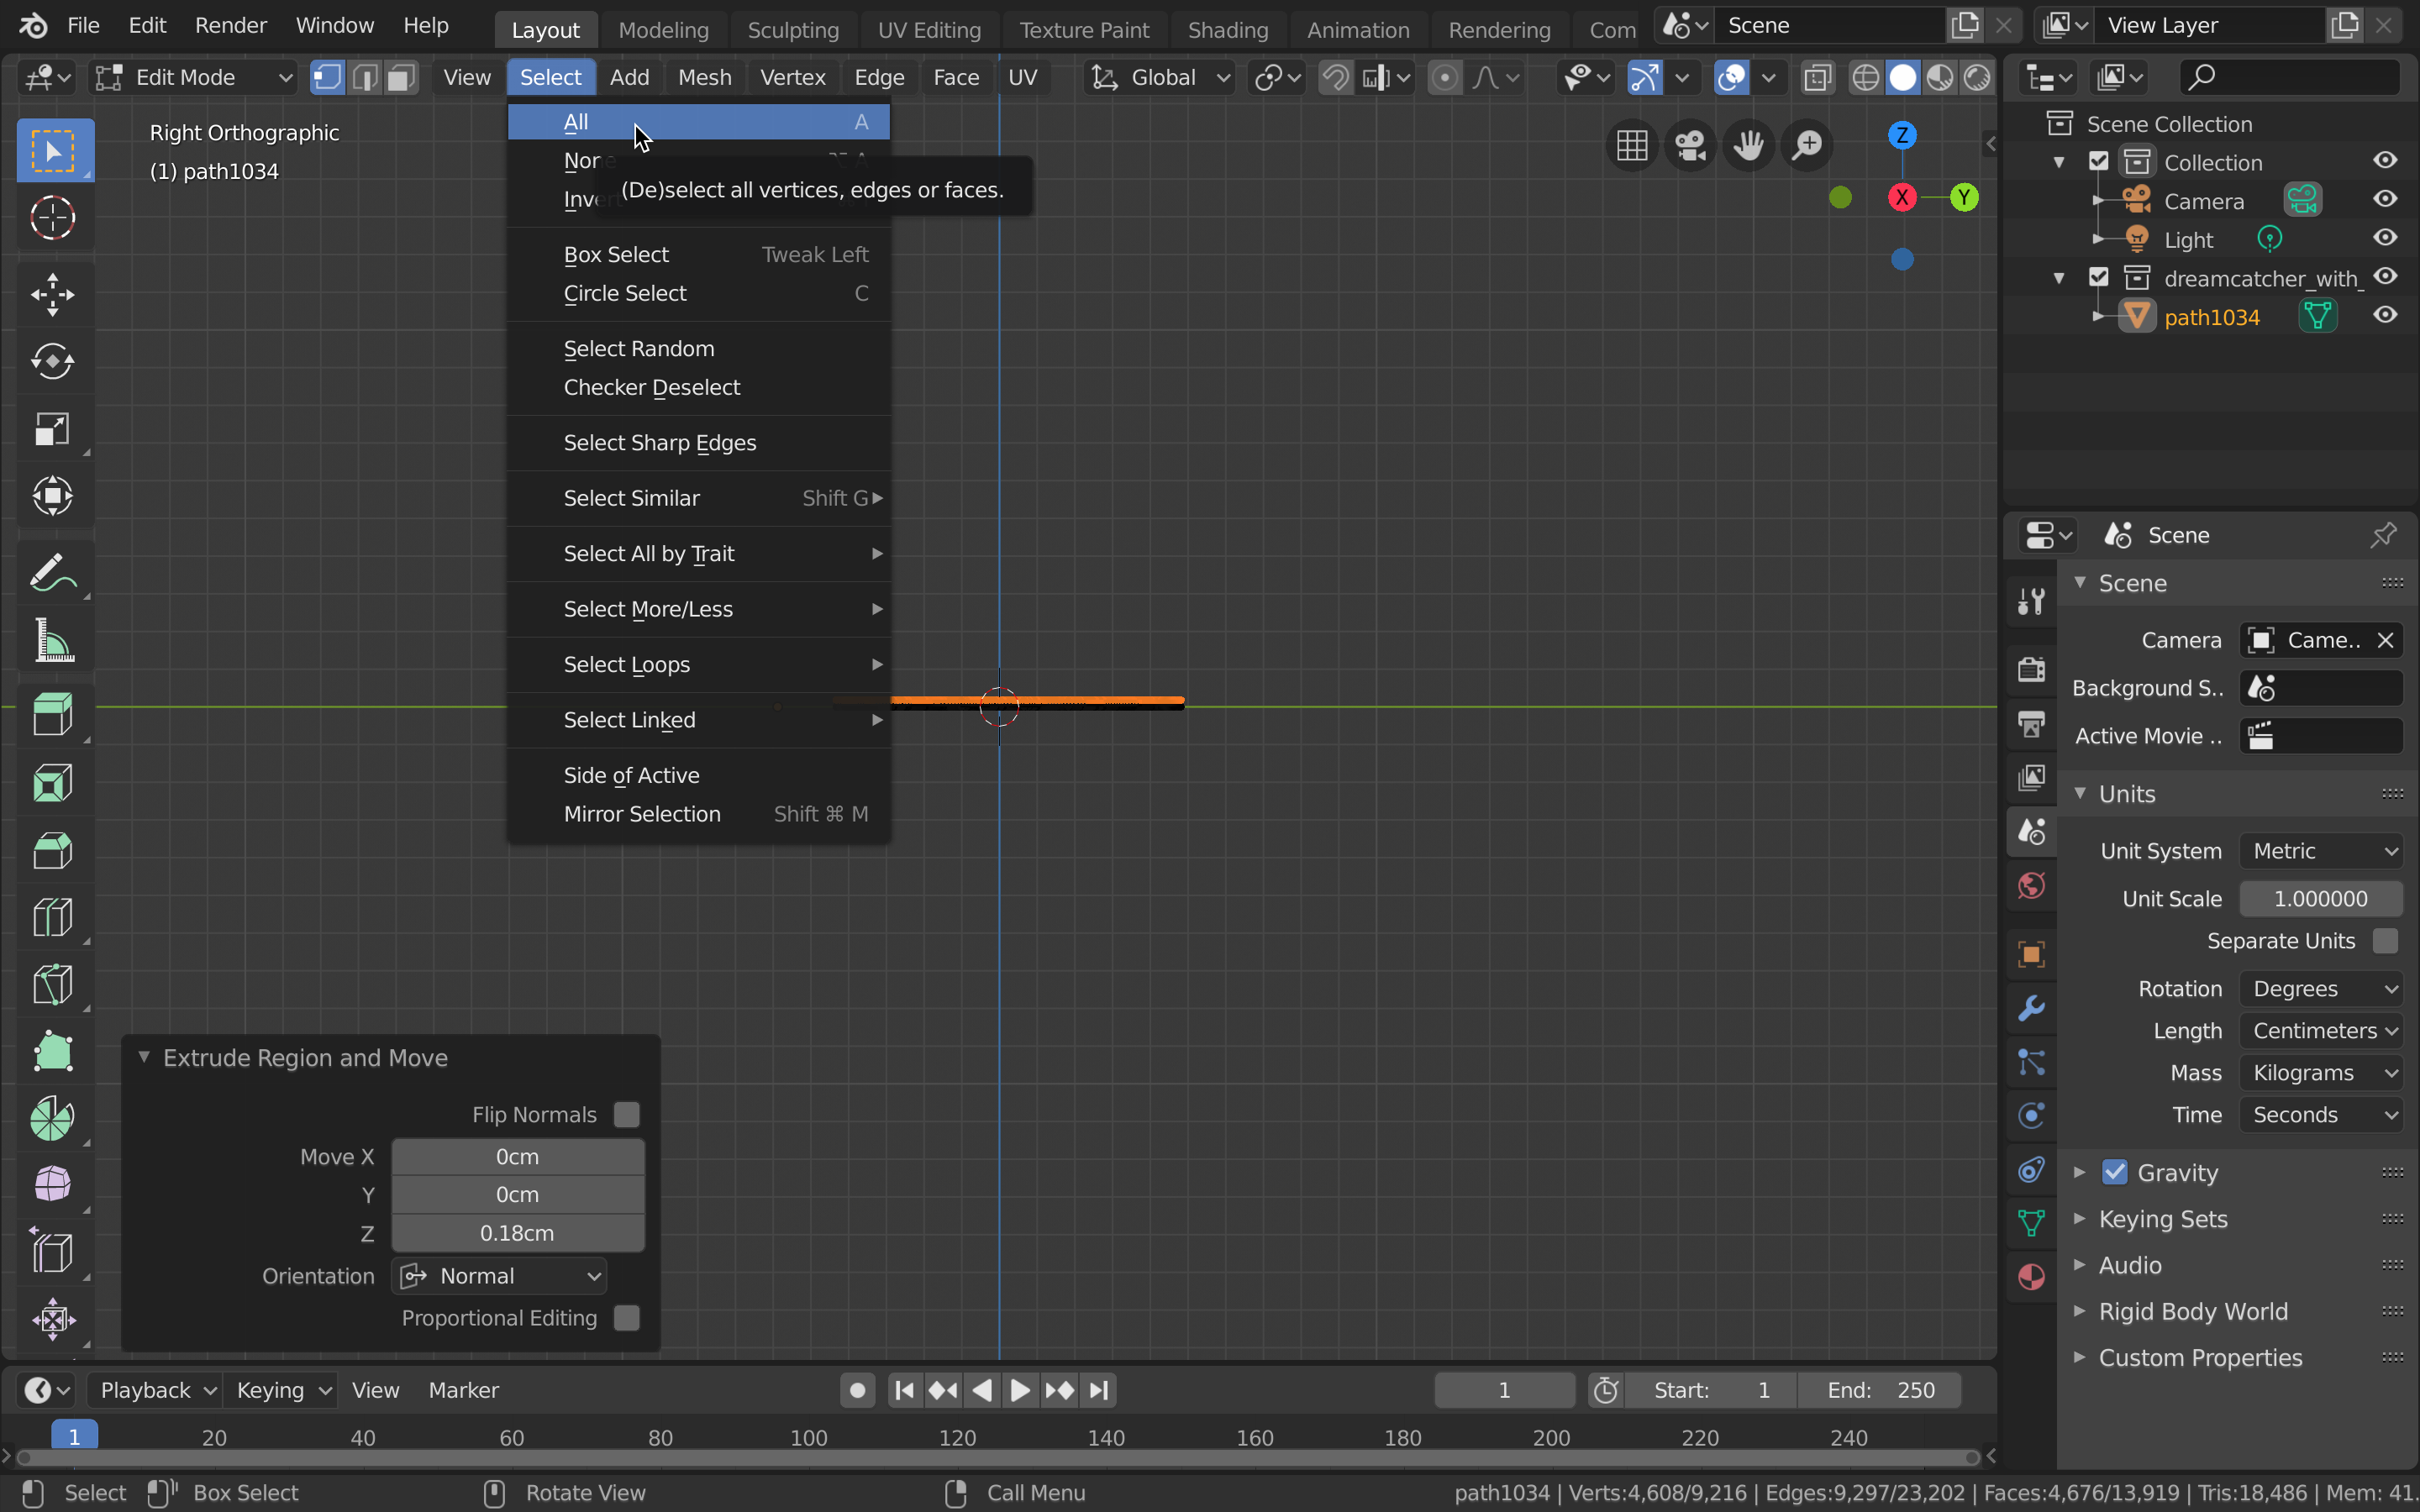
- Select all.
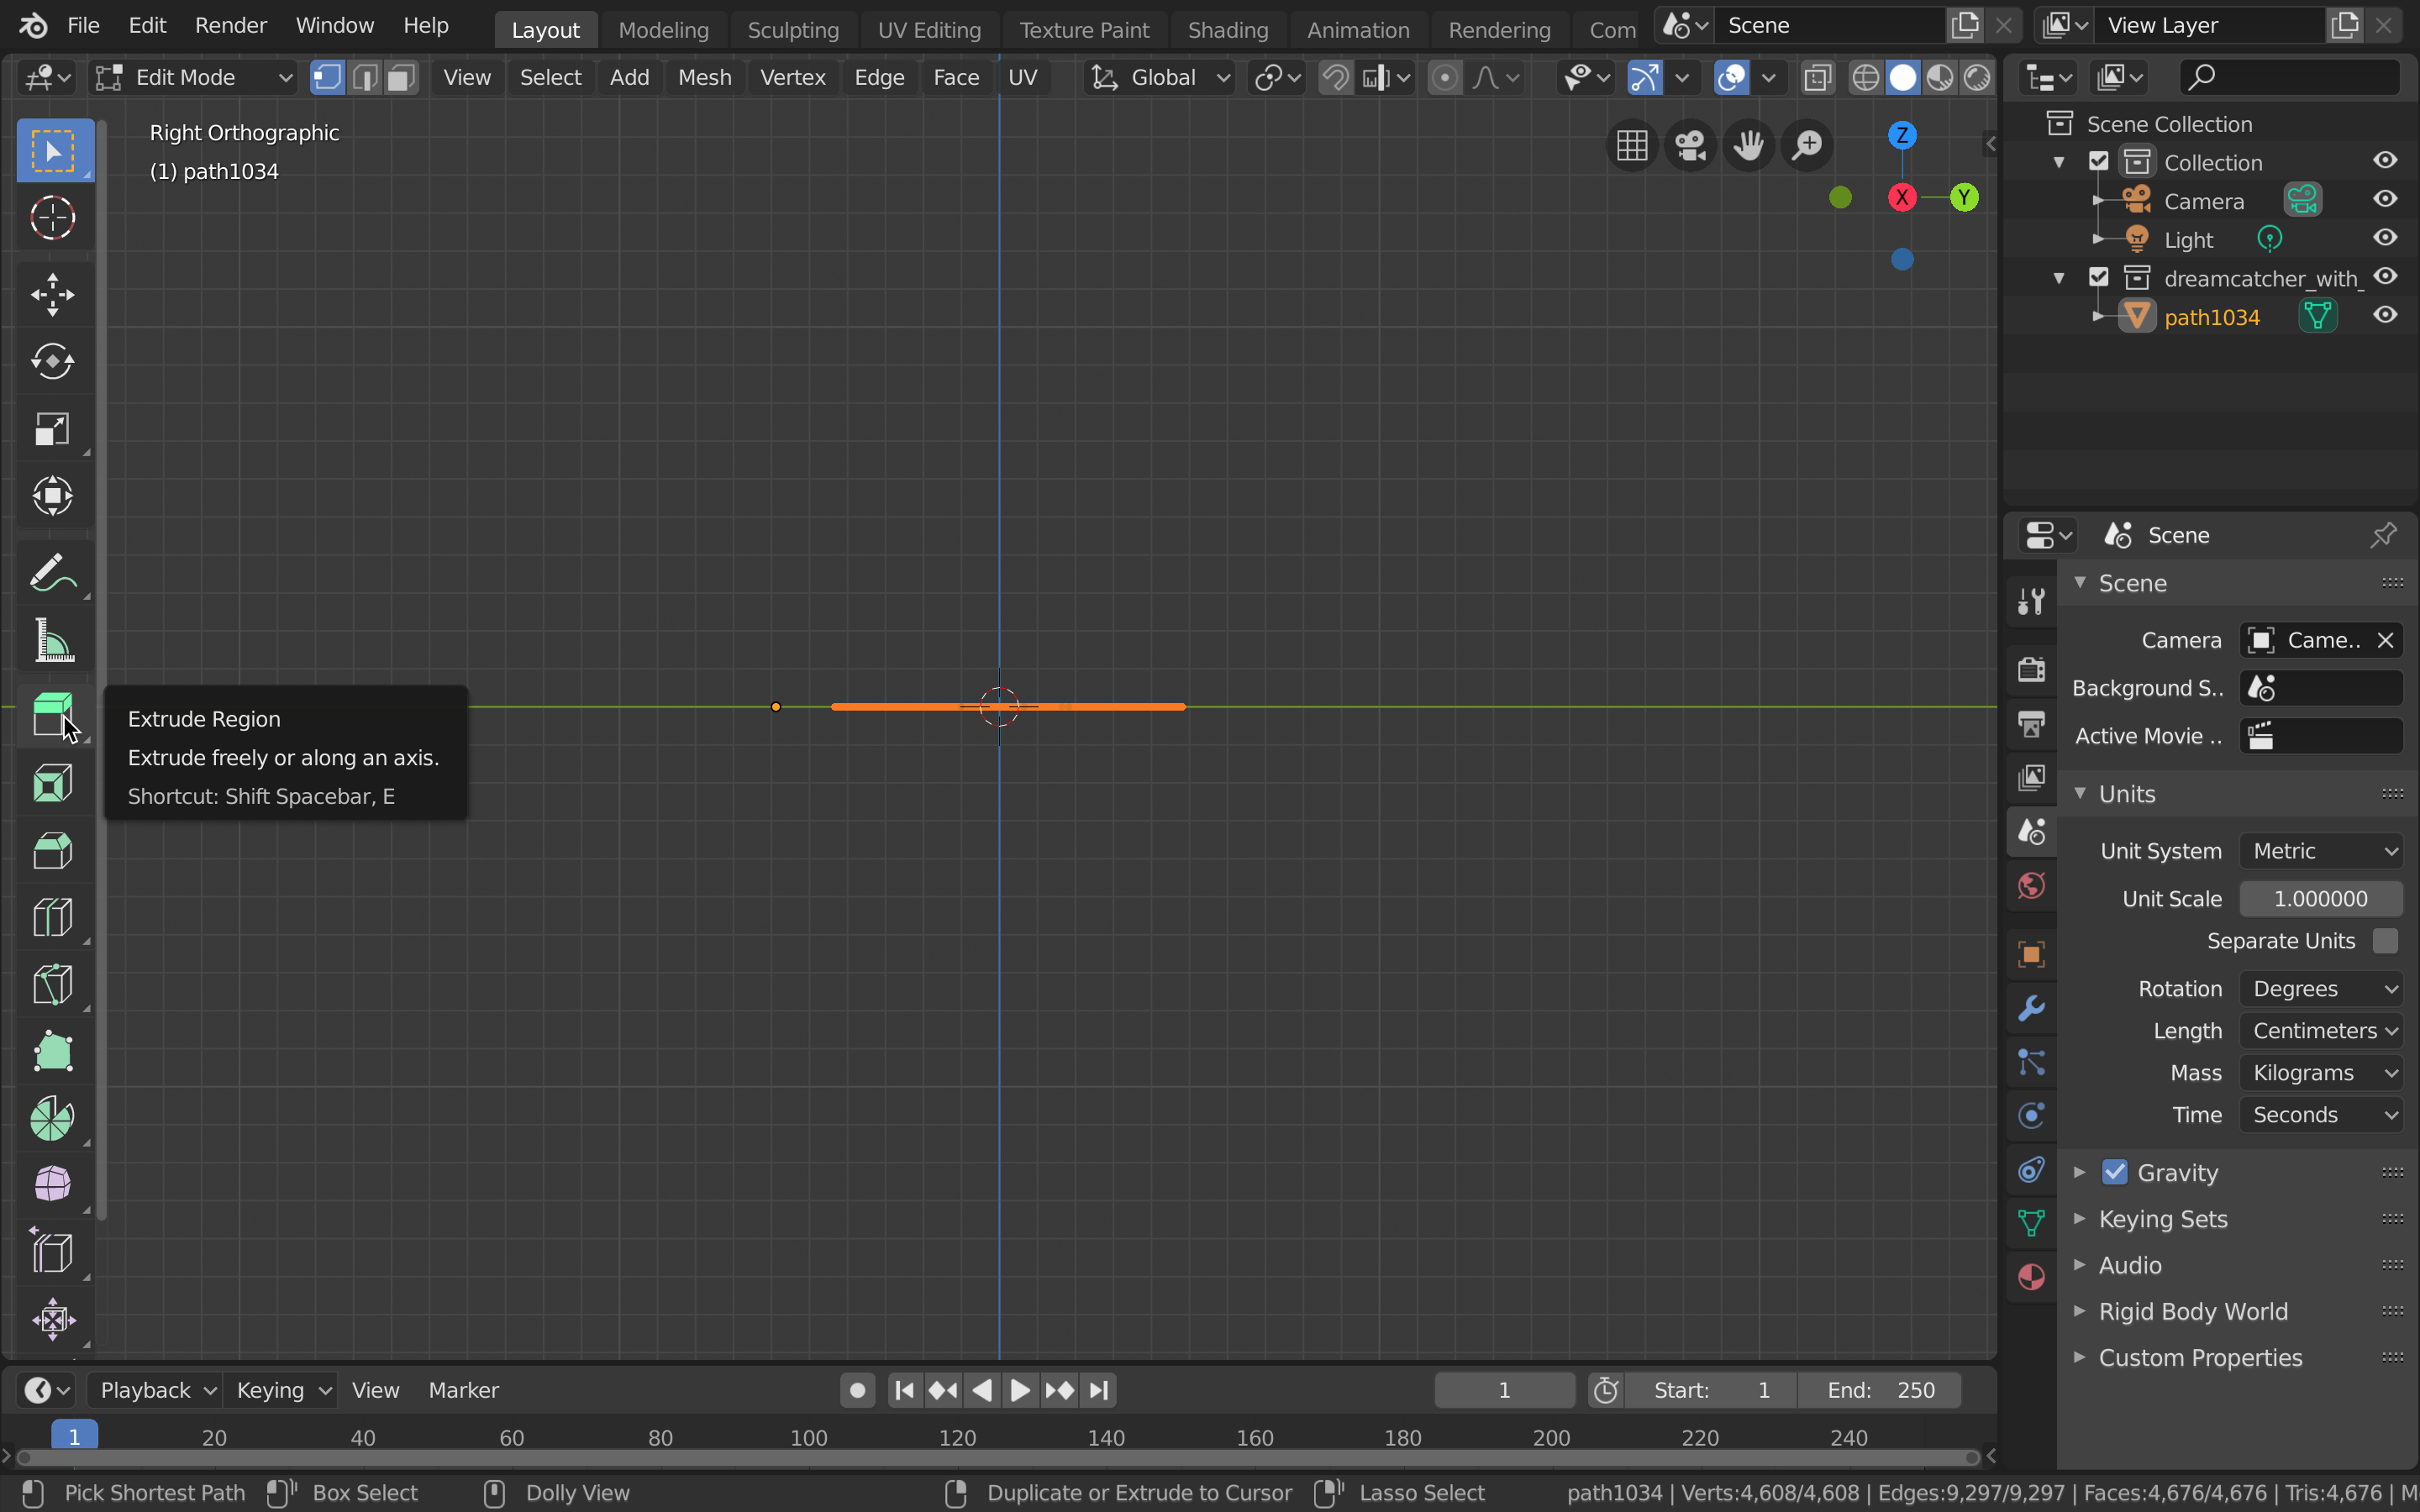
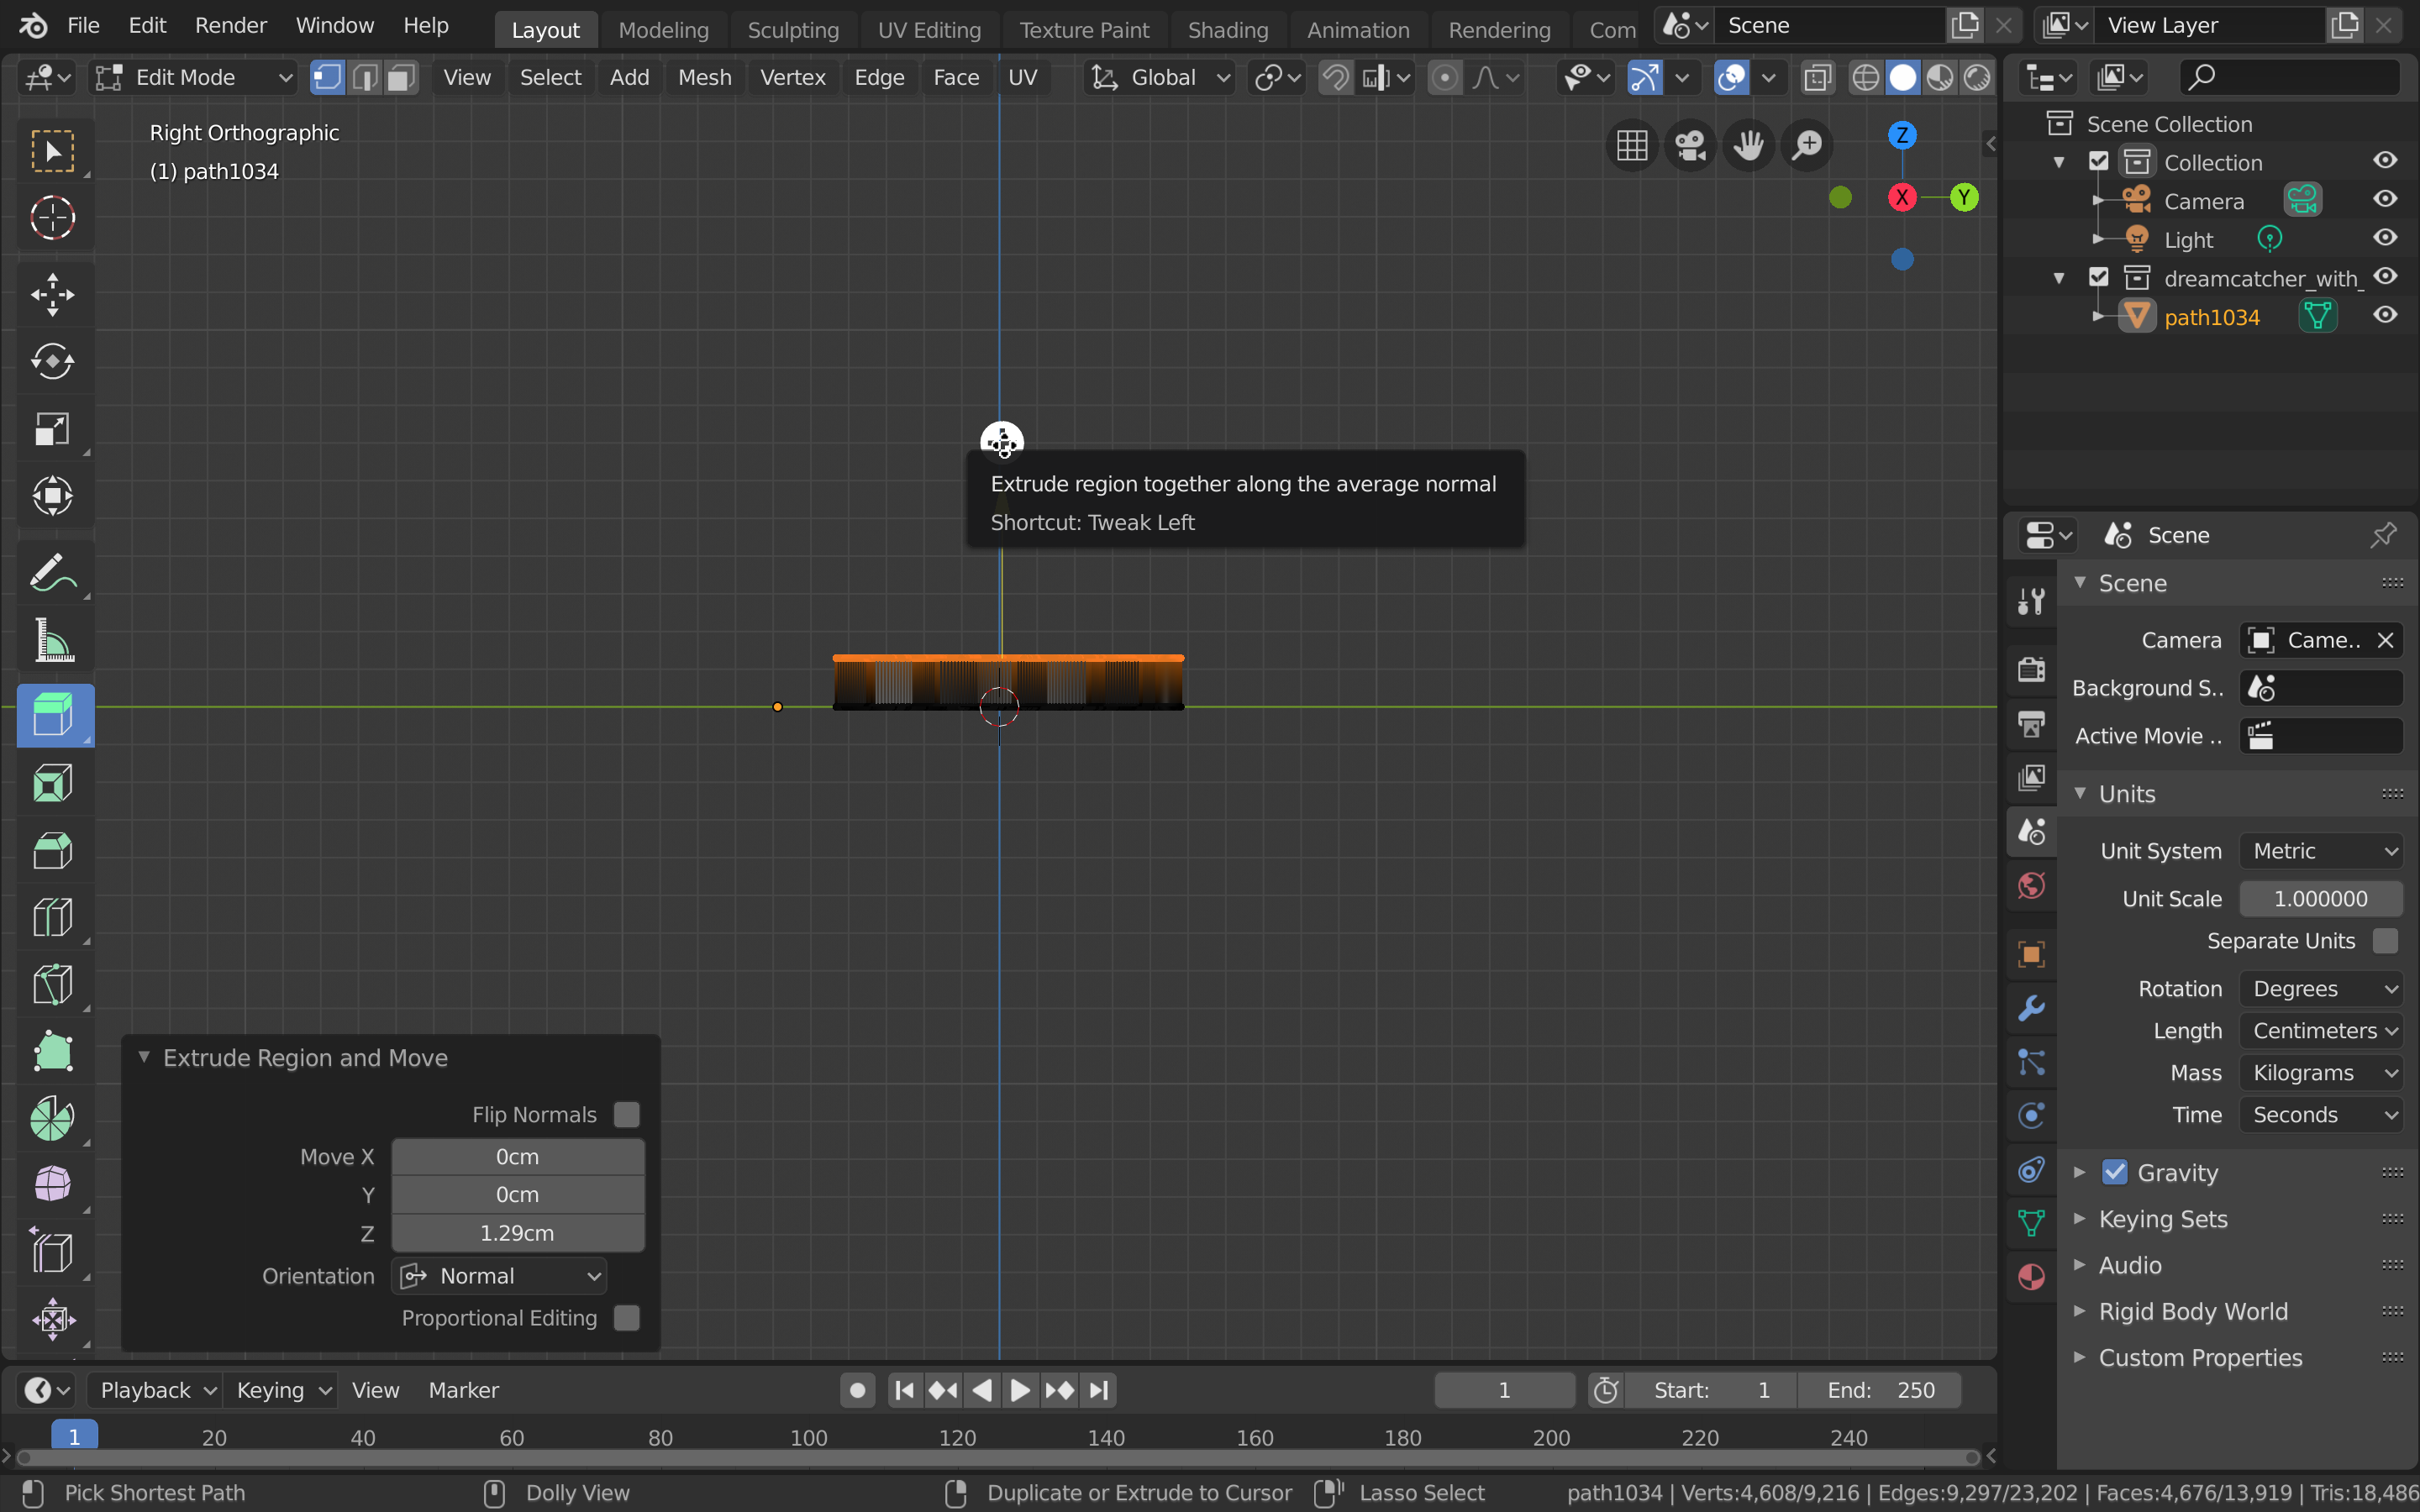
- Activate the Extrude Region tool.
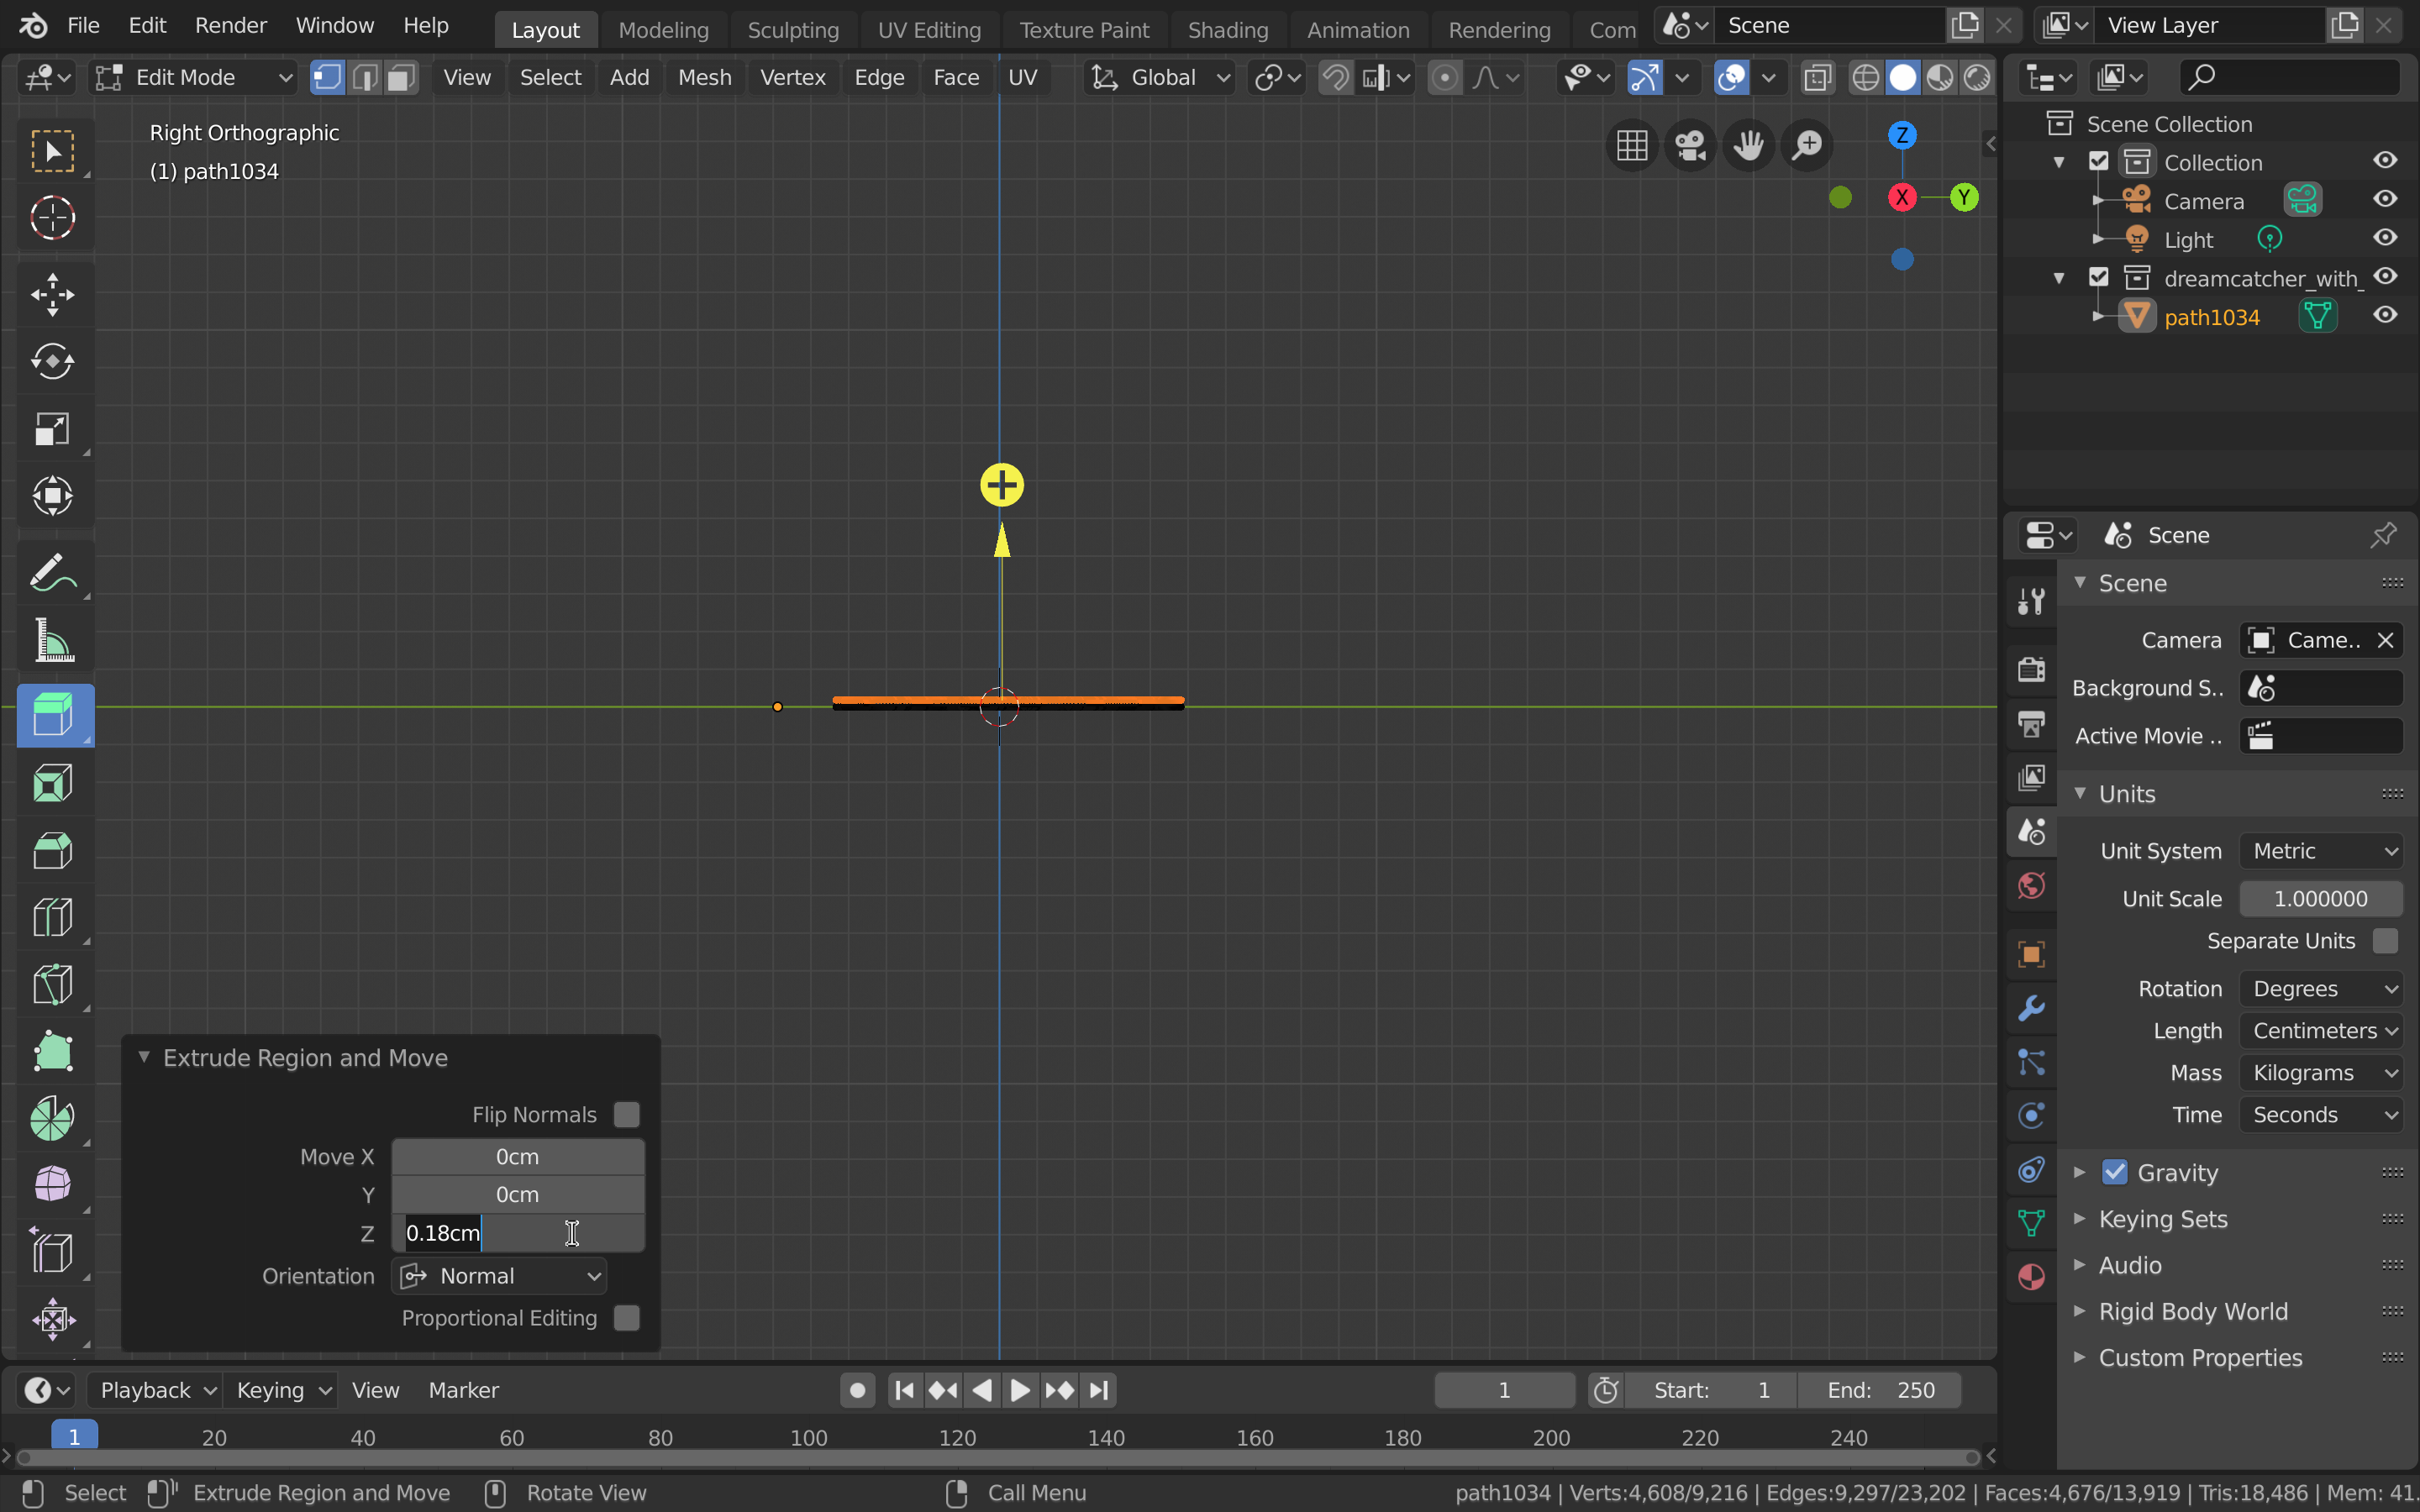
- Extrude the selected points upward by pulling up on the plus sign. It does not matter how much. Change the parameters that pop up to .18 cm.
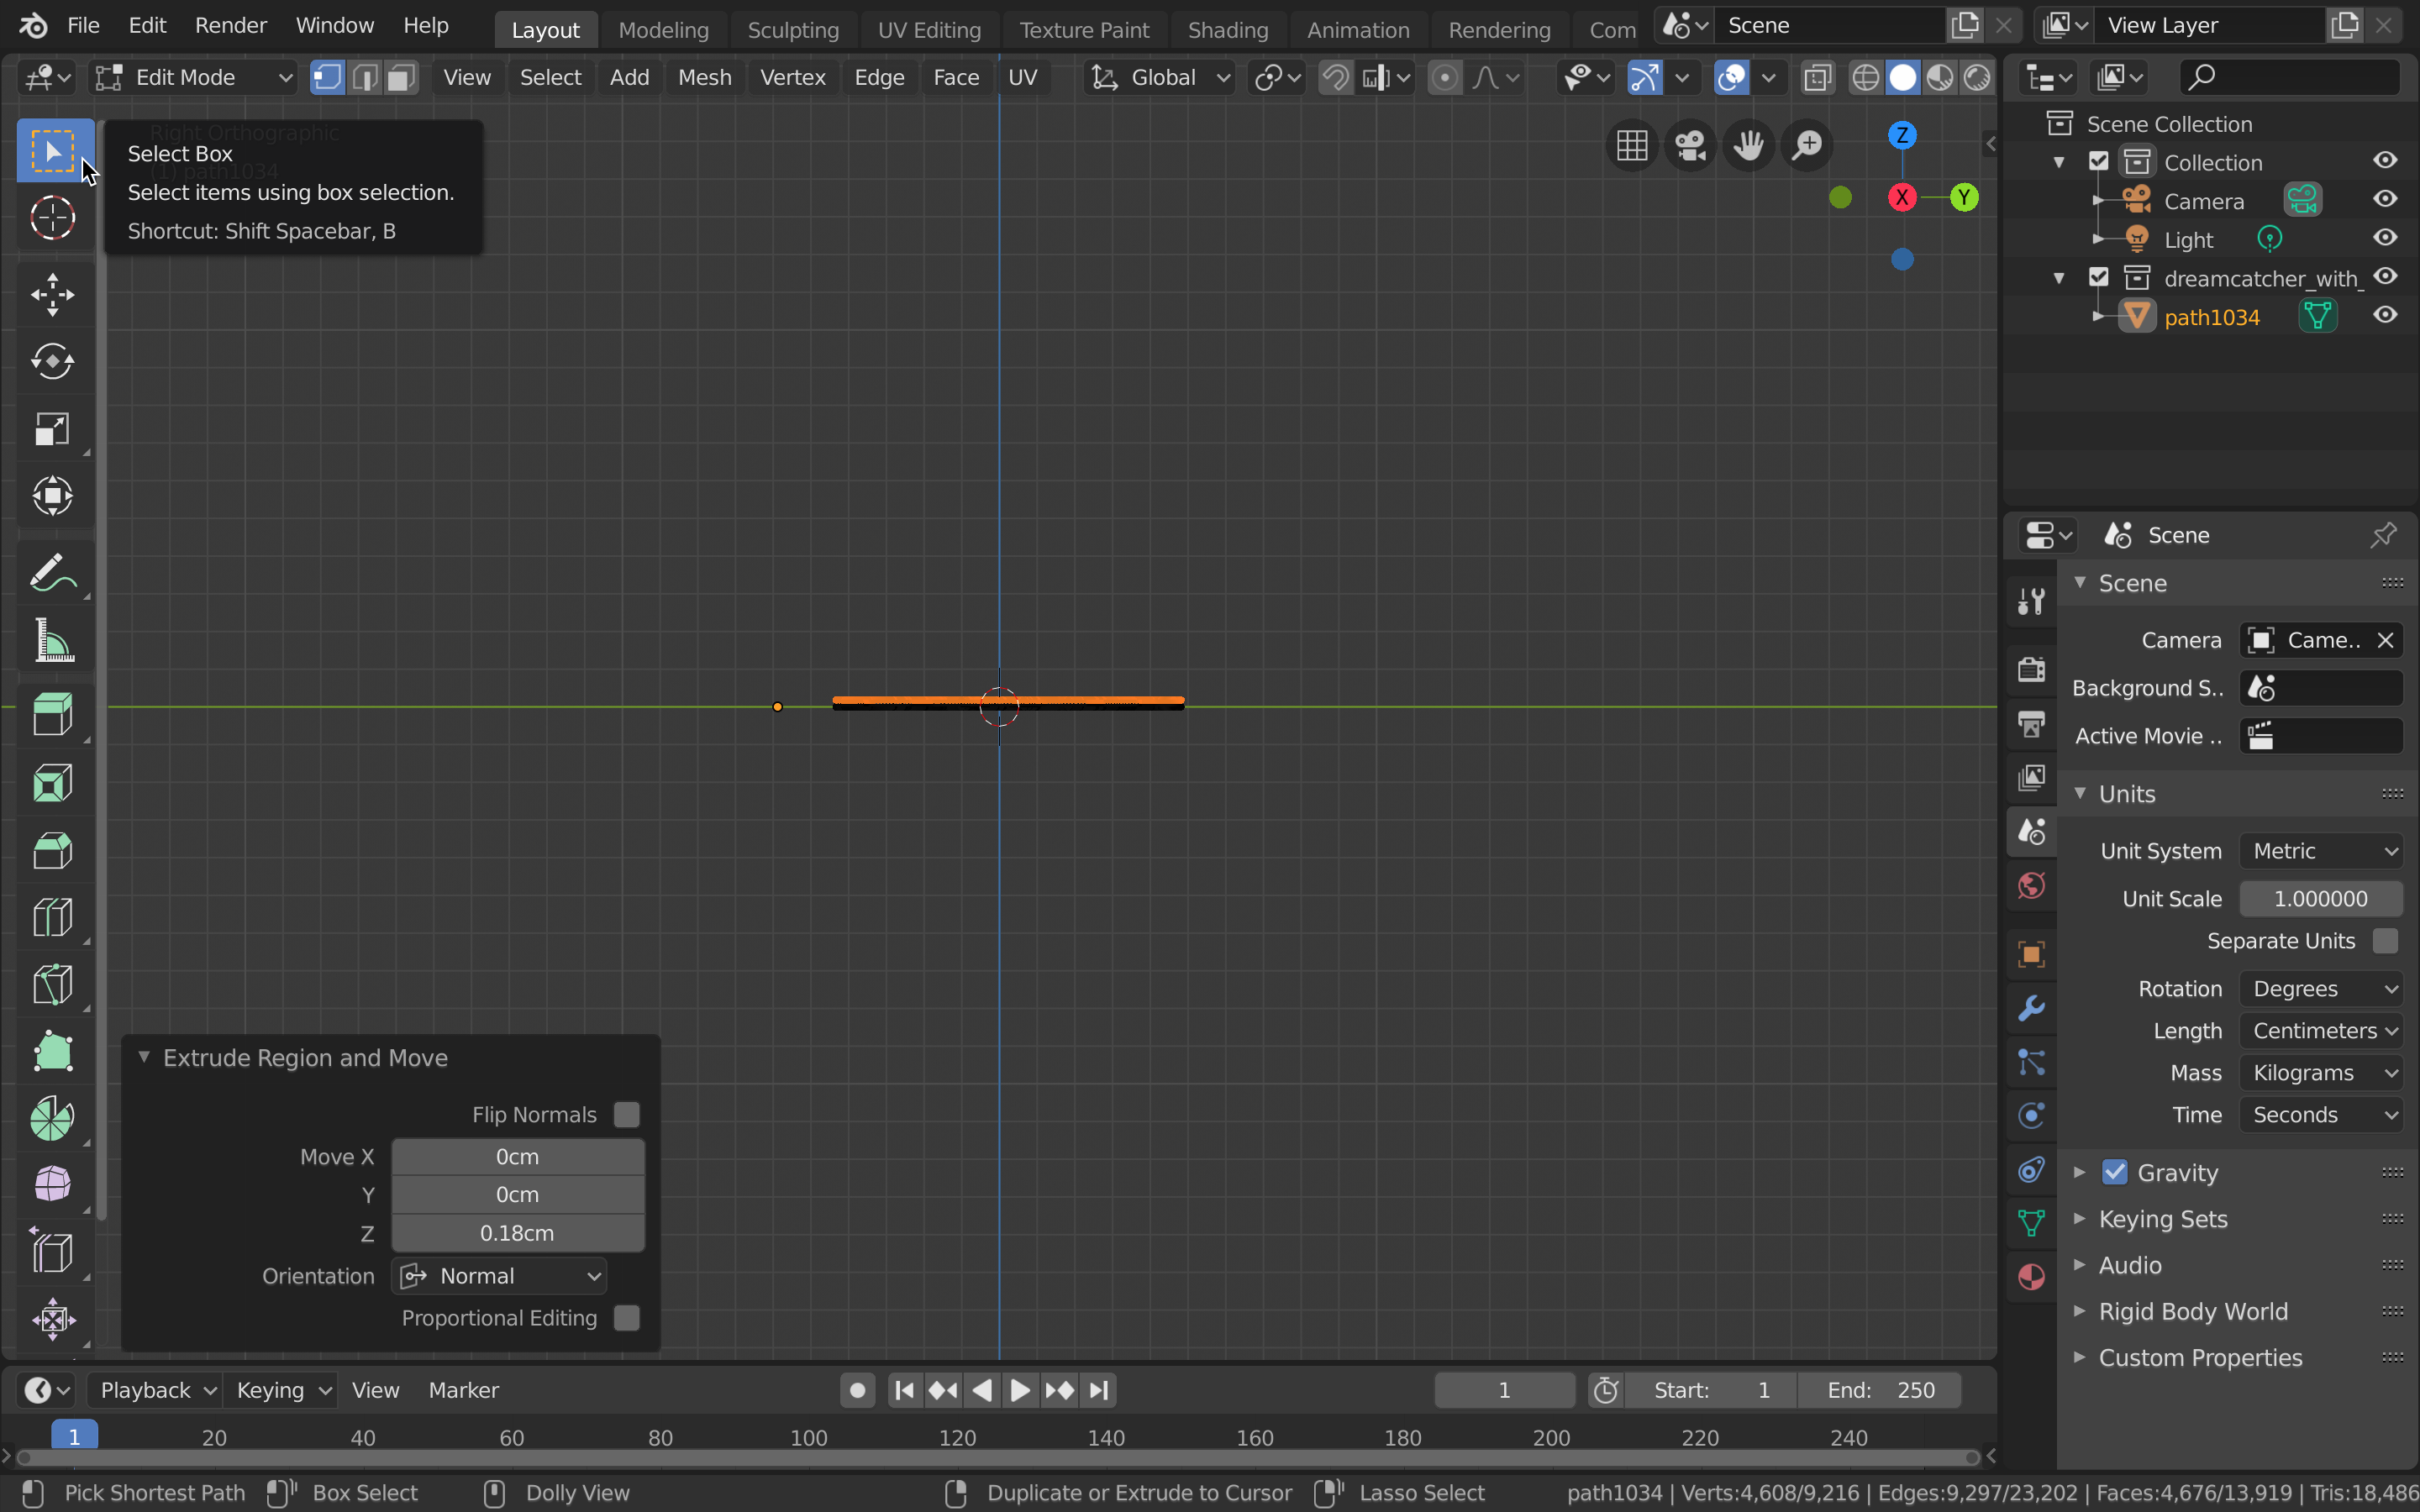
- Activate the Select Box tool.
- Select all.
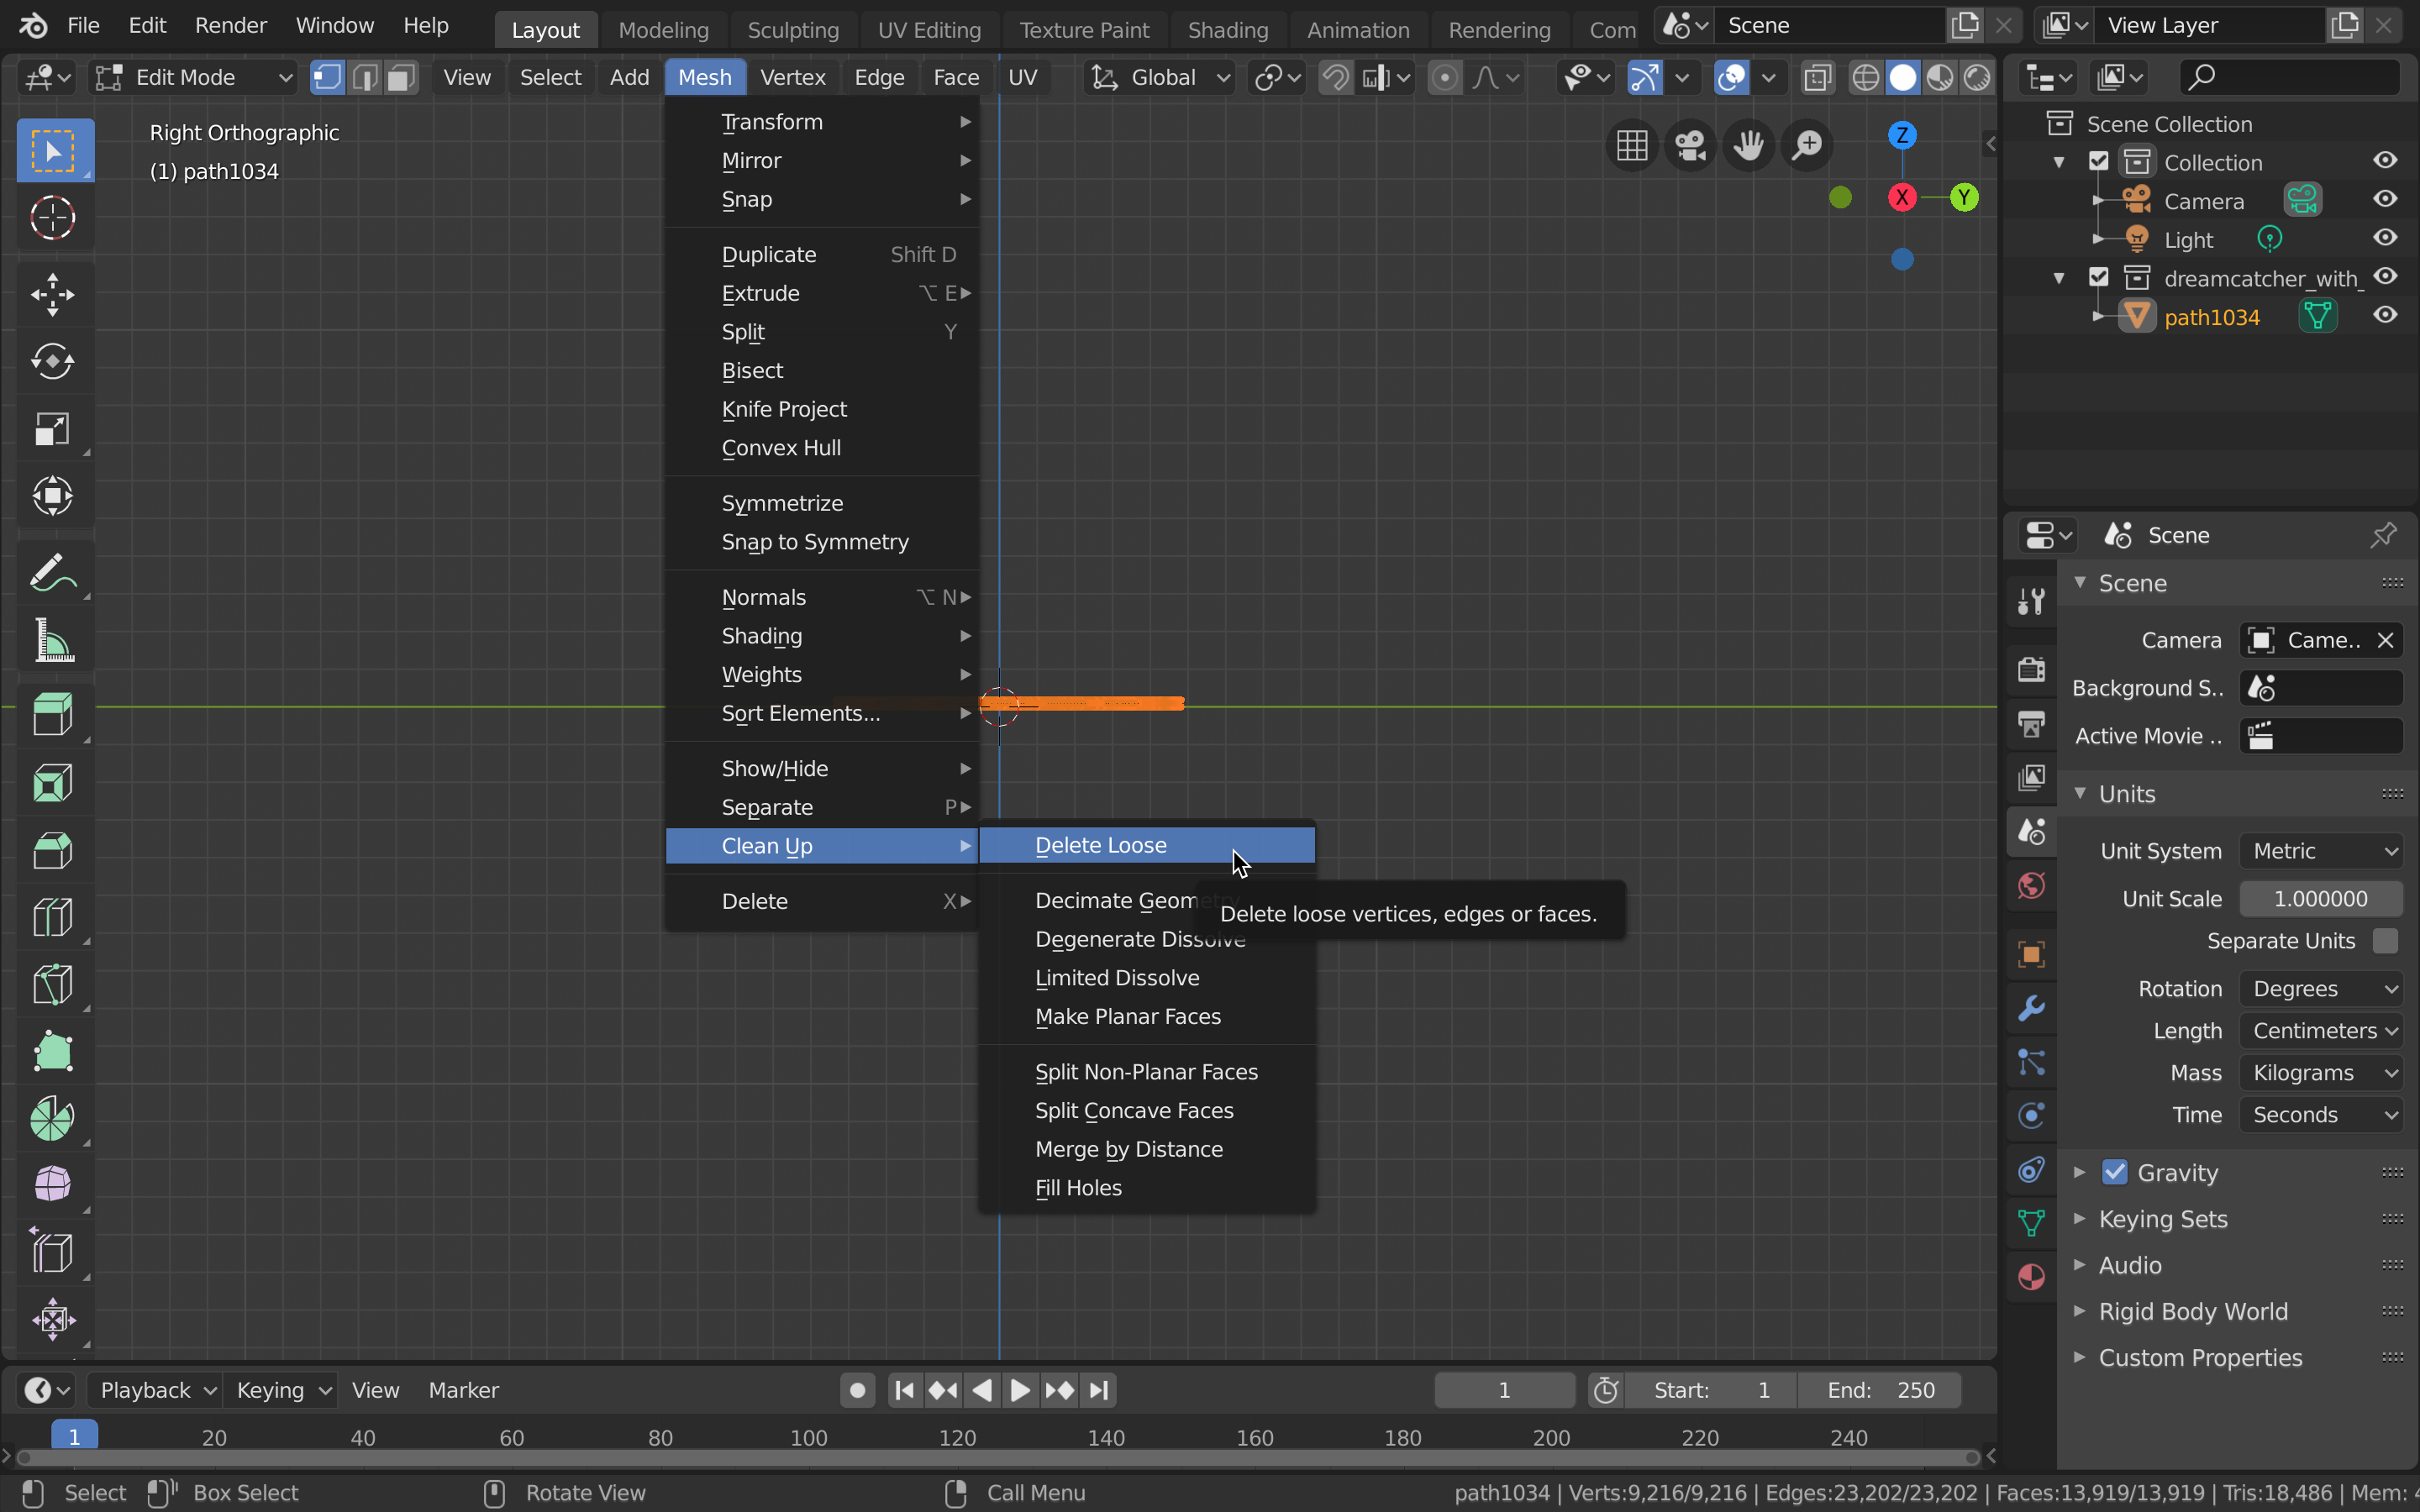
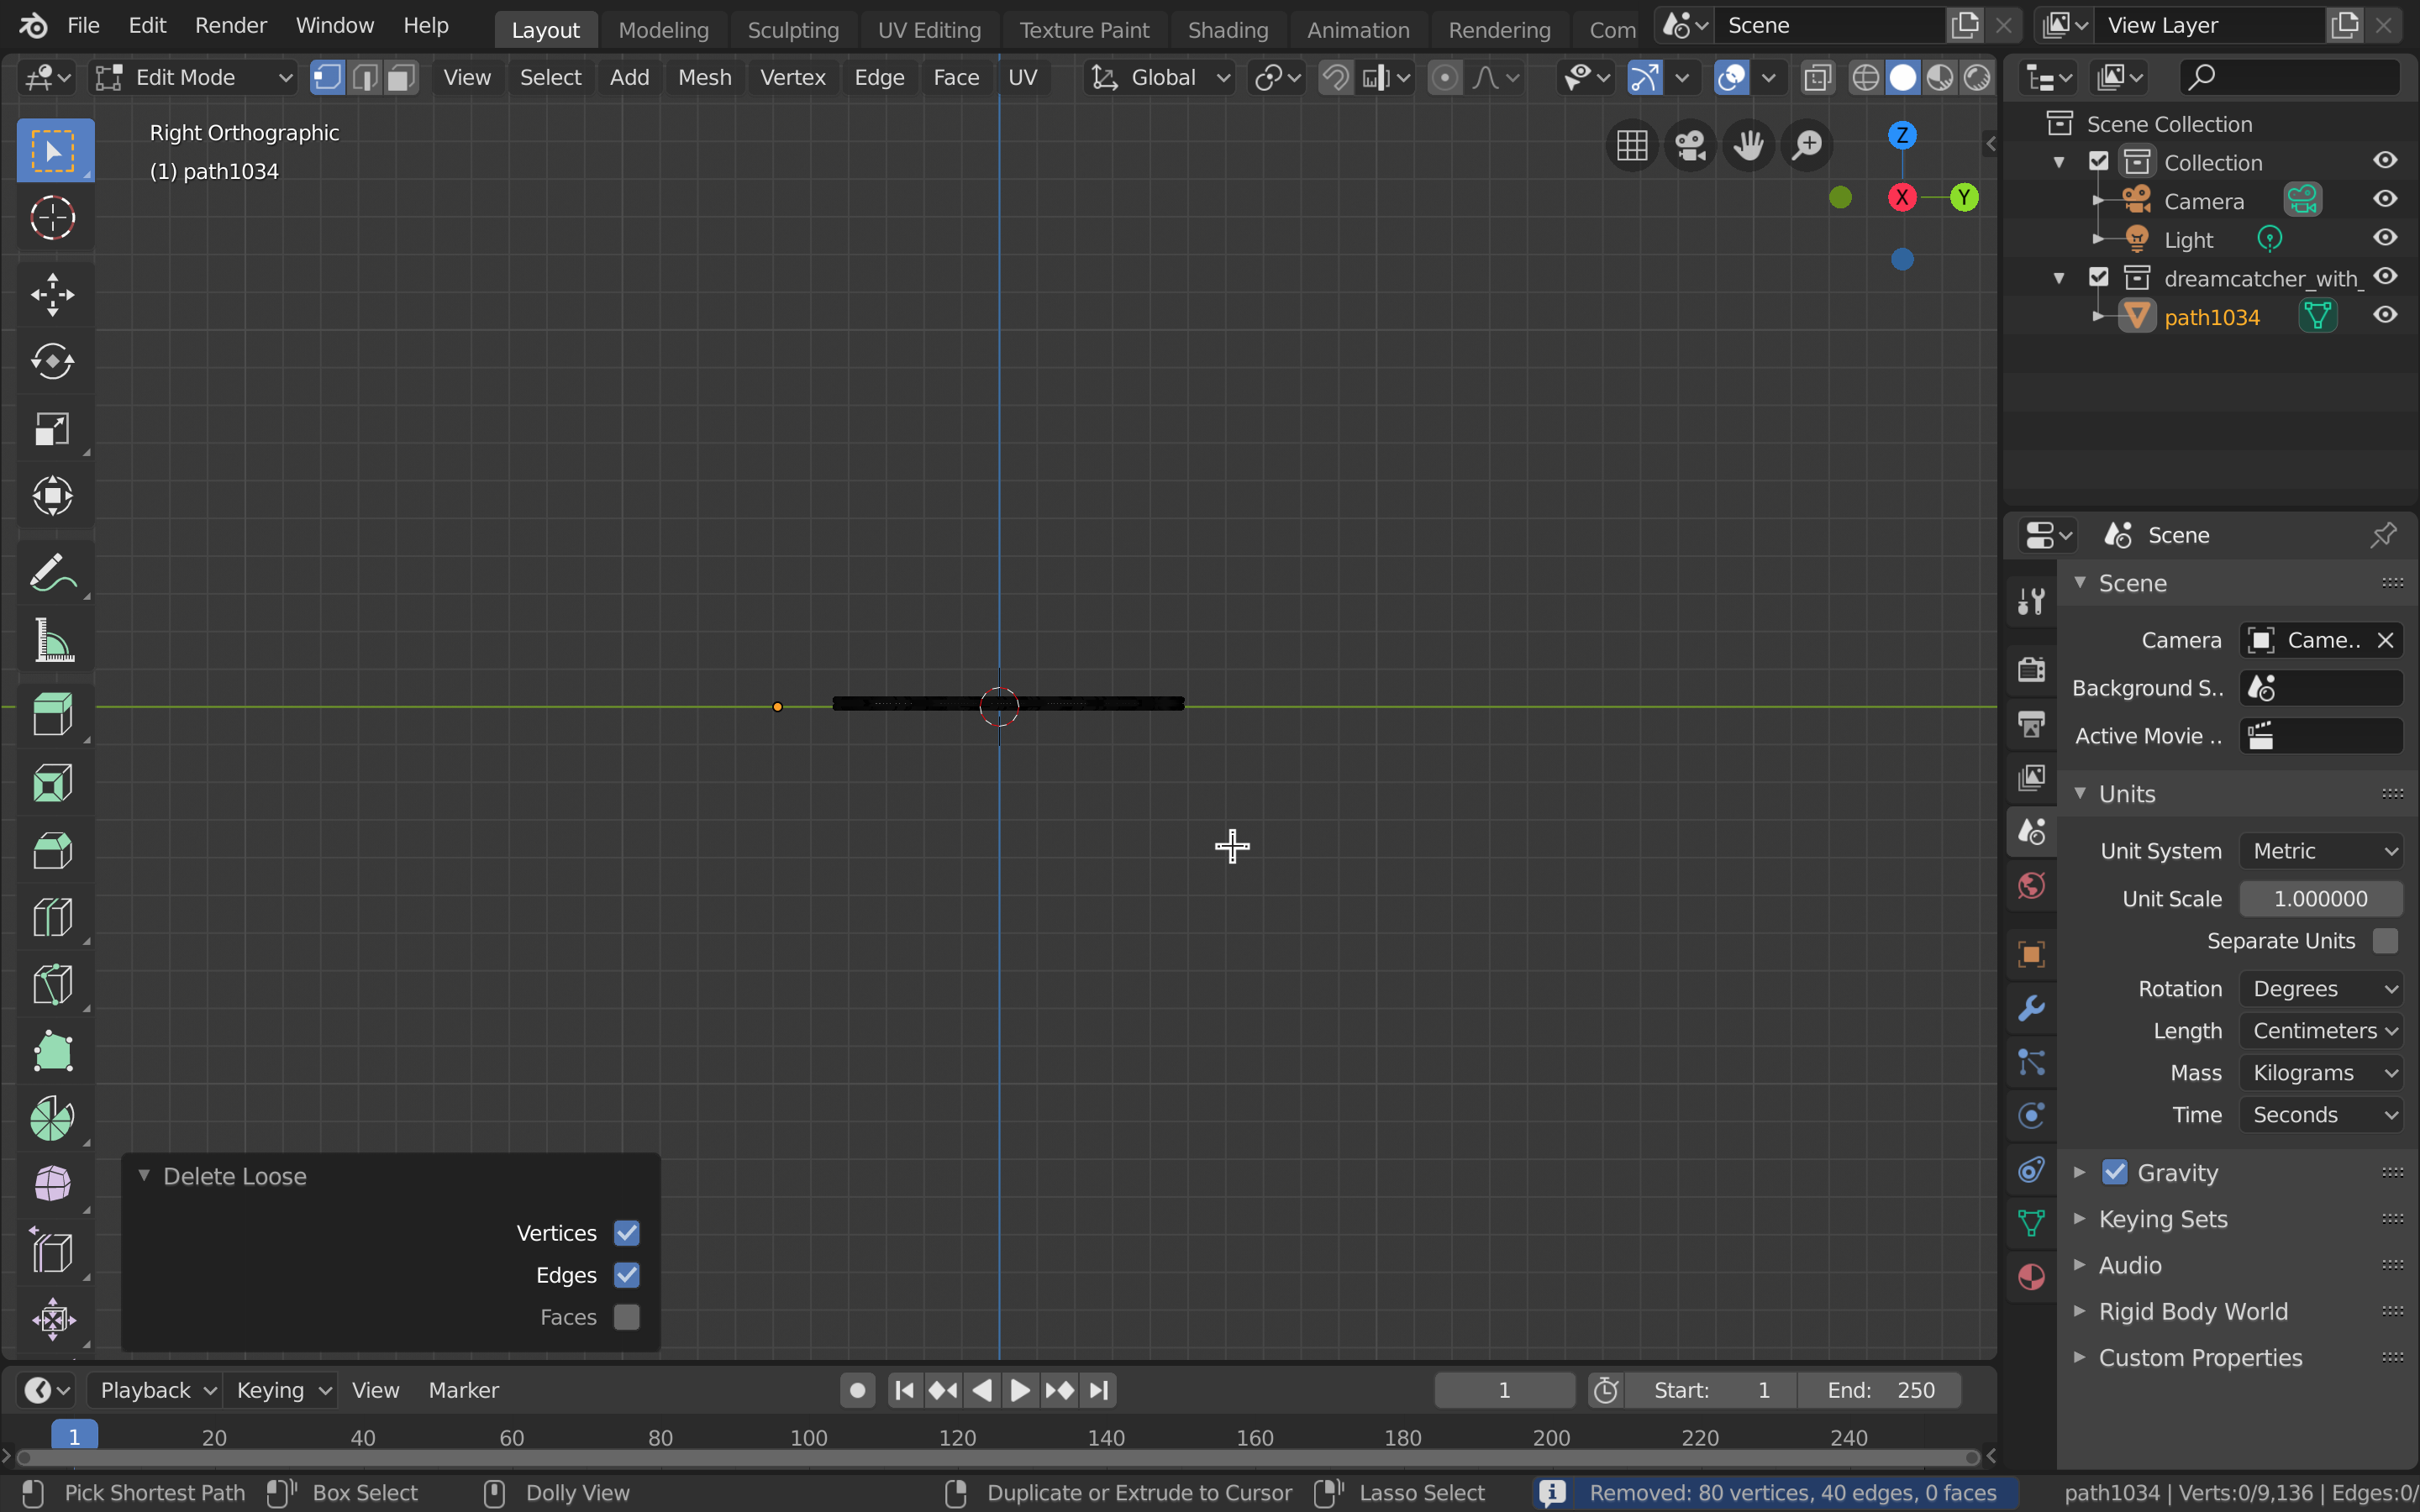
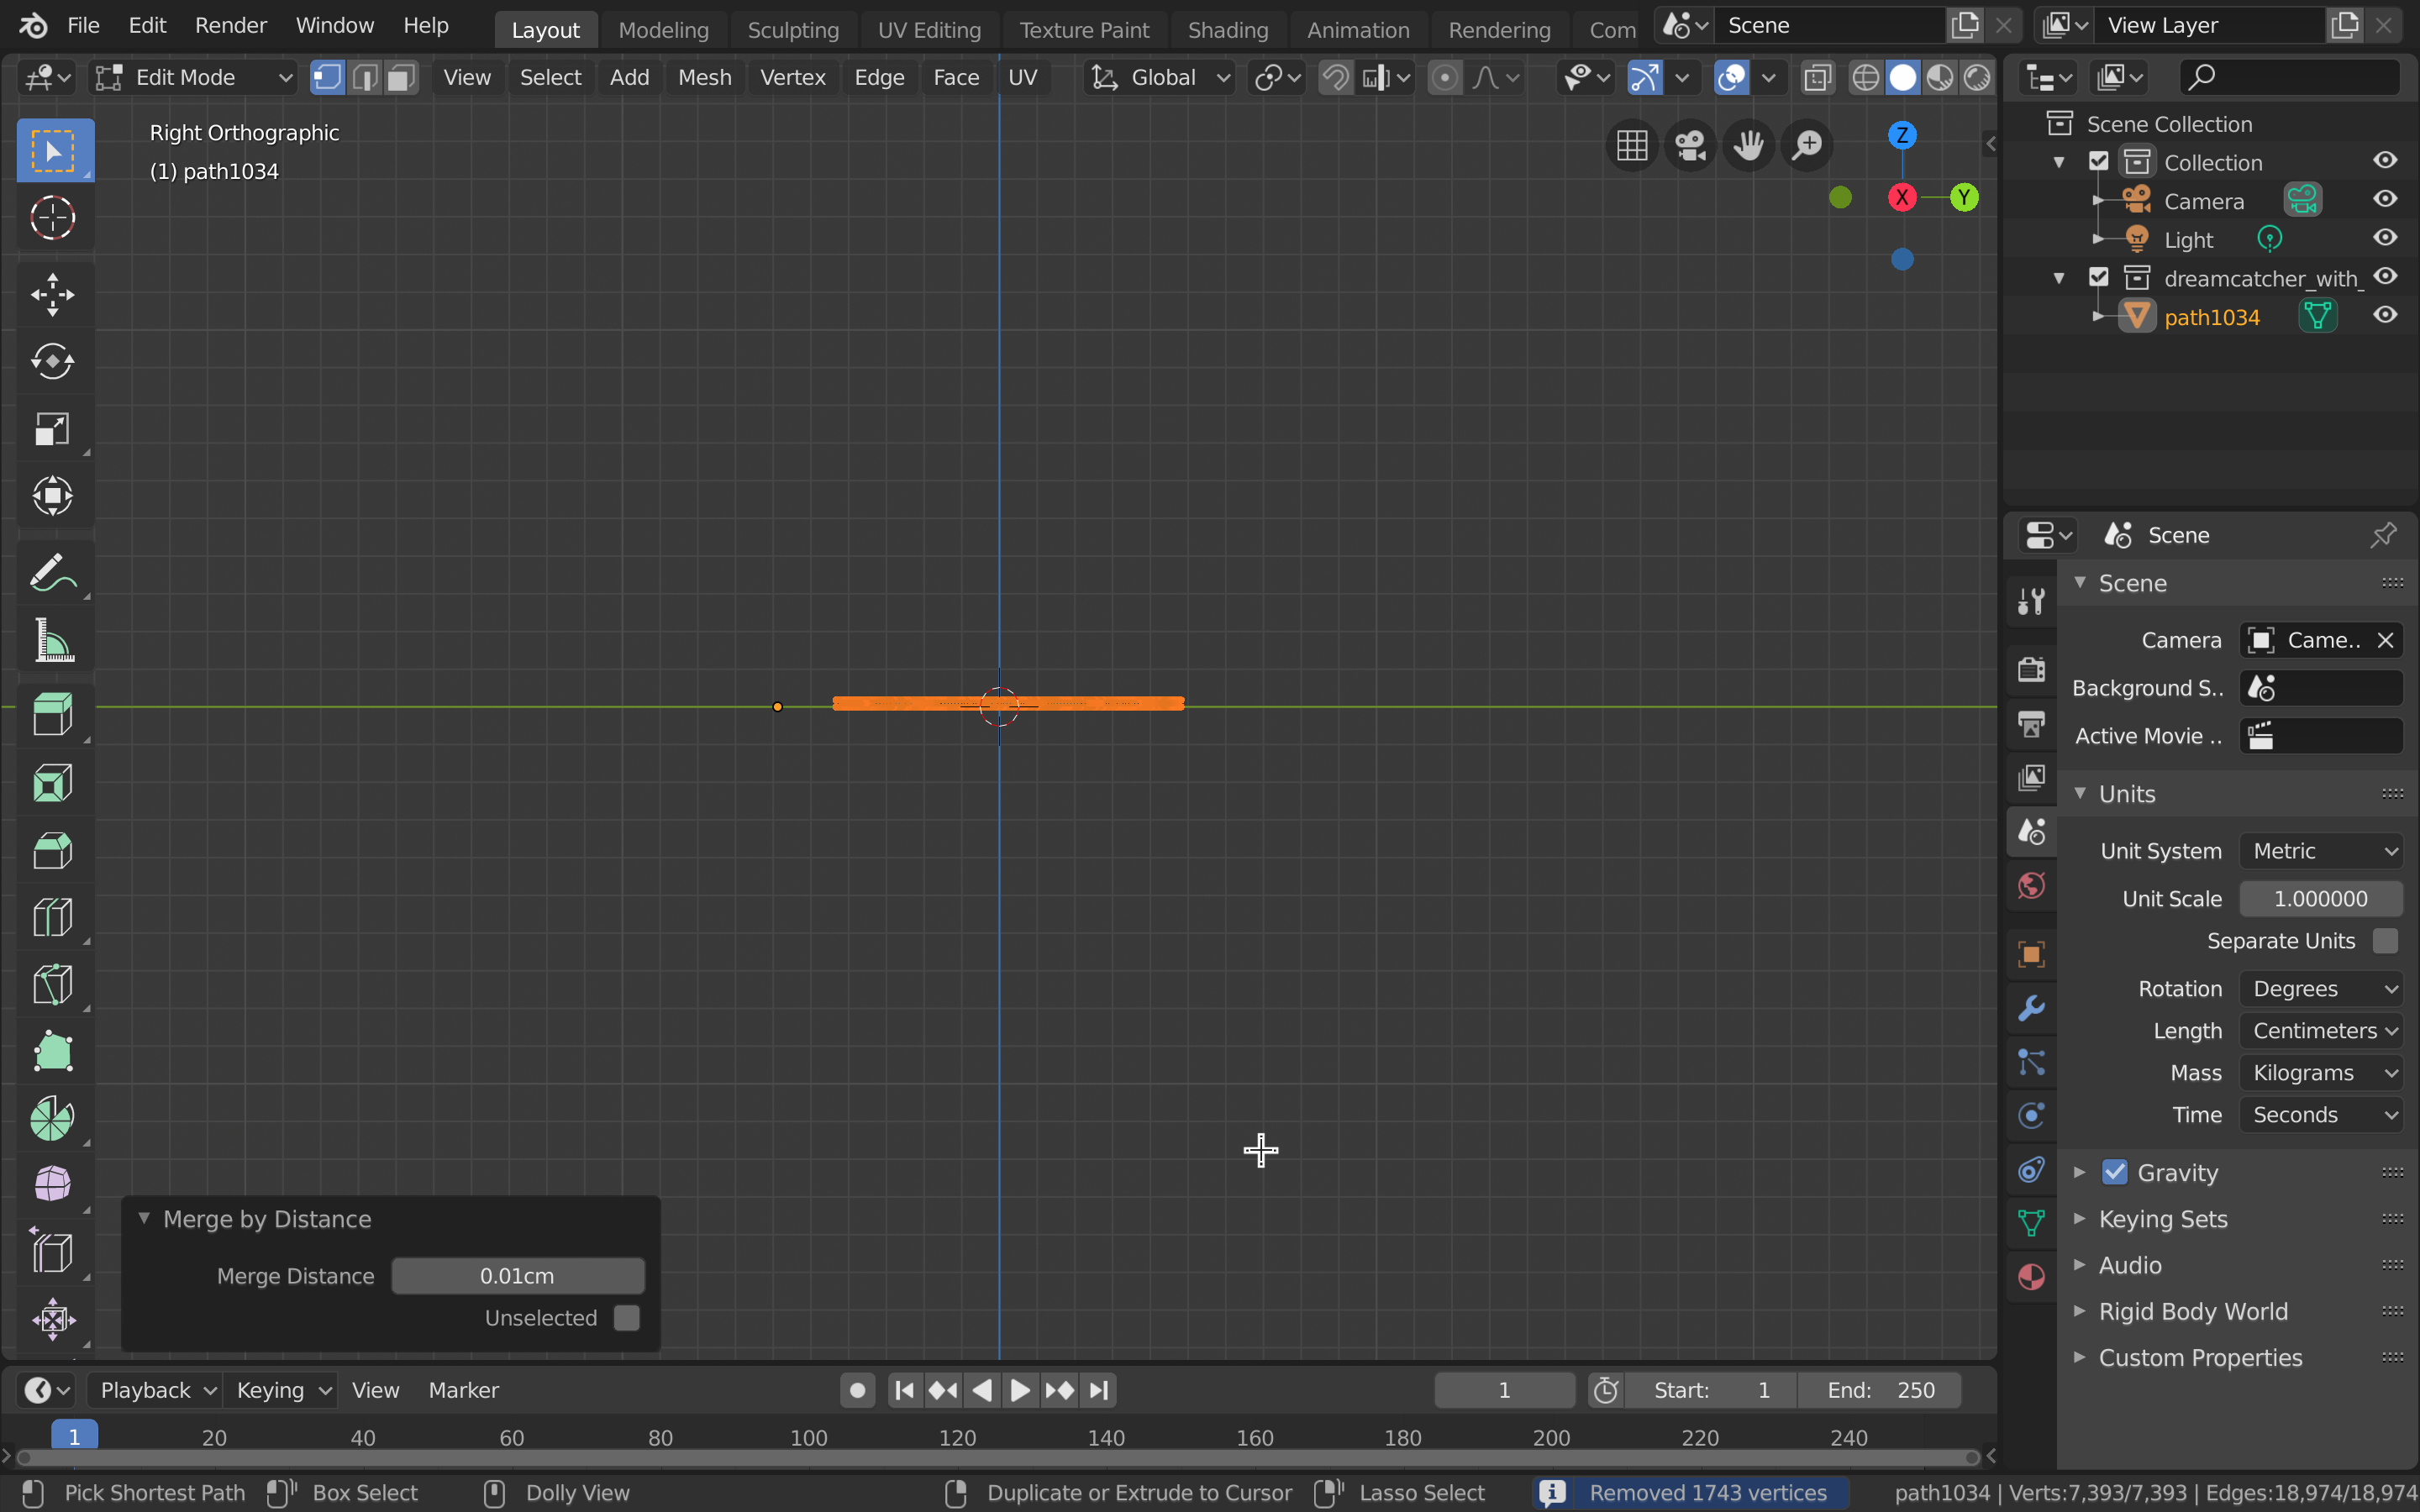
- Delete loose vertices.
- Select all.
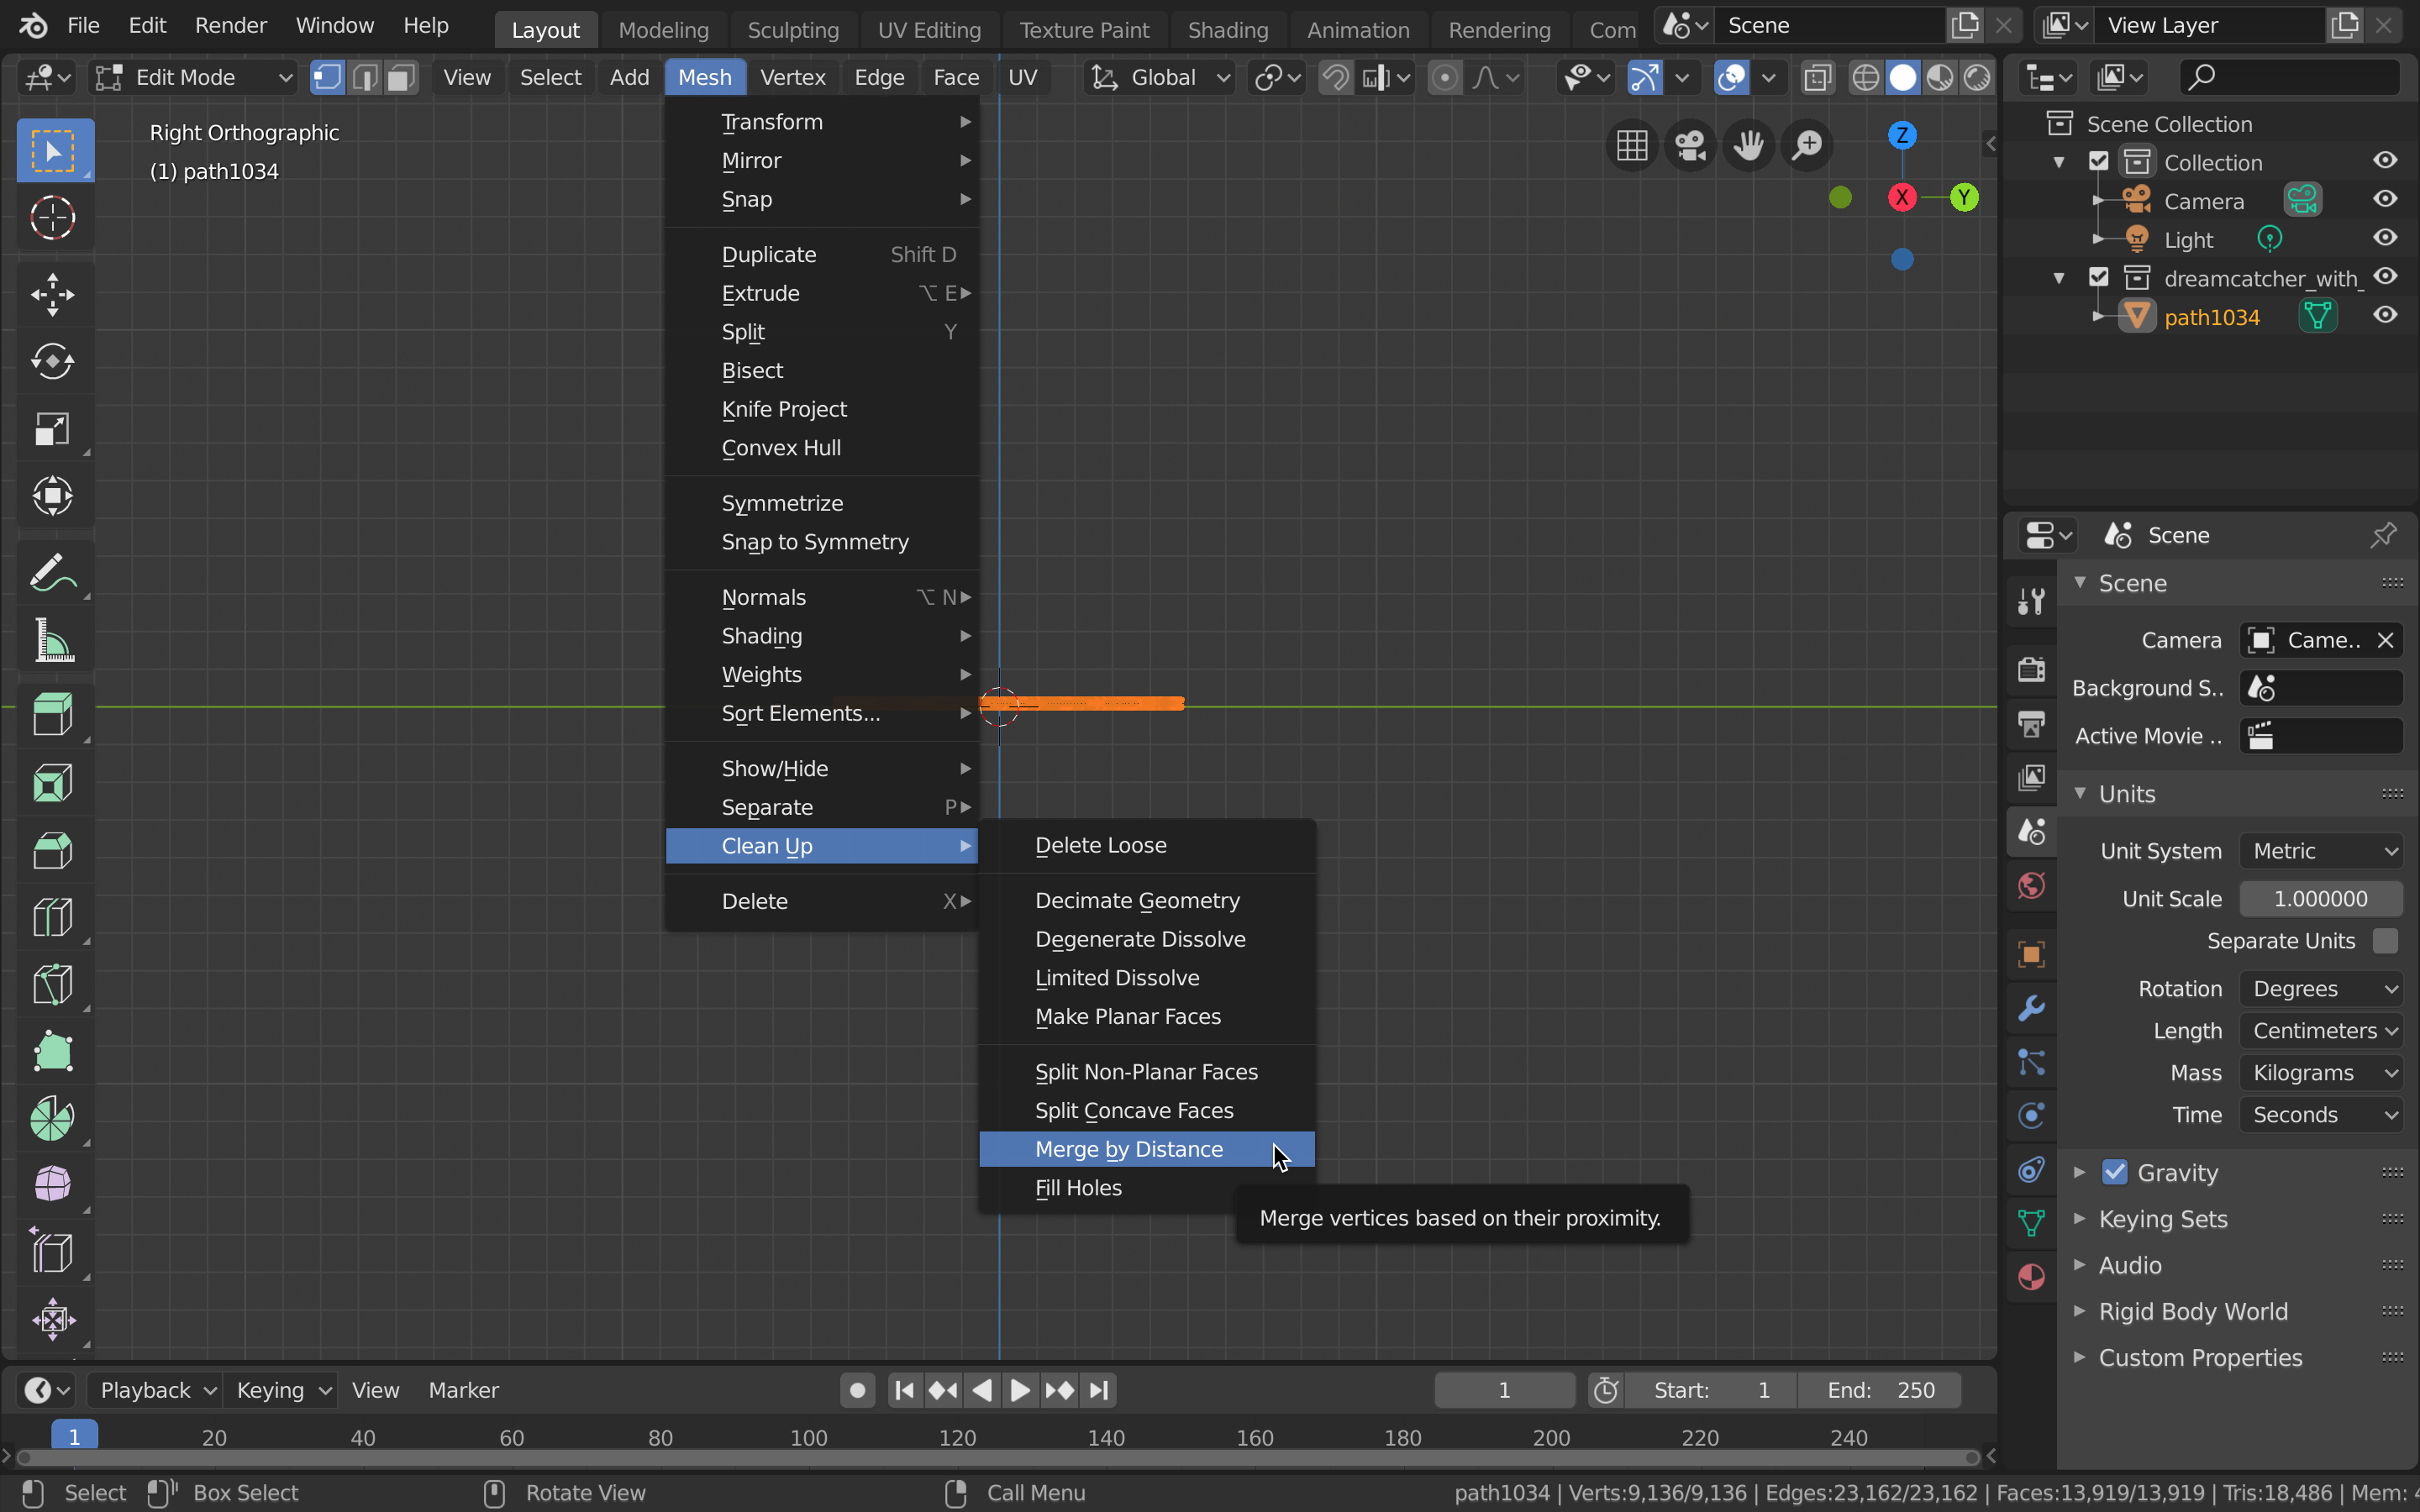
- Merge vertices by distance.
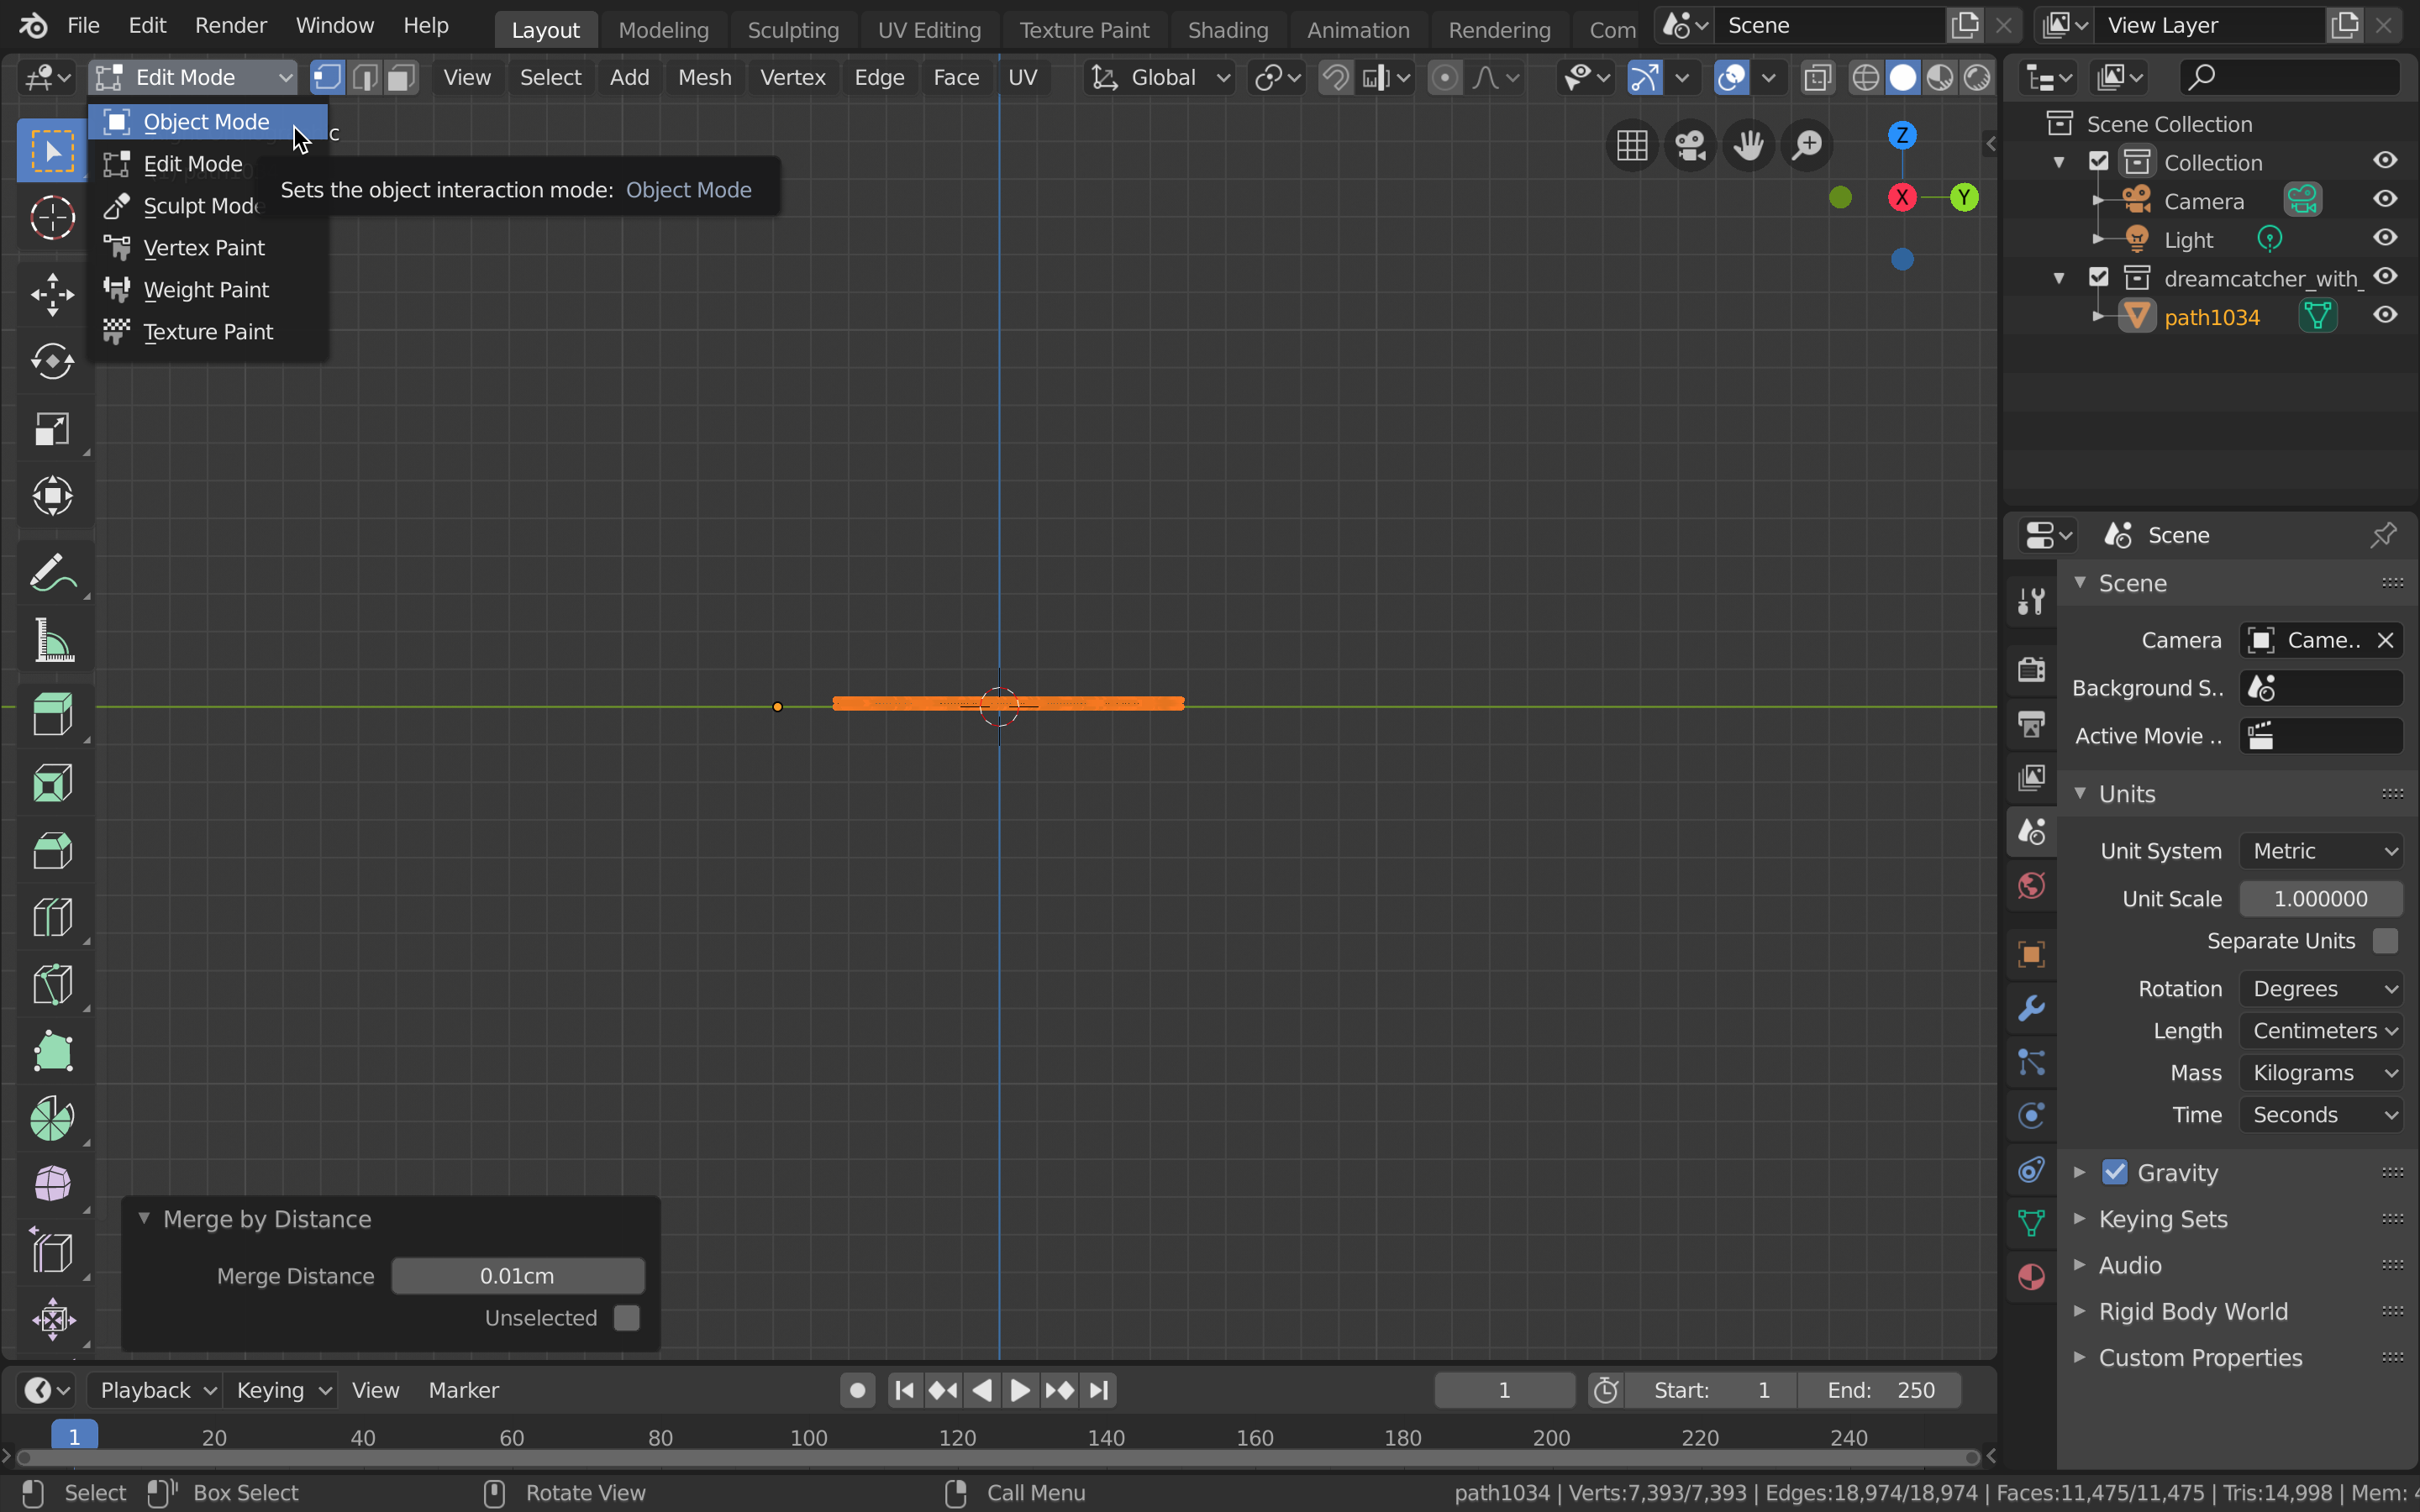
- Change back to Object Mode and the Top viewpoint.
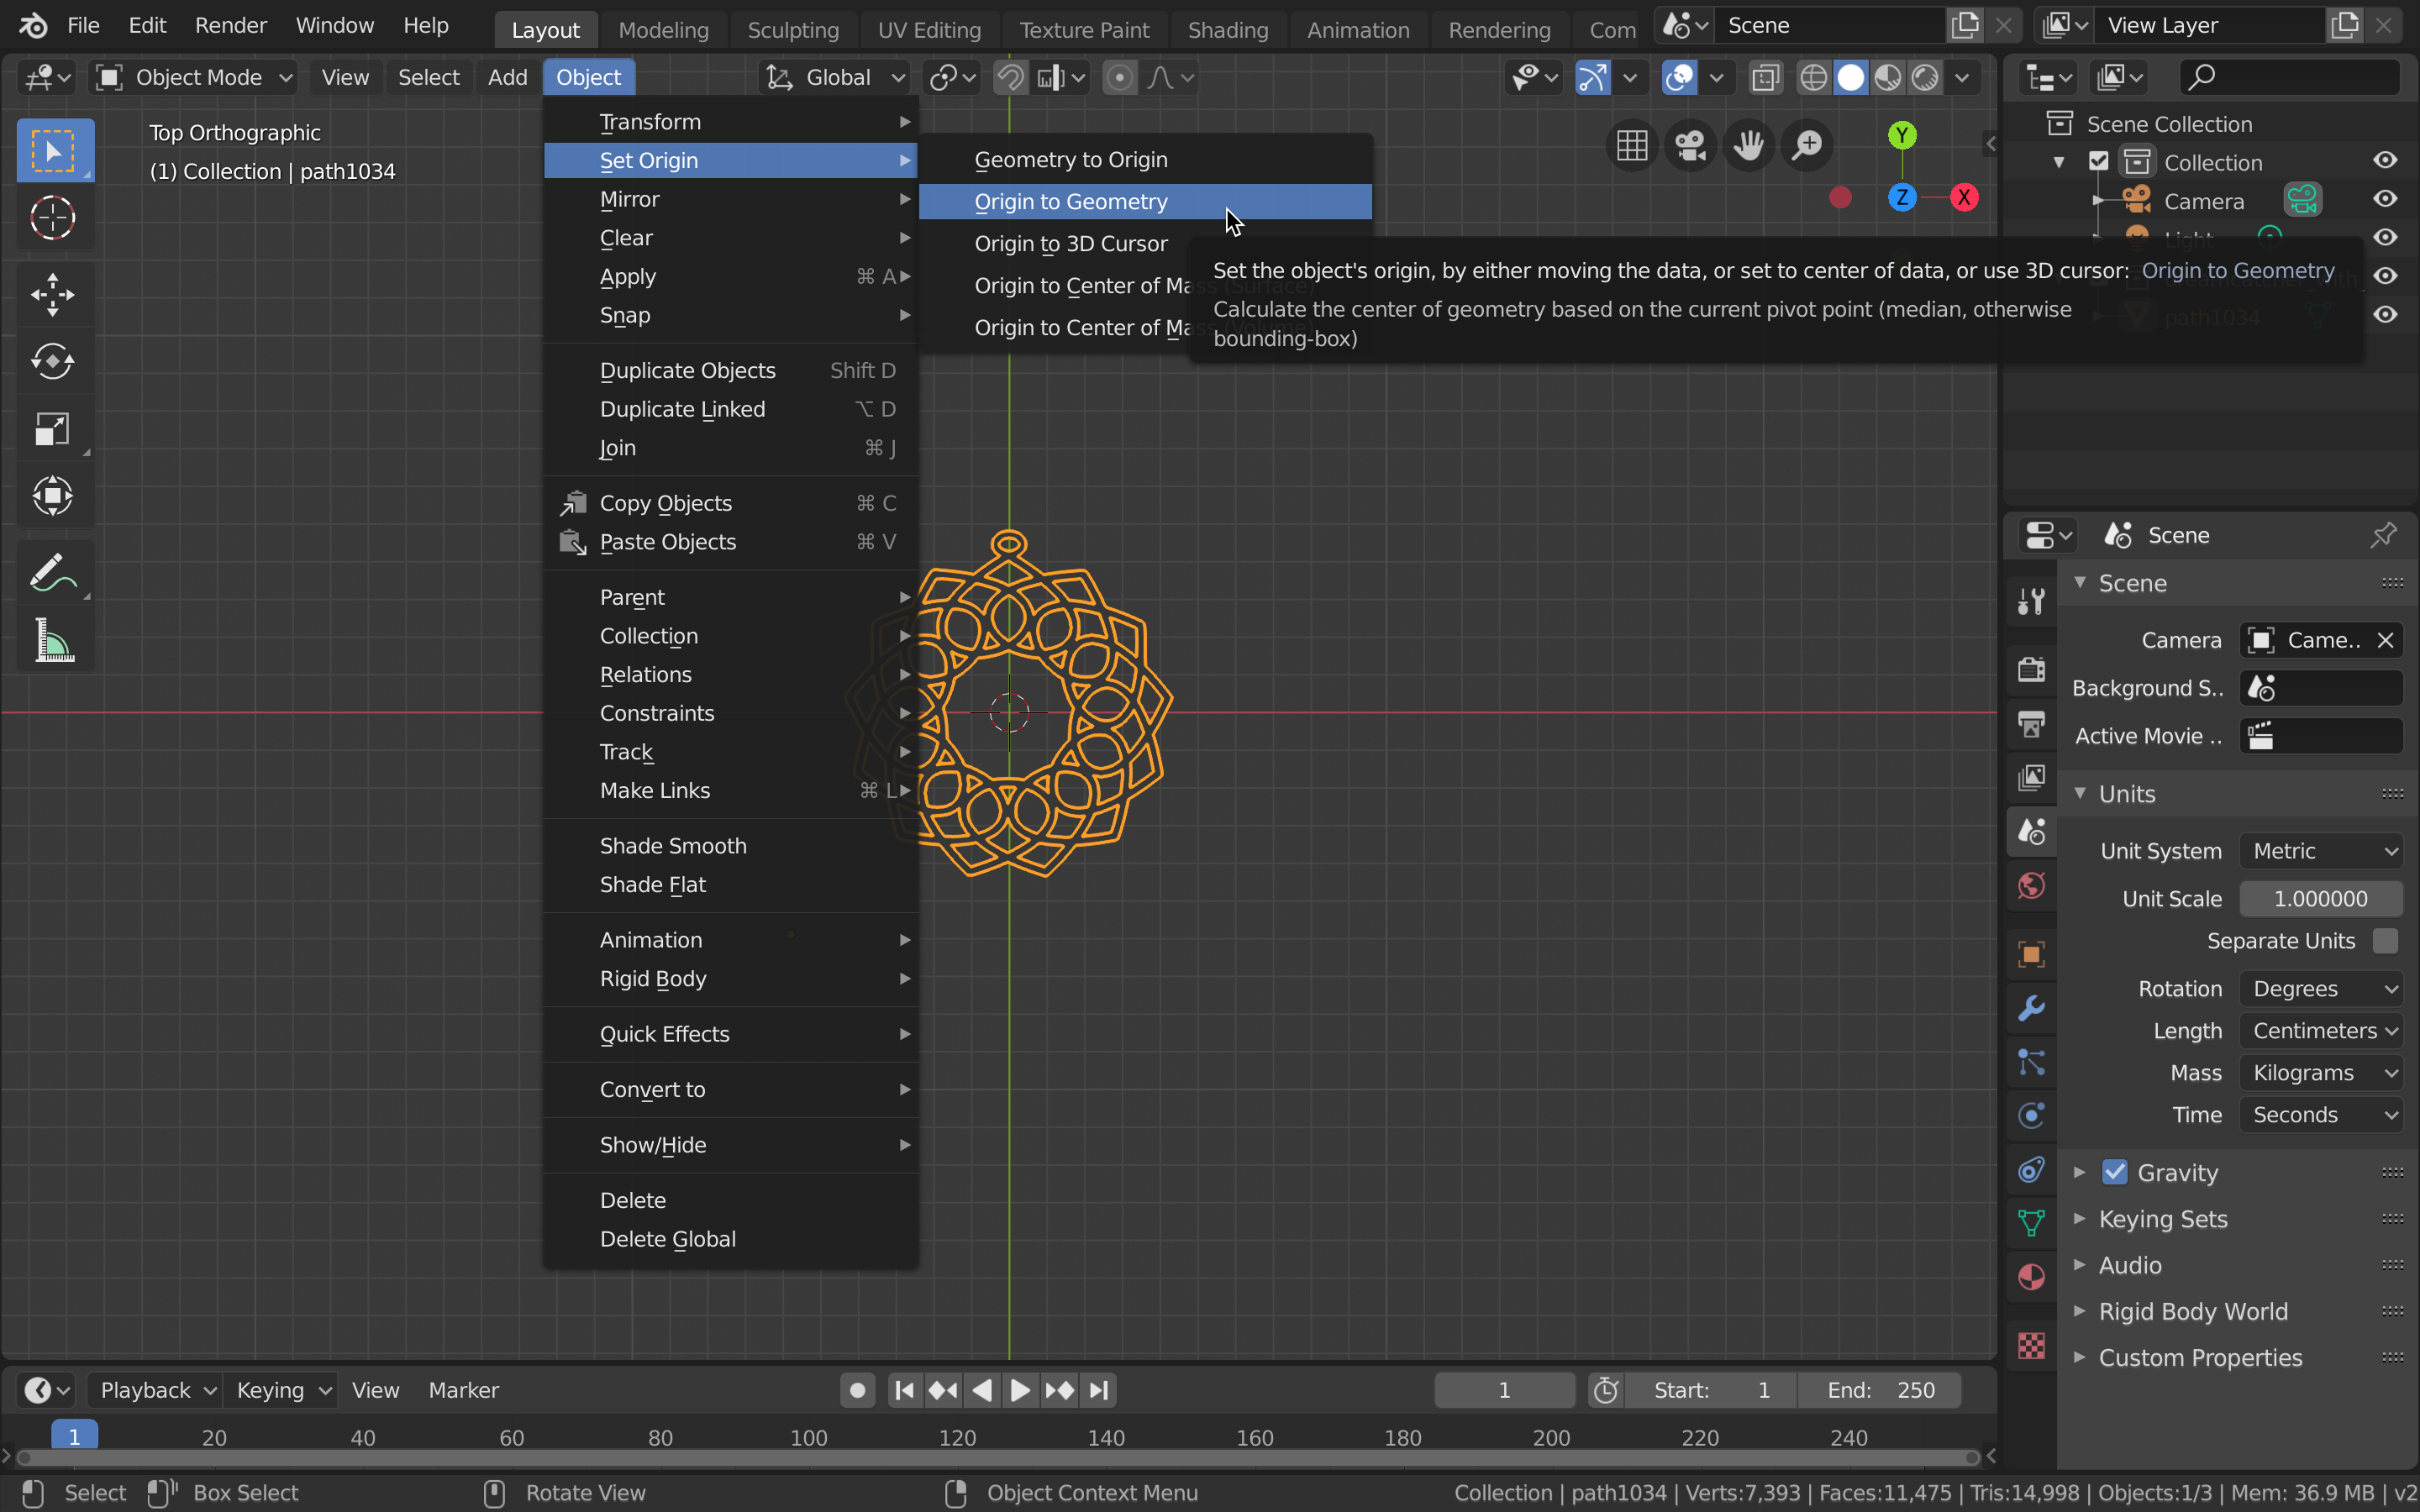
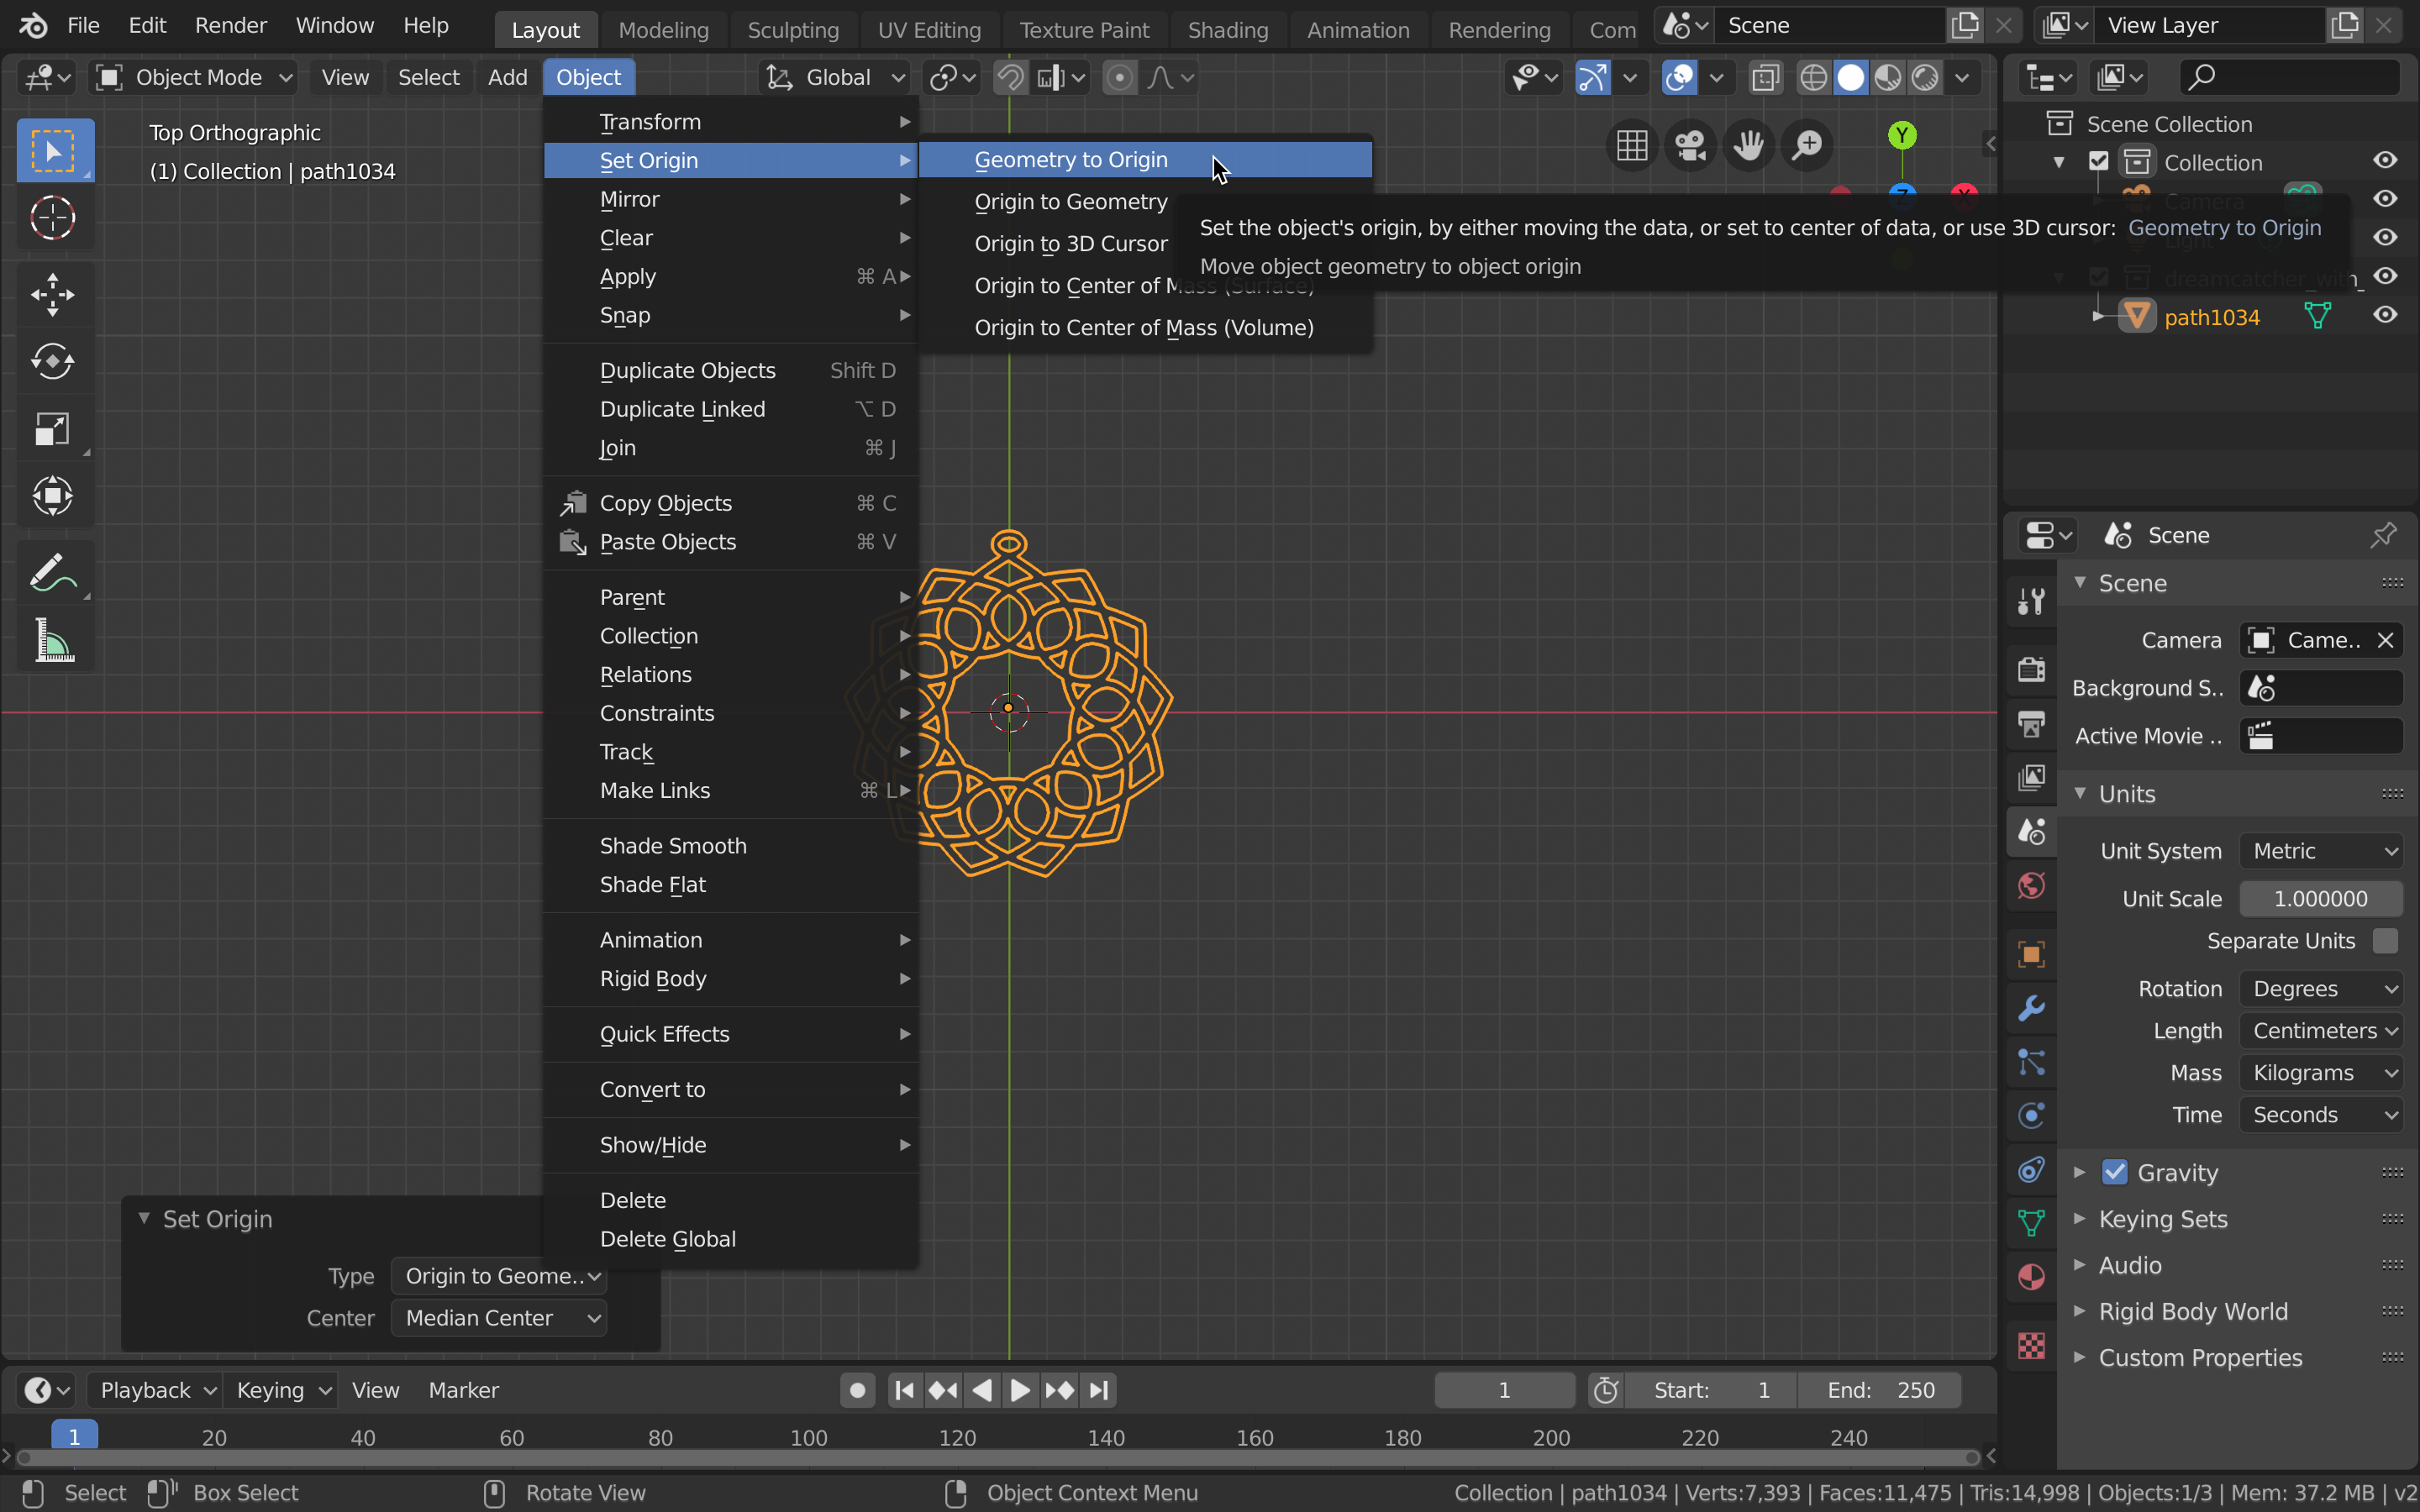
- Change the object's origin.
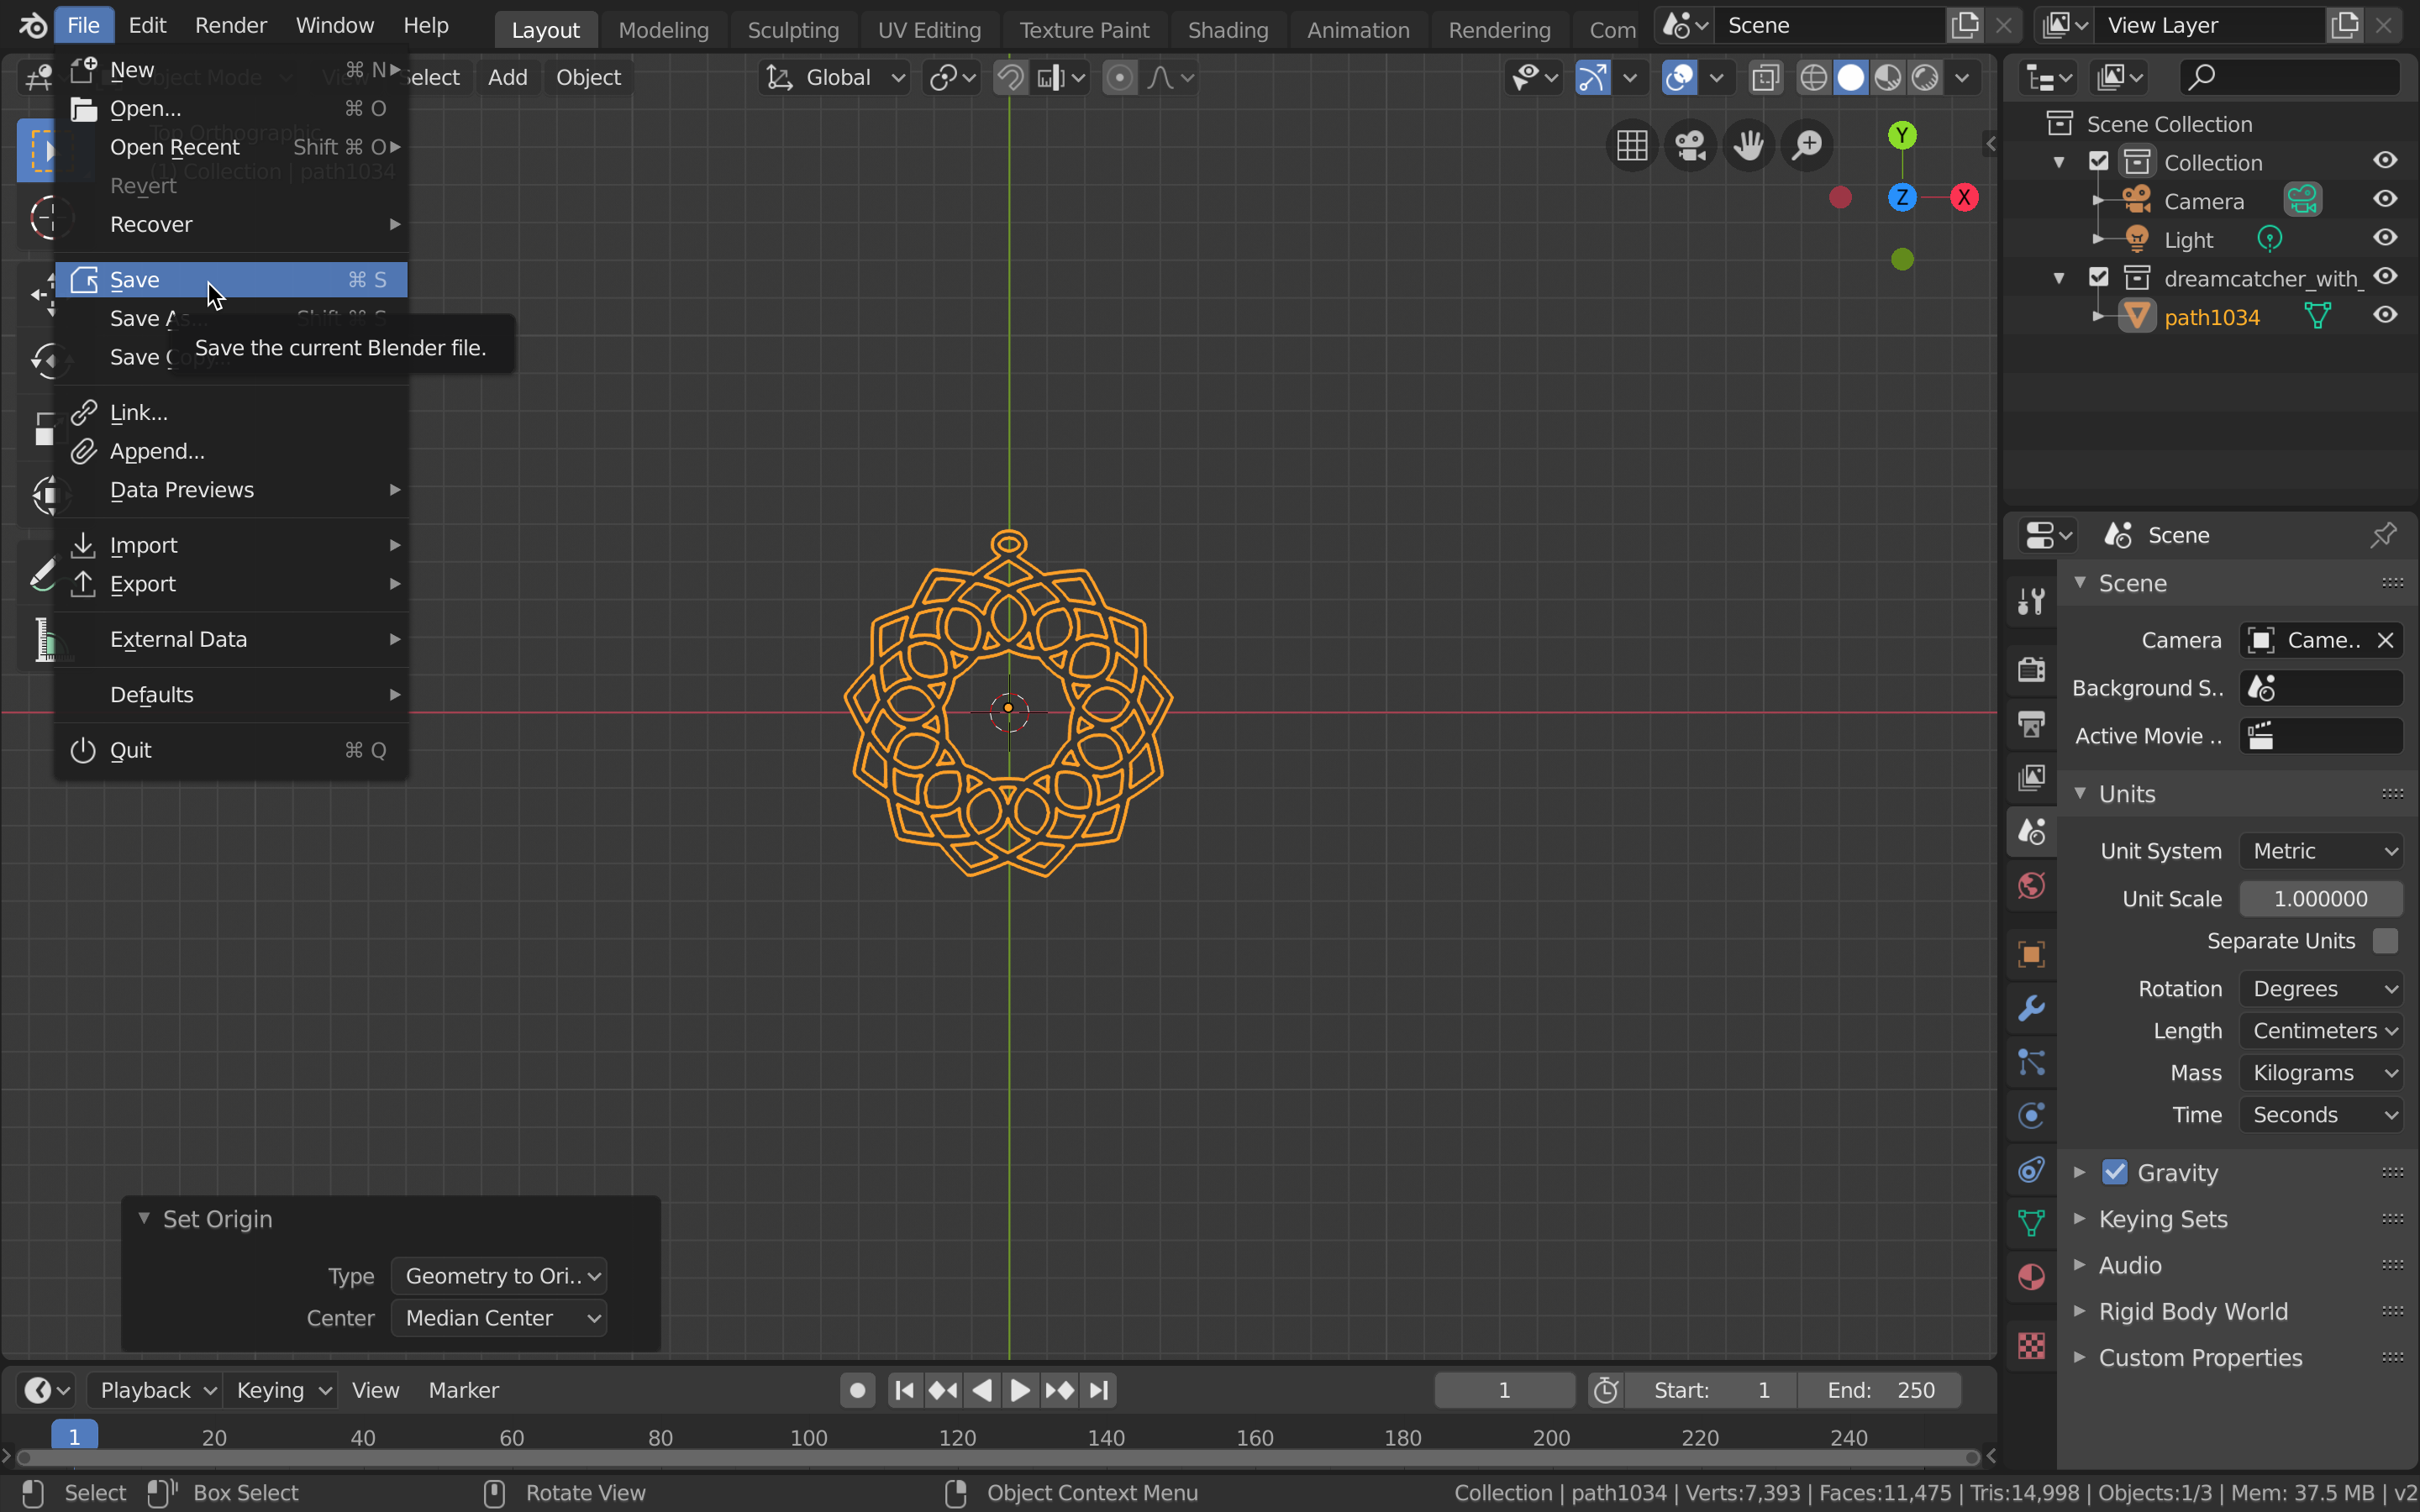
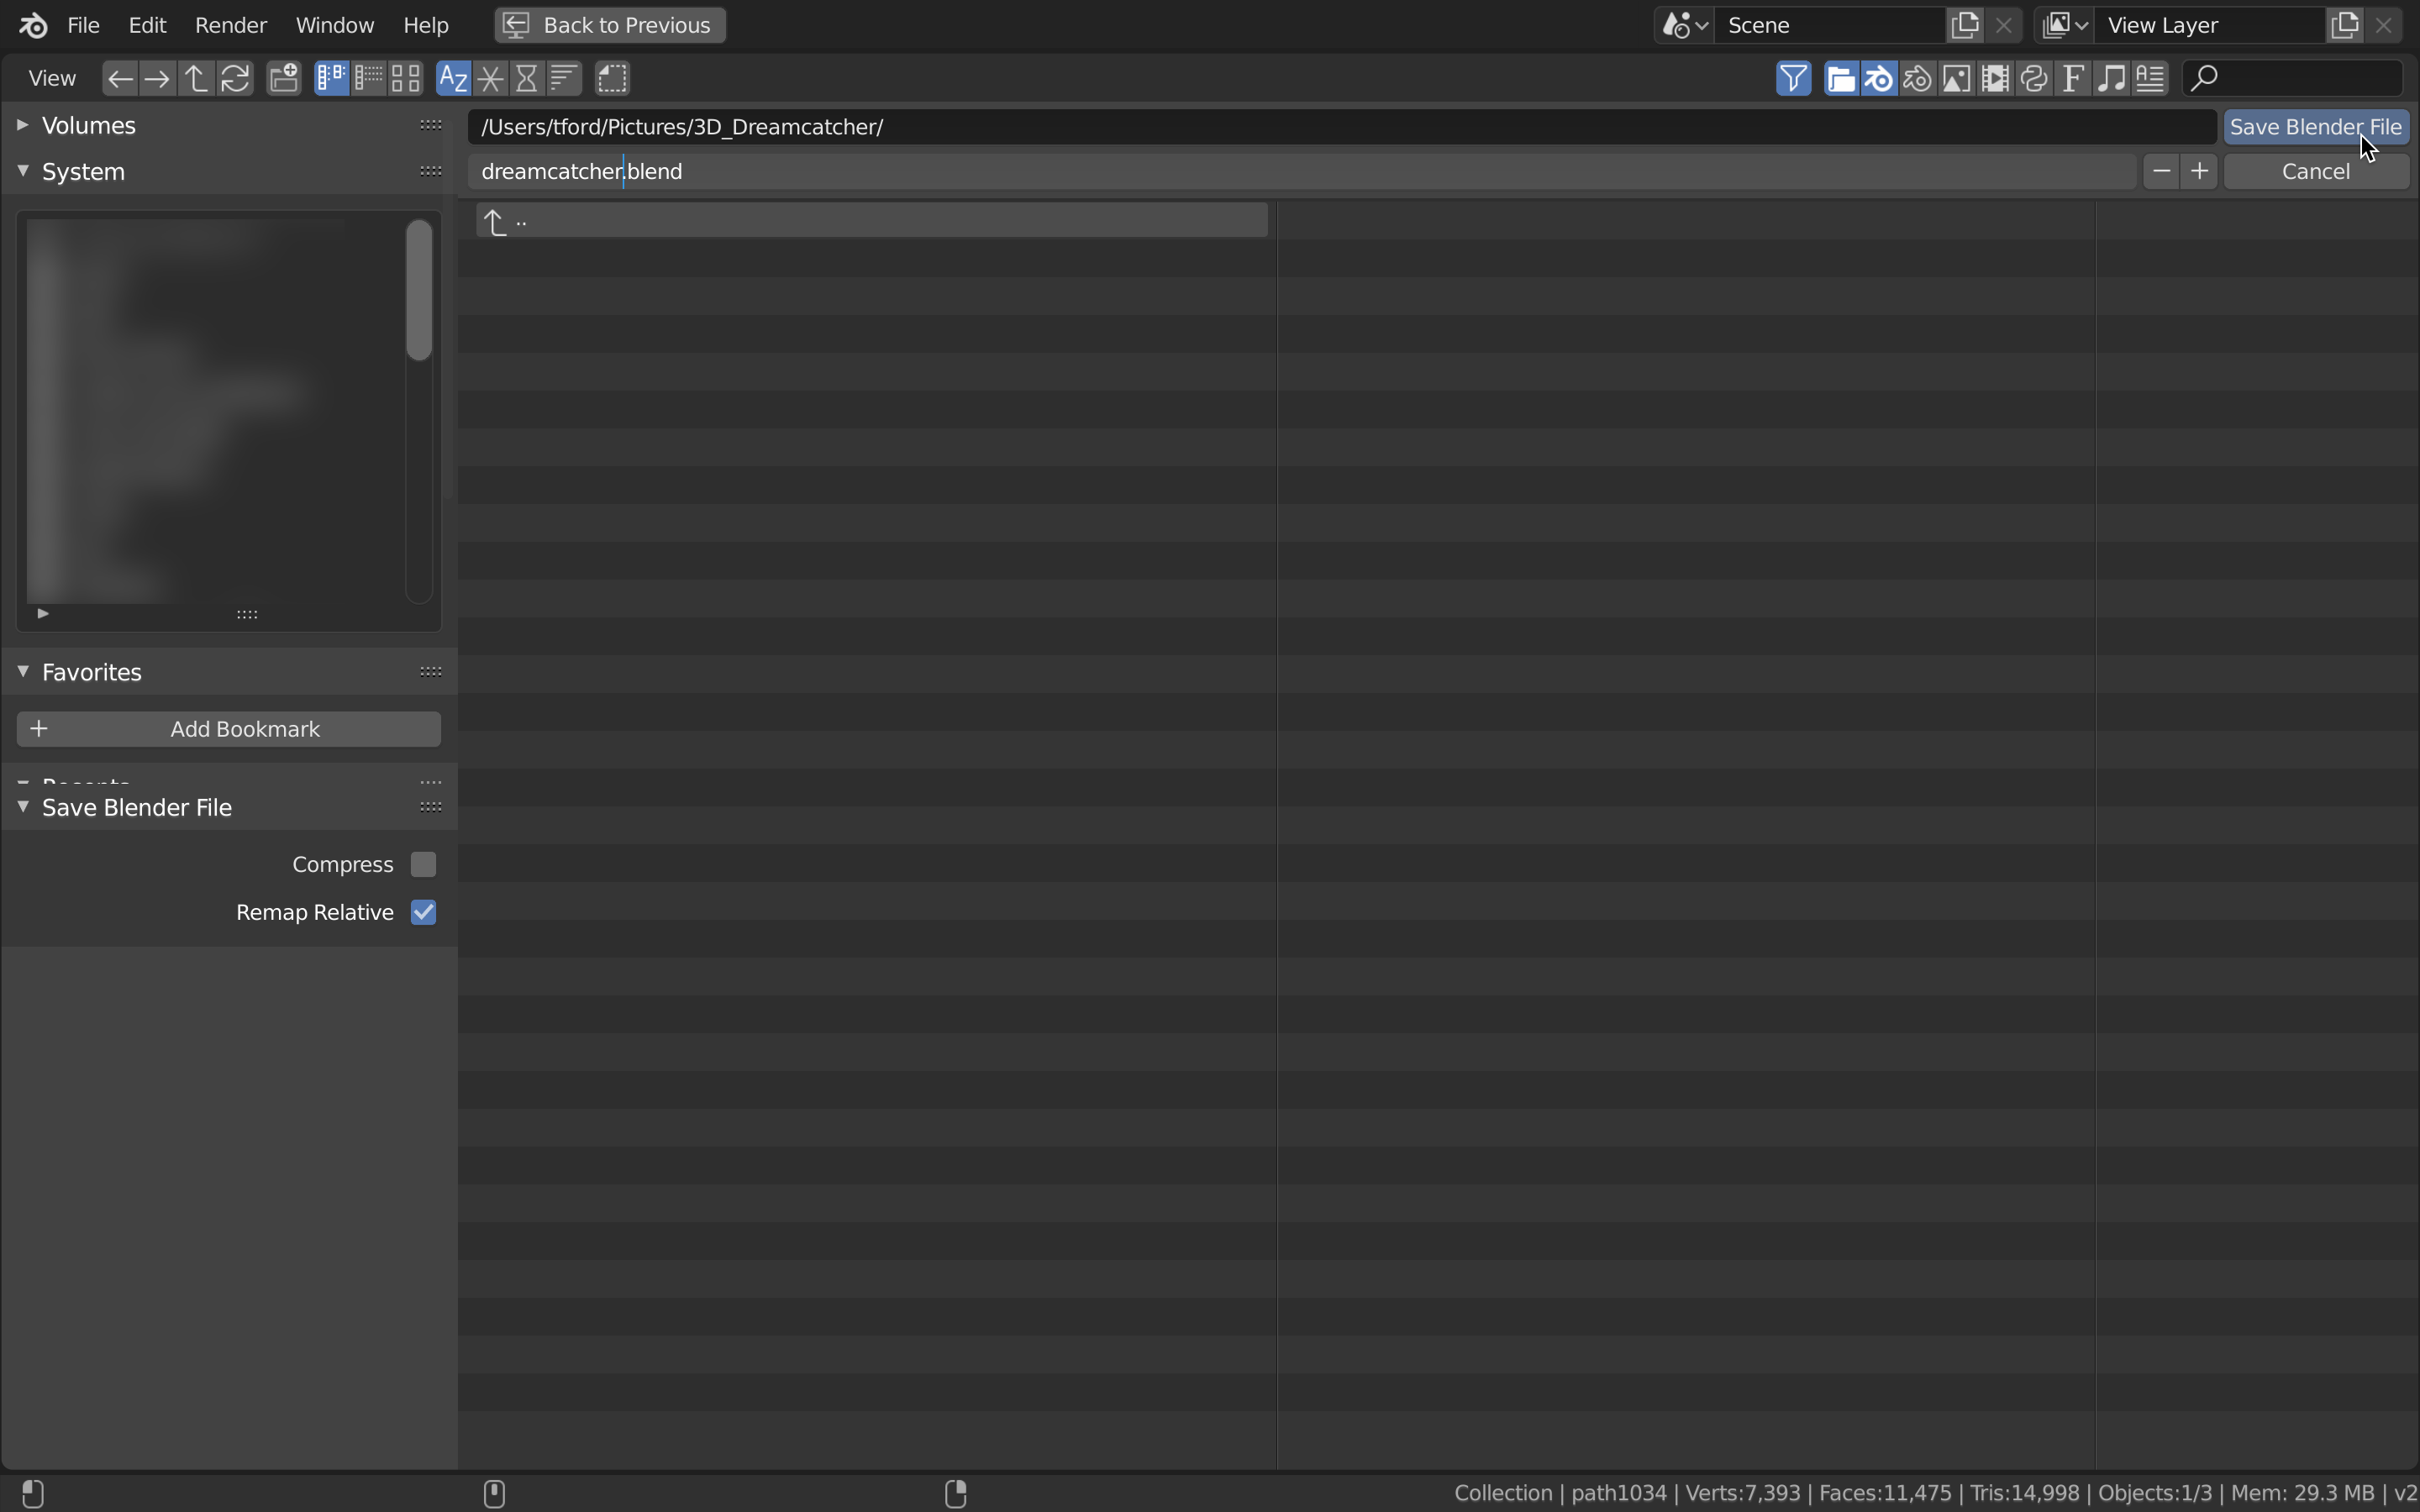
- Save the blender file.
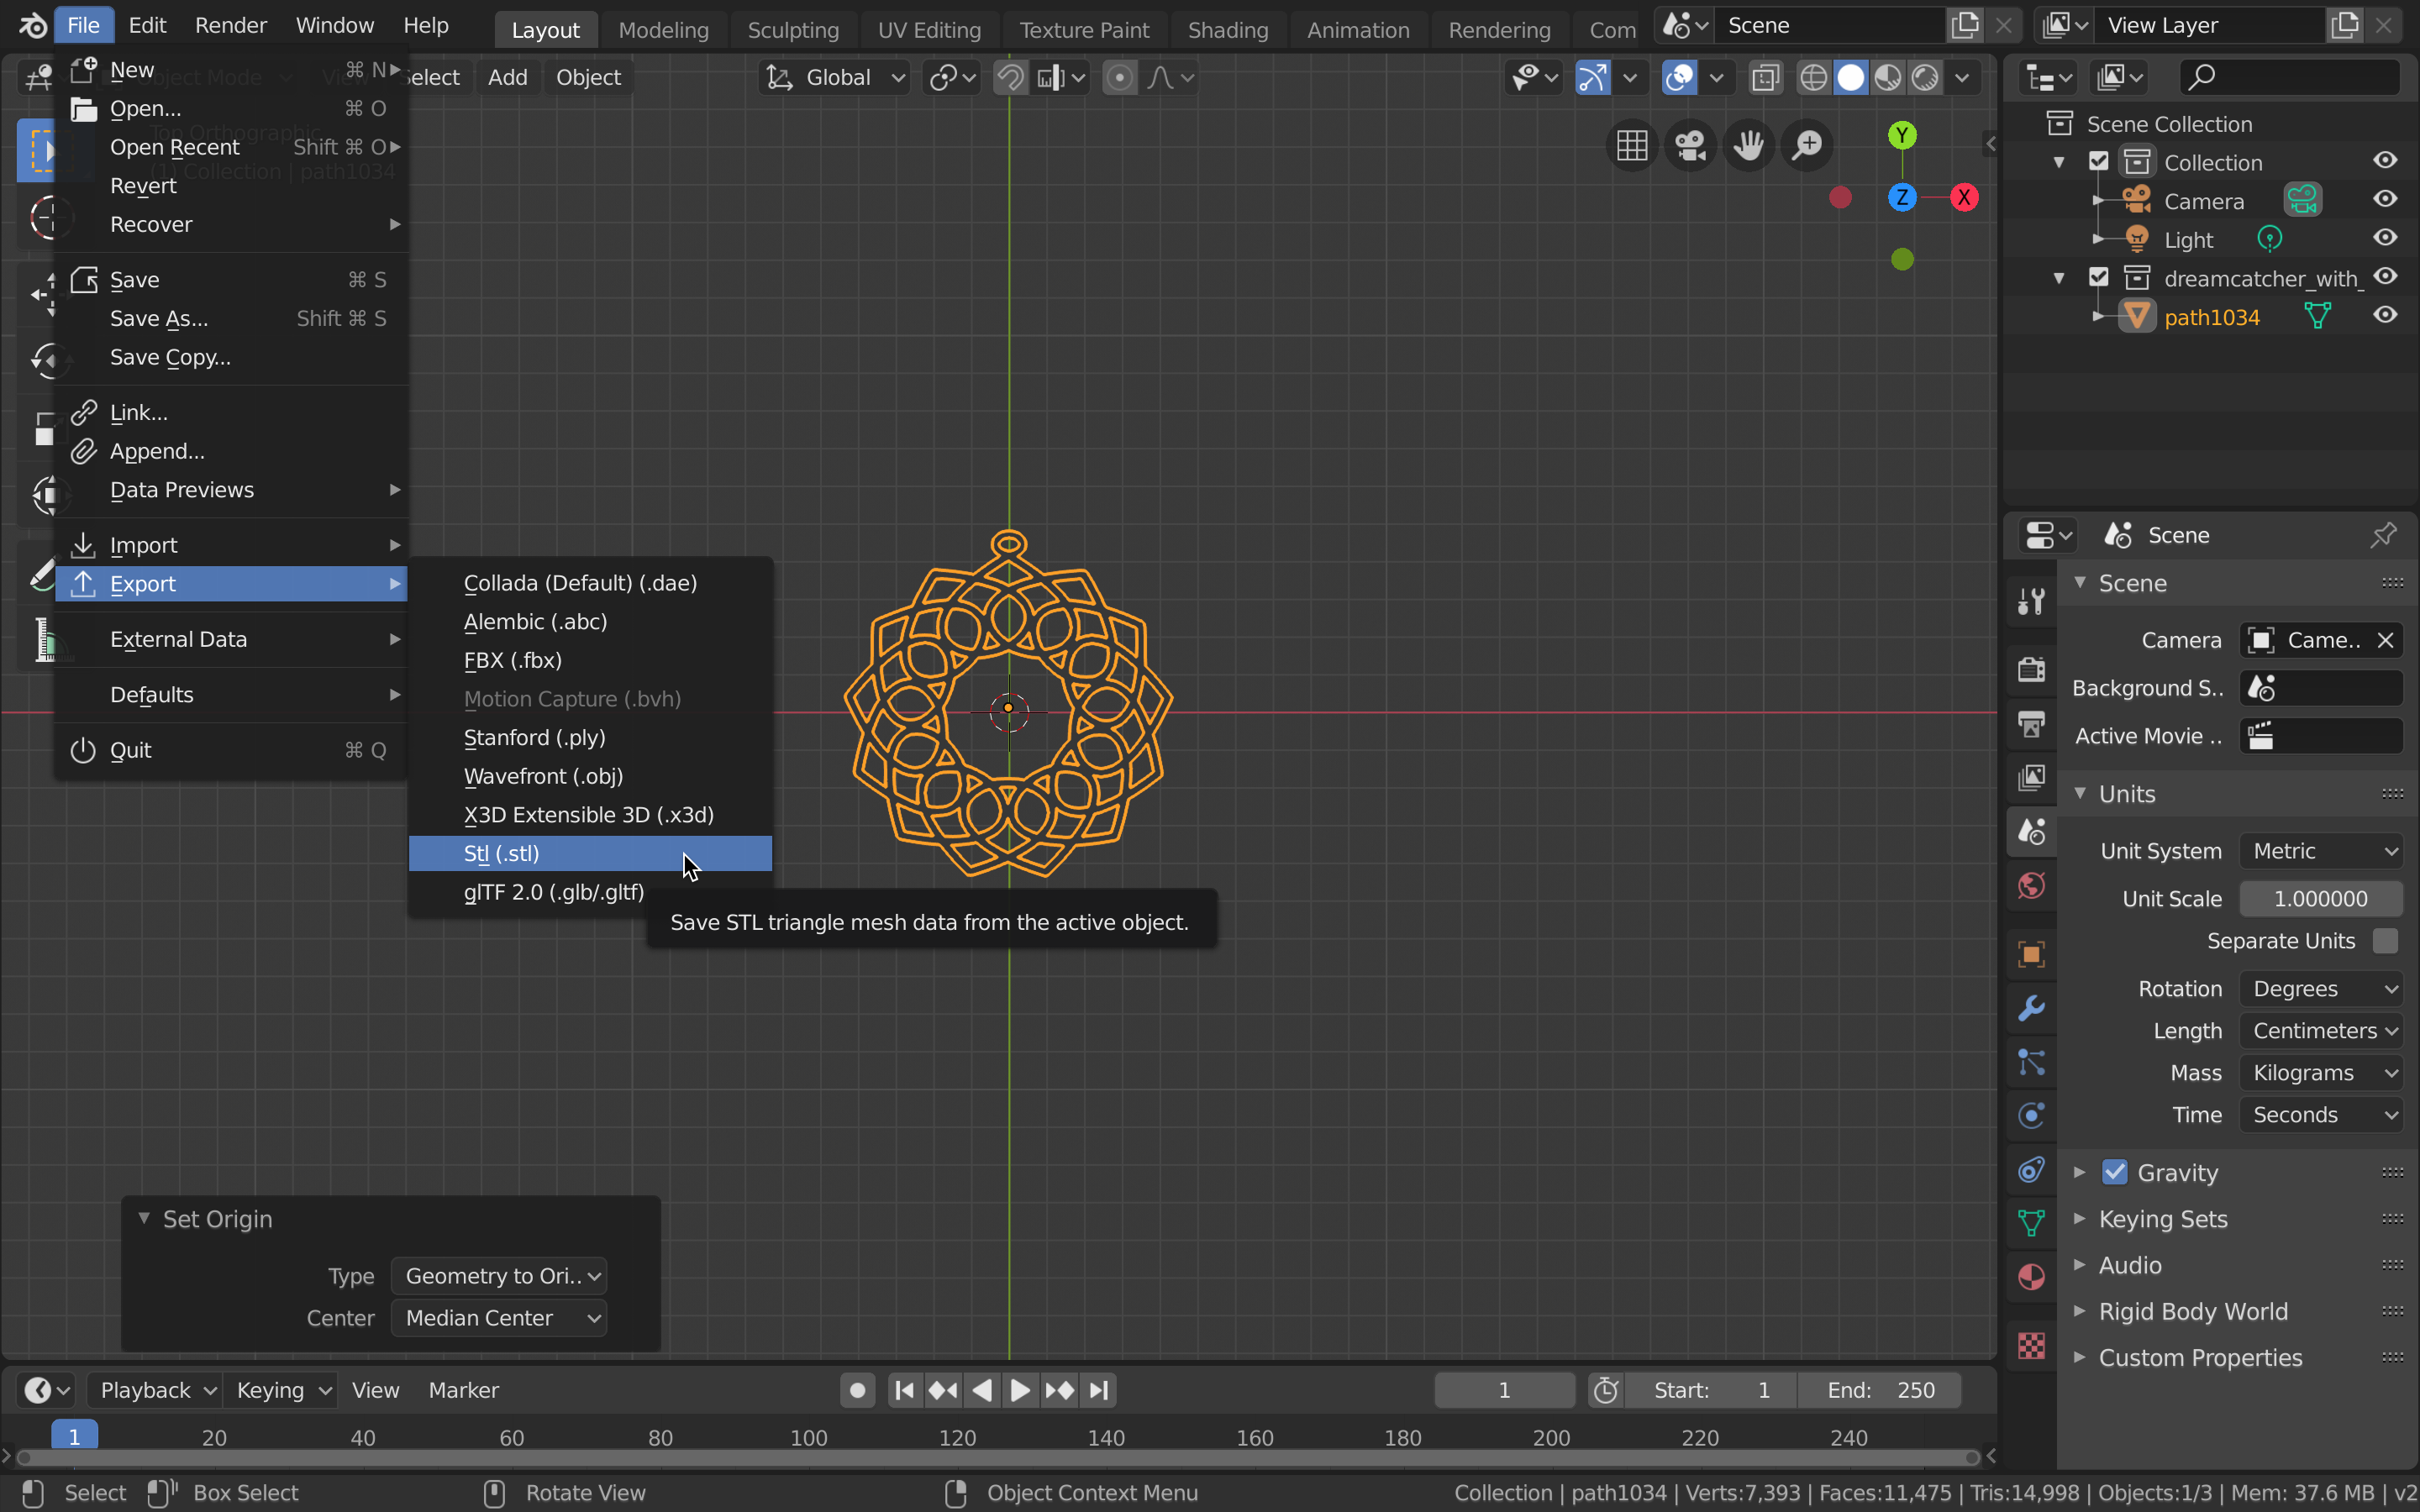
Make sure to click the button that saves the file. - Export the STL file.

When the move or scale tools are activated, the object will have additional controls (circle, green arrow, red arrow, blue square). Click and drag on the blue square to affect the object freely.


These are the files created by this section of the tutorial.
Dreamcatcher STL
Dreamcatcher Blender File